
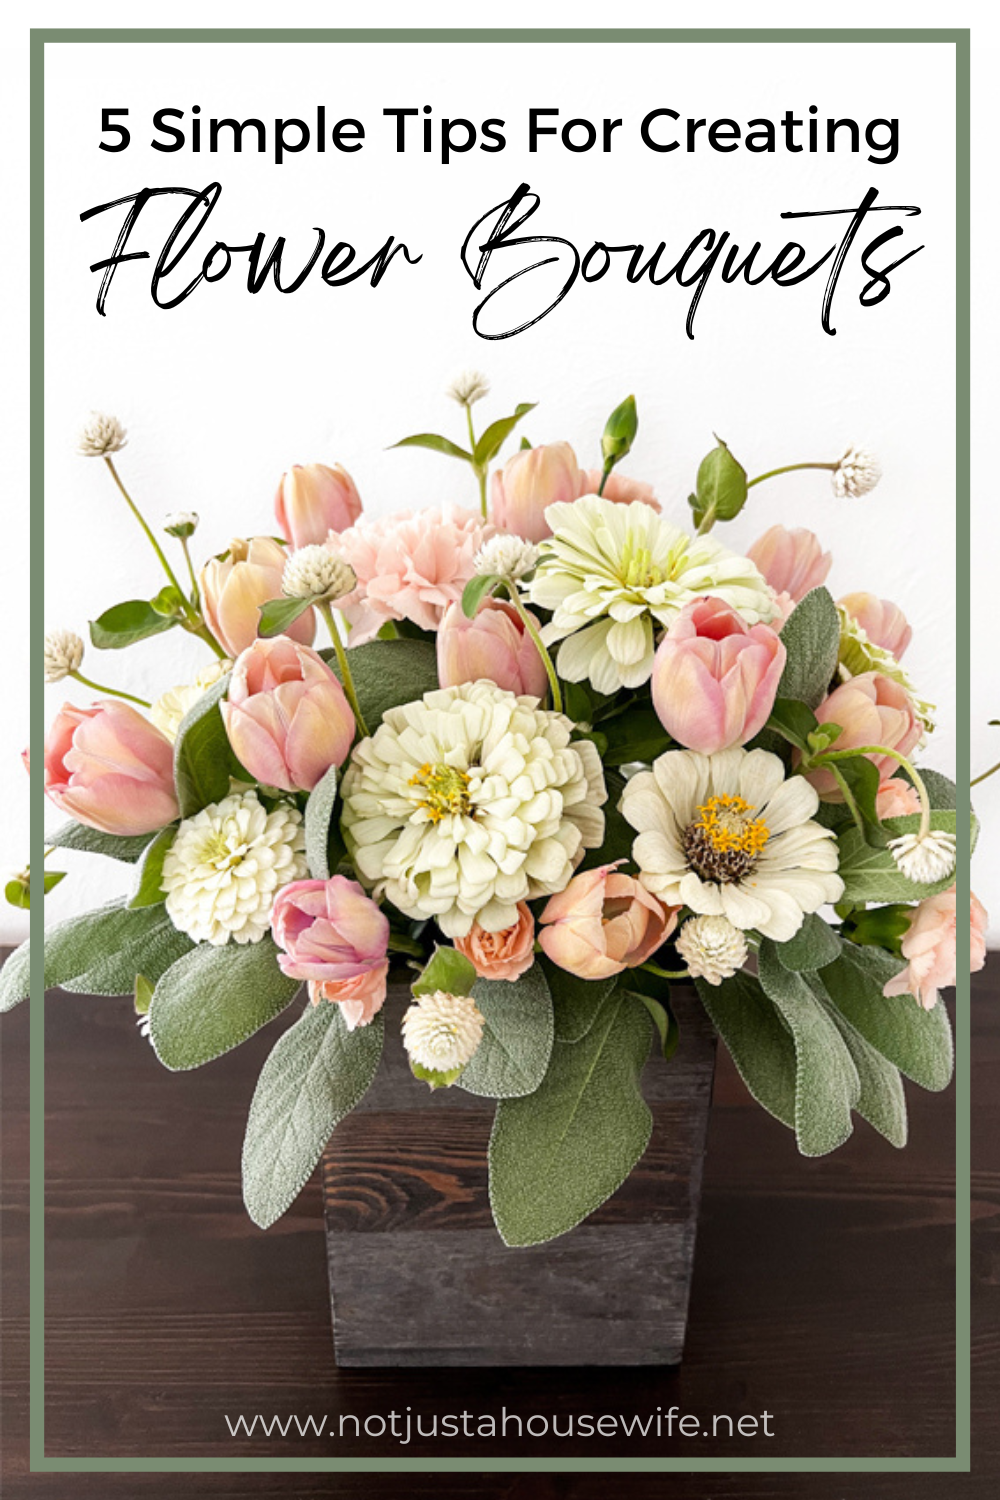
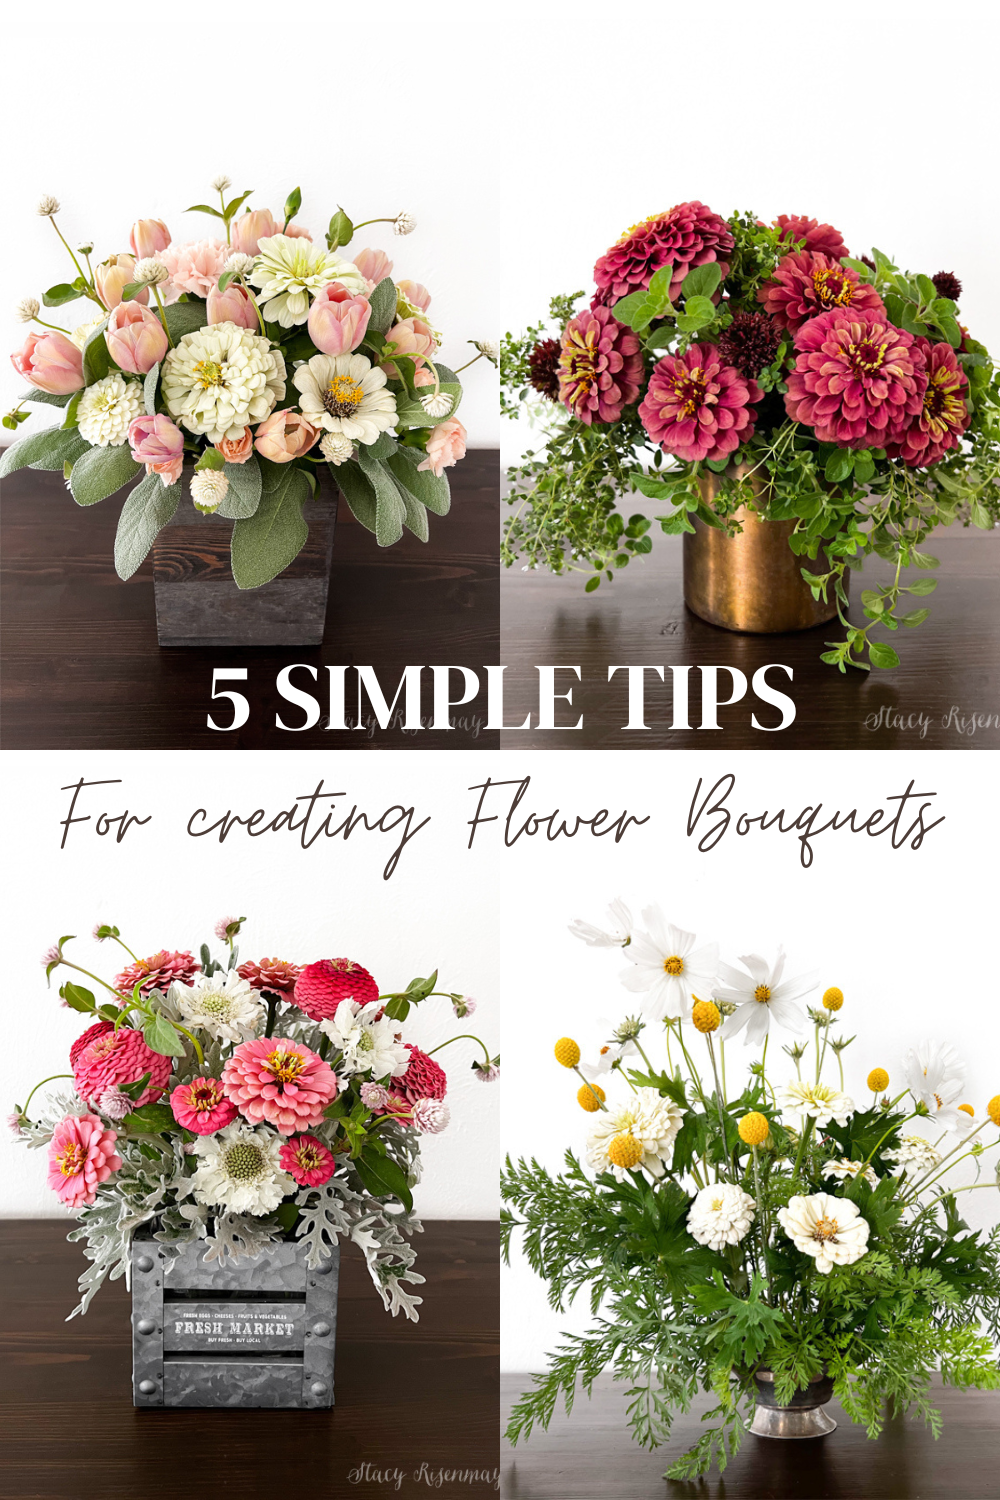
Today I am going to share how to create beautiful floral arrangements with fresh flowers from your own garden and maybe a few from the grocery store as well. It isn't hard to do, but it helps to know a few basic things before you get started. So here are my 5 simple tips for creating beautiful bouquets!
This post contains affiliate links.
#1 Collect Your Flowers
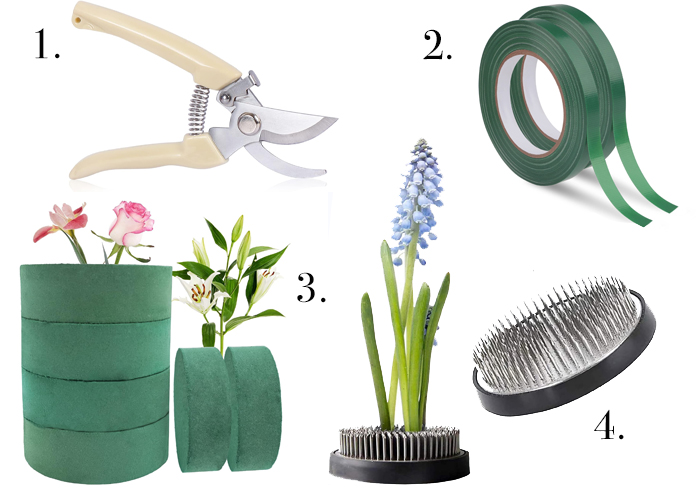
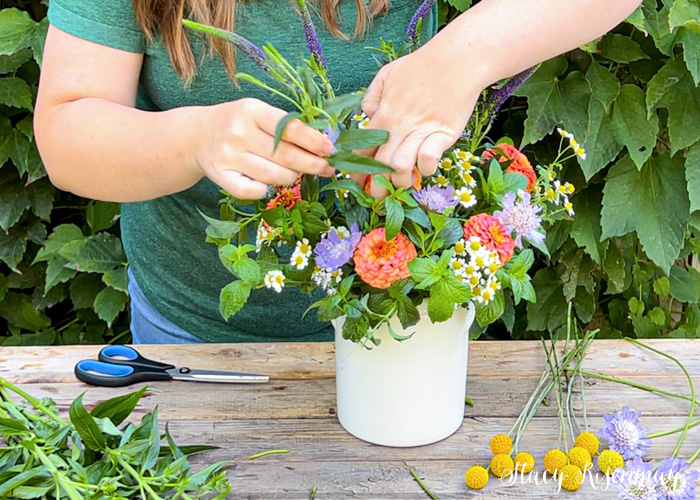
It is best to cut the flowers in the morning since it is the coolest part of the day. They will get less stressed than if you were to cut them in the heat of the day. Take a bucket of water or a pitcher of water with you and immediately place your flowers and greenery in the water. Make sure to use sharp scissors or clippers.
If you are buying flowers from the store, here are some of the places with the freshest flowers. Check out local markets like farmer's markets and support local flower farmers. Trader Joe's is my favorite store to buy cut flowers. You can get a bouquet of just one kind of flower or filler instead of a mixed bouquet. I do this to supplement the cut flowers from my own yard and in the winter when I don't have access to them in my yard. Costco has a pretty good selection as well. But if your only option is your local grocery store, then that is great too. They still have good choices. It just might be a little hit and miss.
#2 Clean Your Flowers
Whether you bought them or cut them from your yard, you will need to clean them. And by that, I mean you will want to remove the lower leaves from the stem and in some cases, remove all the leaves. I suggest you remove the leaves for 3 reasons.
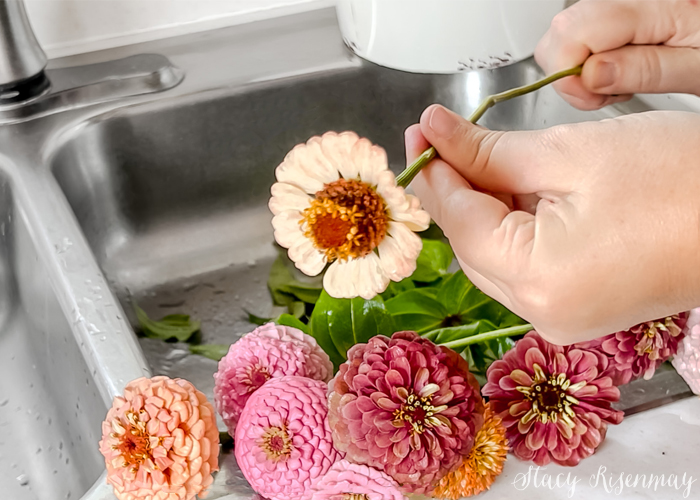
One, the water will get green and slimy as they break down in the water. Also, the more on the stem, the more water it needs to absorb to stay fresh looking. And last of all, as you are adding flowers to your vase, if you decide to pull one out and move it around, it is SO MUCH easier to pull it back out if it doesn't have leaves. Then you can play around with the placement without getting frustrated or messing up your arrangement. Alway cut the ends of the stems before putting them back in the water after cleaning. I like to cut at a 45-degree angle because it give more surface area to drink up the water.
#3 Select Your Container or Vase
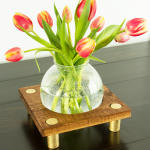
I love to buy vases at the dollar store for when I am going to share some flowers with a friend or neighbor. That way, they don't have to worry about returning it. I also love using pitchers. I have them in all sizes and shapes. They are so charming and work well because of their small opening. Pretty much anything can be used as long as you can place something watertight inside. You can place a vase or even a mason jar inside a wood box, basket, or other containers to create a unique arrangement.
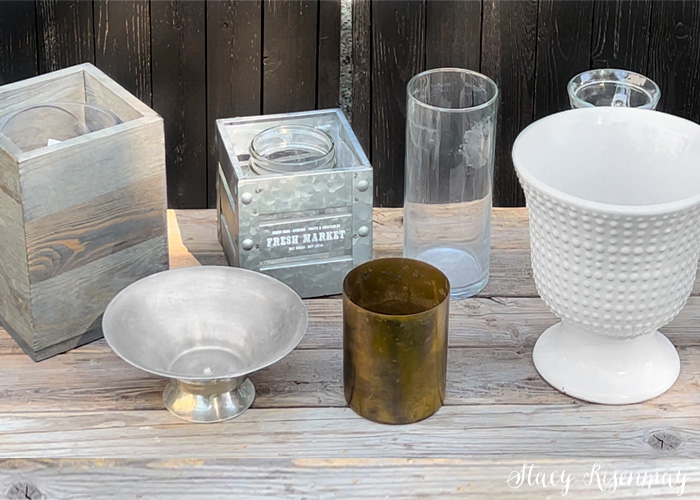
Even something shallow can be used as long as you use floral foam and fill it with water. If you have something with a wide neck, like this hobnail pedestal container, use a floral foam or a floral frog to help keep the flowers in place. You can also use floral tape across the top in a criss cross pattern if you don't have foam or a frog on hand.
Make sure your vase is clean and fill it with fresh water. If you have flower food powder you can add it in before you start adding the beautiful blooms.
#4 Understand The Different Elements
Now before we get into things here, I just want to say that I don't love using the word "rules" when it comes to creative endeavors like decorating, or in this case, floral design. Yes, there are basic concepts that are handy to have in your tool belt so to speak, but I think too many rules inhibits creativity. So ultimately, do what you think look greats. Most importantly, play around and have fun!
Without getting too technical, a good floral arrangement consists of 4 main things.
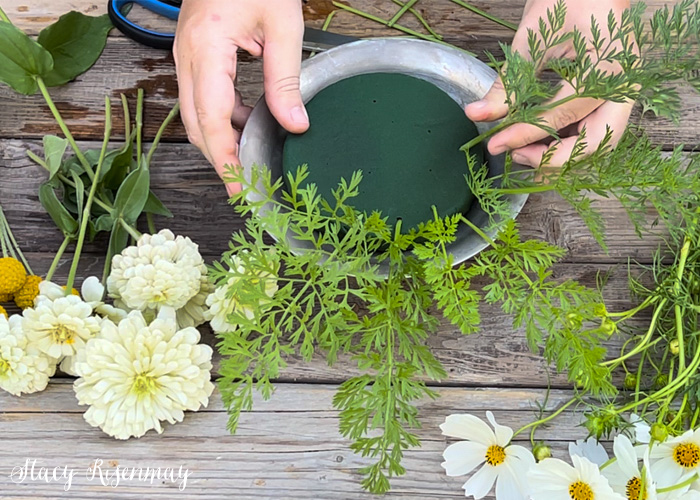
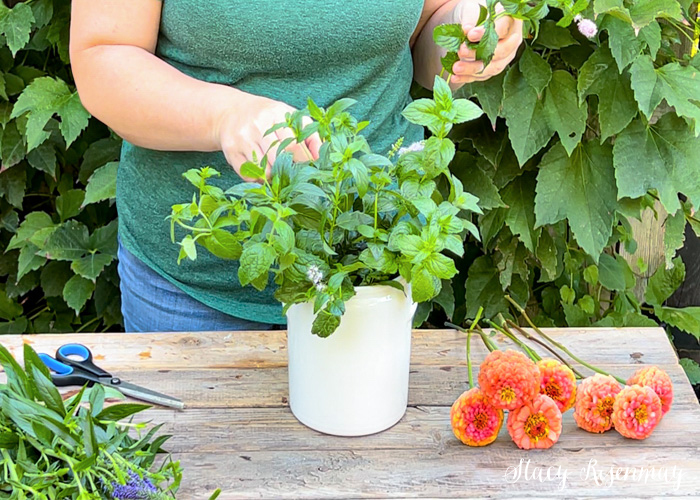
Greenery
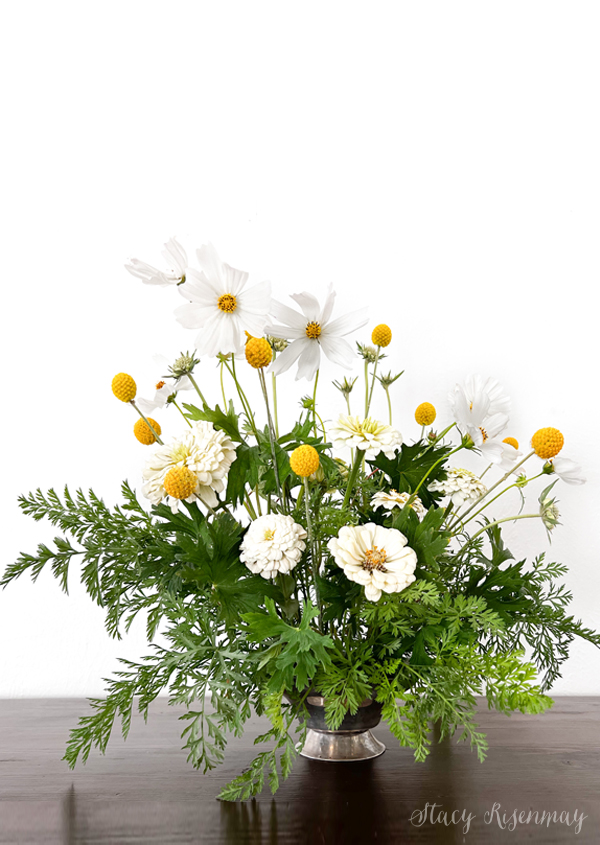
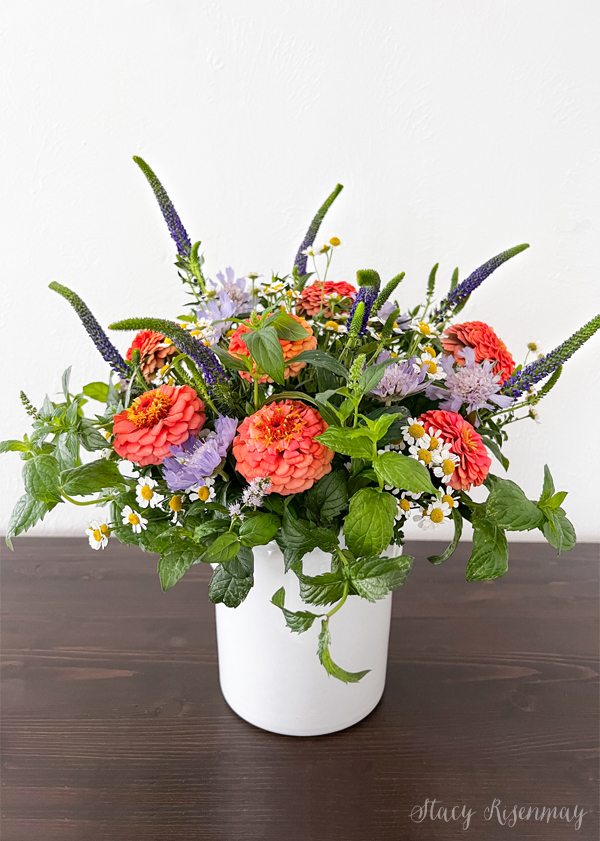
First you have your greenery. This can be anything from eucalyptus, ferns, clipping from bushes, or even herbs. This is the base and helps give structure to the bouquet. If you have enough greenery, you won't really need a frog since or floral tape because the greenery supports the flowers.
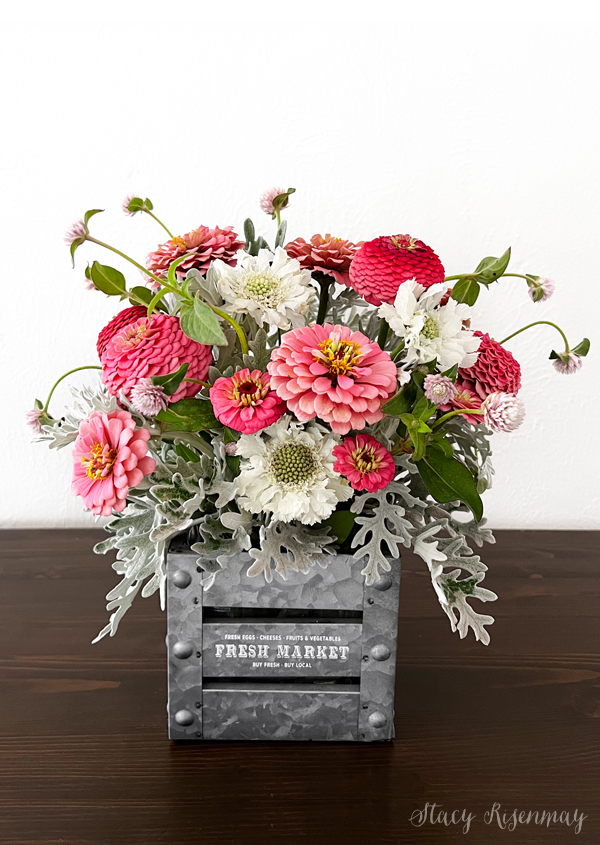
Focal Flowers
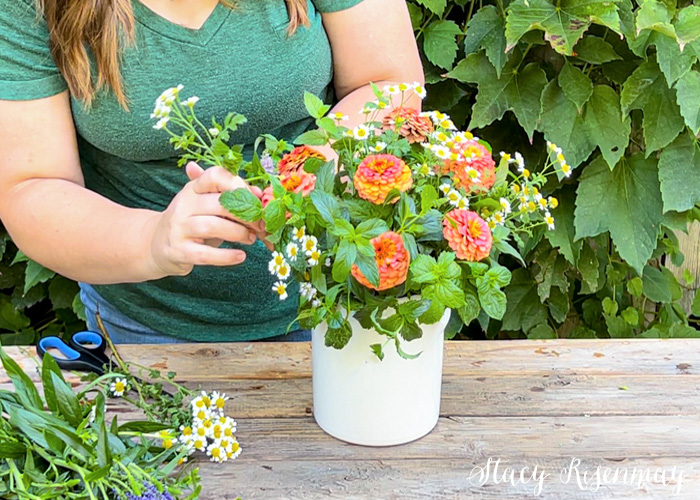
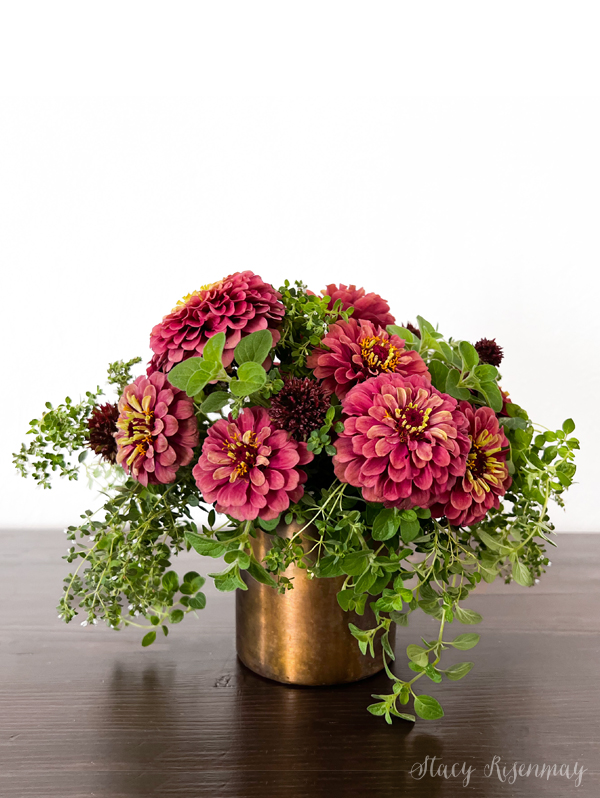
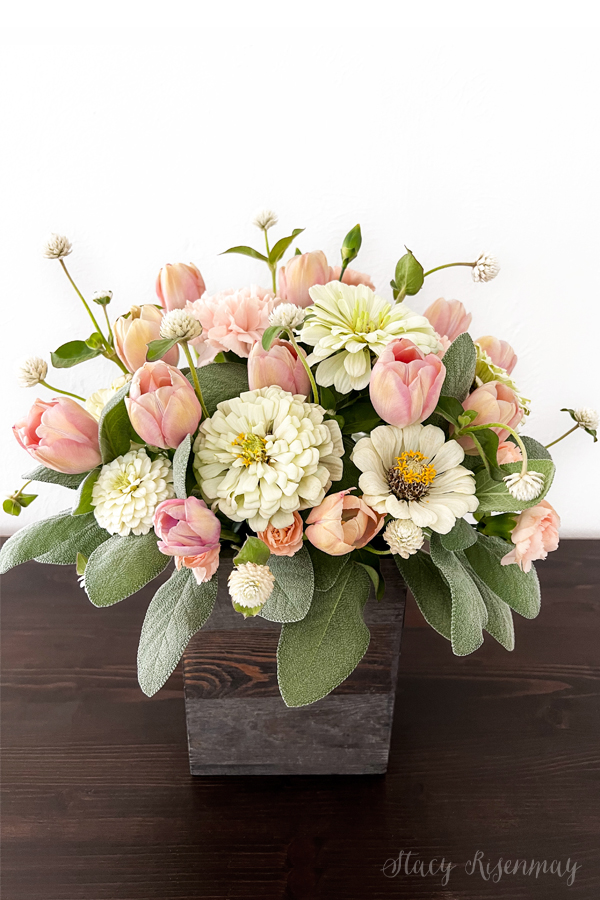
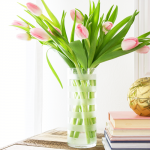
Then you have your main flowers. These are the star of the show and are the biggest blooms in the arrangement. Focal flowers are things like dahlias, zinnias, roses, tulips, and daisies. I like to use them in odd numbers. You can have more than one kind of main flower in a bouquet.

Filler Flowers
The third element is your filler flowers. These secondary flowers are small flowers that have a supporting role to the bigger showy flowers. Examples of of this type of flower are baby's breath, feverfew or camomile, carnations, Billy ball, Yarrow, and Queen Anne's lace. They help fill in any gaps and are a great way to add in more colors.
Line Flowers
The last element is a line flower. A line flower is one that is long, spikey, and tall. Snapdragons, delphinium, larkspur, salvia, valerie, stock, and some kinds of celocia, are all examples of line flowers. They are kind of optional in my opinion but are also one of my favorite parts. What I mean by that is, can you make a beautiful bouquet without them? Yes. But I really love having this element since they kind of poke out and give the arrangement dimension and character. And if I don't have a line flower, sometimes I use something like globe amaranth or billy ball and have them poke out farther than the other flowers.
#5 Don't Overthink It!
It may feel awkward at first to try your hand at the art of floral design, but remember, you can do it however you want! No one is going to be in your kitchen with you judgine you for your flower choices and placement.
Some of the prettiest arrangements I have seen online are non symmetrical and don't follow traditional rules. I mean, they are FLOWERS. They are already beautiful and you can't really mess them up. So just try. Experiment with unusual elements. I added artichokes from my garden one time and I loved it! Think outside the box and have fun.
*Bonus Tip
To lengthen the vase life of your flowers, change out the water every couple of days and keep your flower bouquets out of direct sunlight. Some flowers have a longer vase life than others so if some start to wilt and expire, take them out and leave the rest. Don't throw the whole arrangement out.
My favorite kind of bouquet is to use a single color of flowers like all peach tones or all white. I am really drawn to a monochromatic color scheme in floral bouquets. But it is also fun to make colorful ones with different flowers in complementary colors.
Whether you are making a floral arrangement to cheer up your house, or for a special occasion, I hope these simple tips for creating bouquets helped you feel more confident in trying your hand at flower arranging. Keep practicing and you will create beautiful flower arrangements every time.
Video
I created a video on YouTube and would love you to check it out!


Thank you so much! I like all of your tips… And especially the video. I think your arrangements are beautiful. I am inspired to try one myself today from just the flowers growing in my yard.