

I have spring fever so bad and all it has done here is RAIN!!! And occationally snow. I thought I would help chase away the dreary feeling by sharing a fun spring treat. Individual flower pot cakes!!! BBQ season is upon us and how cute would these be for your next outdoor entertaining event? I made these last year before I started this blog.
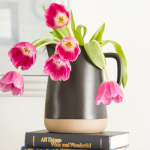
The one bright spot in all this rain are my red painted daisies. I know. They are hot pink. I didn't name them, people. But even thought they are different than what I thought they would be I love them! They are the first flowers to bloom after the tulips.

It got me thinking about these flower pot cakes...

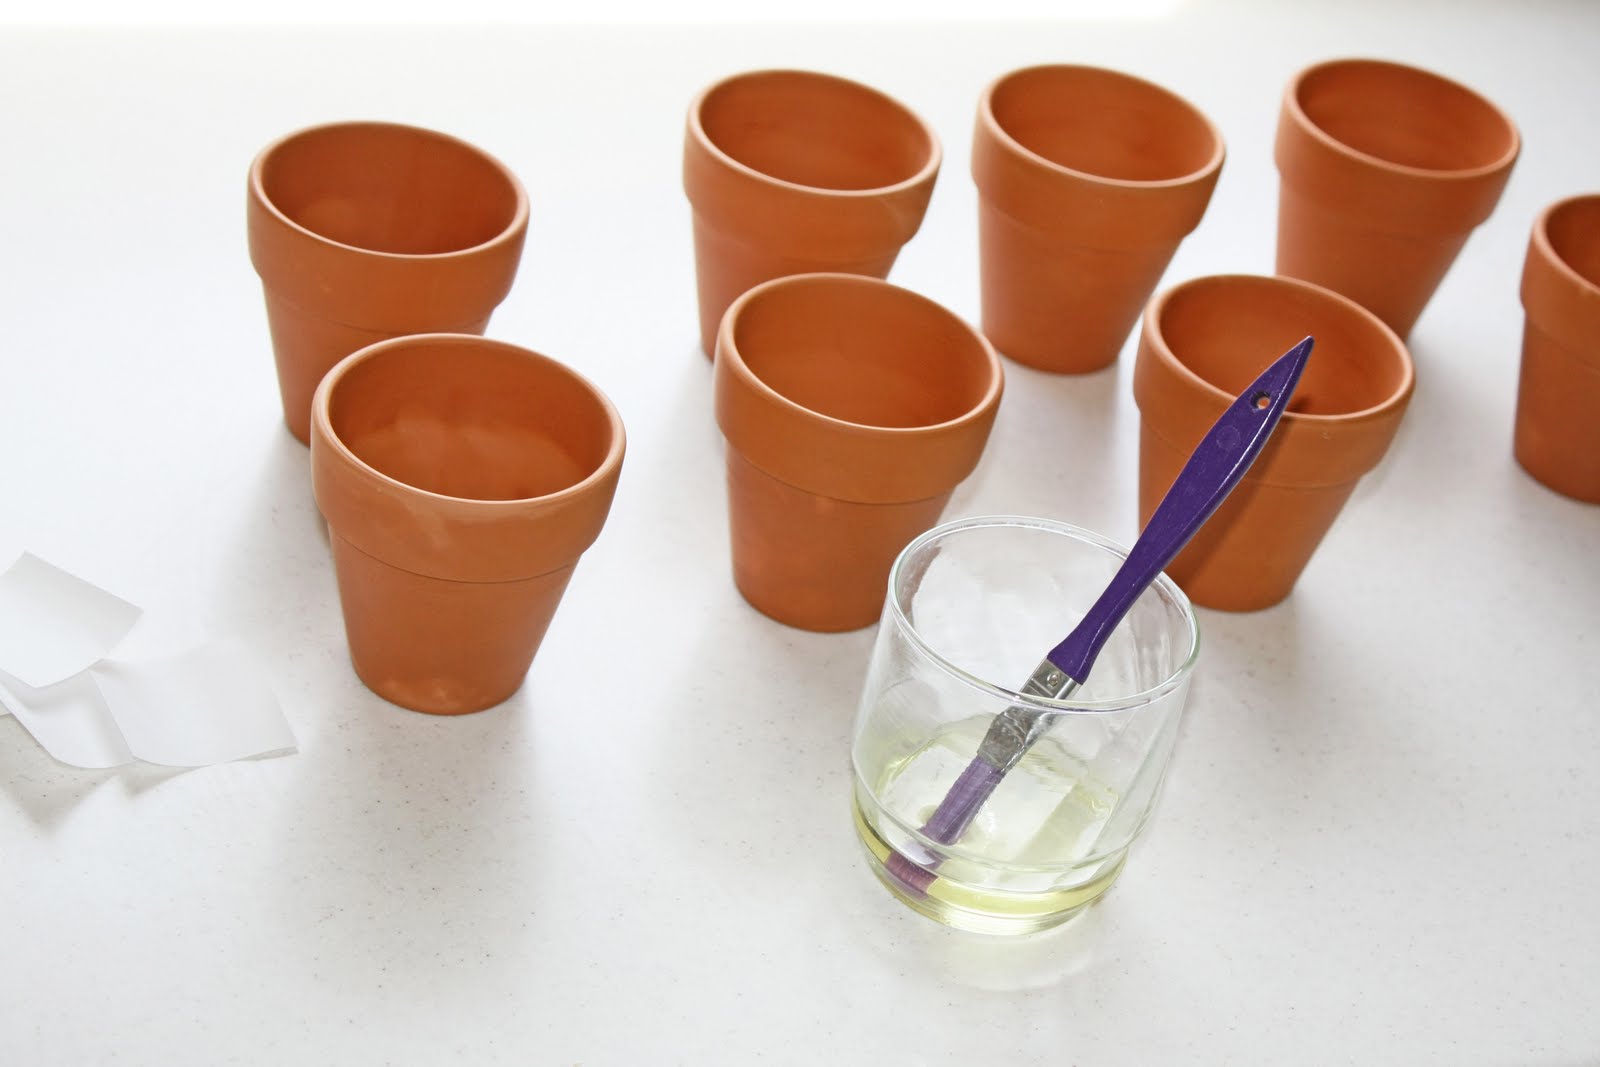
Aren't these adorable!?! I bought my pots at Home Depot because it was cheaper than buying them at a craft store. Plus any excuse to grace the isles of my home away from home, right? I came home and scrubbed them in hot soapy water and then let them air dry.

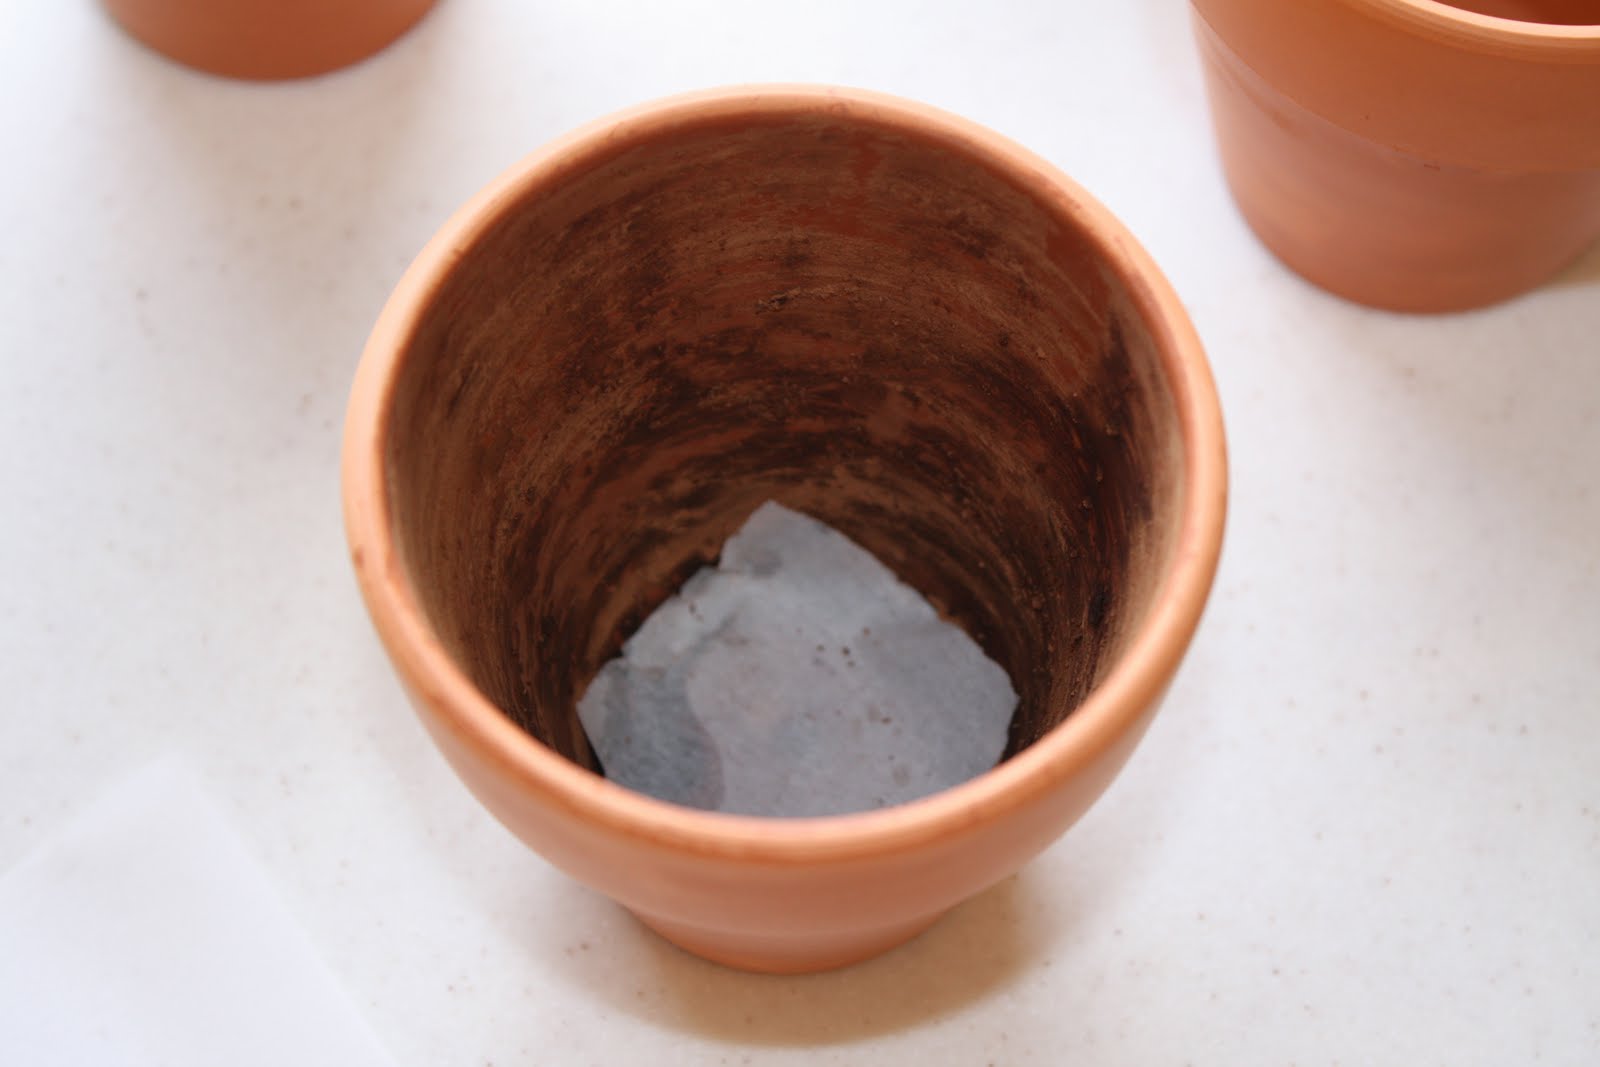
When they were dry I brushed vegetable oil on the inside. Then I used baking cocoa to coat the inside. To plug up the hole in the bottom I put a small square of parchment paper in there.
 I used a cake mix. I had eight small pots and filled them ¾ of the way. The cake ended up being taller than the pot and I had to cut off the top with a sharp knife. If I were to do it again, I would have baked 10 small pots per cake mix, or bought slightly bigger pots. So I guess you get to learn from my mistakes! Also, because of the terracotta, these take a little longer to bake. Just keep an eye on them and keep poking them with toothpicks. I have a gas stove and they took around 40 minutes.

I frosted them generously and then sprinkled chocolate cookie crumbs on the frosting. Then I stuck the flowers in. I went with artificial because I made them the night before. If you want to use real flowers, make sure they aren't too delicate (or poisonous!) and put them in right before you serve them.
Happy Memorial day!!! And happy spring!!!


Very cute! These would make a great Bridal shower gift/ decorations! =)
Oh my goodness I LOVE these! When I saw the first picture I thought there was no way they were edible because they were so pretty! TFS
splendidly done, my friend! My kids would love these but mostly my grand-daughter would LOVE them! I plan to make them with her She loves to take part in EVERYTHING so she will enjoy this
Glad to see you are blogging today and I'm hoping your spirits will continue to rise
KAT
Love this! They are adorable! What a great idea!! :)
Those are fabulous! What a great idea!
Absolutely ingenious!!!
I've done bread in a pot before but not cake. I love this idea! The artificial flowers on the top are perfect! What size pot did you use?
They were 4" pots :)
Those look deliciously cute!! I think I just might try it.
I'm definitely going to give this one a try. They would be perfect for a bridal shower.
We made these when I was growing up, and we would put some gummi worms on top after icing them!
Then we would sprinkle crushed up Oreo cookies for the dirt.
Very pretty. Just make sure your pots are food safe! Some clay pots are contaminated with heavy metals or lead.
I second this, especially when baking for kids--they're more vulnerable than adults. Make sure the pots are "food safe" flower pots, or line them with aluminum foil. Otherwise, really cute, for any age.
These are so cute!!
How fun! And so cute. That's such a good idea.
These are just the cutest things ever! I also consider Home Depot to be my home away from home so I'll be picking some pots up myself next time I visit. I can't wait to try and make these. :)
I'm a new follower, love your blog!
Lisa
yay for spring! we're hitting 100 degrees here today. feels like summer!
thumbs up!
Linda
Oh my gosh, Stacy! I LOVE these! They are so amazingly darling. I'm sitting here thinking why I need to make them in the immediate future! Maybe just.....happy Wednesday to me? Way to go! I'm going to share this on my FB page today! LOVE THIS!
Fabulous!
What a great idea and not too difficult! Thanks for sharing...these will be awesome at my church's mother daughter tea next year!!!
Love your blog...always something fun!!!
This is such a cool idea...LOVE IT!
They look cute! I actually carried a set of silicone cupcake flower pots around Christmas Tree Shops but ended up putting them back. Now I wish I didn't:@)
This was PERFECT timing! I just remembered about these babies today and was going to look for a tutorial and came across your tut at Tatertots! Thanks so much for posting!
I love these - such a cute idea!
So Cute! I found your blog through a link party and LOVE it! I am your newest follower and would love it if you would check out my blog and follow me too! Thanks!
~Alisa
sweetpeasandbb.blogspot.com
(excuse the dumb comment that's coming) I had NO idea you could actually bake one of those flower pots! That's so totally awesome! These are the cutest party cakes I've seen in a long time! Thanks for the great post!
love this!!! you are so awesome
follower!!!!!!!
http://jaysonandashley.blogspot.com/
I love this idea!!! I'd love to share this with our readers! We have a Monday Link Up party each week that I'd love to see you link up to!! http://www.dimpleprints.com
I would love for you to link it up to my party that is running now. Any linky goes.
http://bacontimewiththehungryhypo.blogspot.com/2011/06/any-link-goes-party-running-now-summer.html
Come strut your stuff.
These look too good to eat. Can you imagine having a table set up to look like a garden? This is a great project. Thanks for sharing. I featured this on my blog: http://koolbeenz-blog.blogspot.com/2011/06/gallery-of-featured-crafters-4-with.html
Feel free to grab my Featured Button if you like.
@pril
I love this idea! I am planning to do this for a baby shower. I am wondering if you could paint the pots different colors, and if so should it be done before baking or after. Love your website, such great ideas!!!
I think rather than baking with paint, perhaps wrapping with tissue and a pretty ribbon might be a healthier (so to speak) option?! I know it has been a year since you commented, but...:)
I am a college student far away from home, but know I will be doing this once the school year is over! I love baking cakes so this is right up my alley! I think this idea is super cute and great for spring! I will be home then, so I can make these for my family to enjoy!! Thank you very much for the detailed tutorial! It really helps us as readers to make the project as easy as possible! Thank you very much for the idea!
These are simply adorable. One of these days I am going to have to try them, though I am wary of what chemicals might be in the pots themselves!
Very pretty and easy i am making them for mothers day for my mom
I make custom cakes and I was looking dor cake ideas for mothers day. I am thinking of juat layering the pots with layees of cake and filling for a yummy treat instead of baking in them. I want to give my cuatomers a couple of options also if you wrap the atems of your real flowers in food safe floral tape u should have no problems putting real flowers in them. These are a great idea for flower arrangements you get a sweet treat and beautiful flowers as a gift.
If you cannot agtee to these terms, HCSMs are
not for you. It can increase certain bodily functions,
such as metabolism--leading to more fat burned. Almost all
the ingredients included for the preparation of herbal supplements have been used
for centuries for treating vivid reproductive disorders.
I want to make these, but I don’t know what size did you use and what temp was the oven set at?