


Home Decor
-
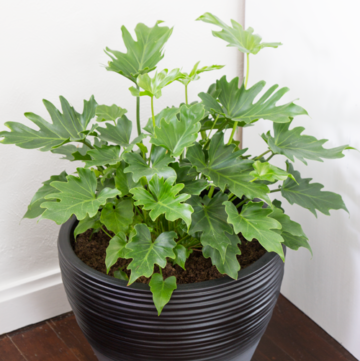
15 Easy To Care For Houseplants
-
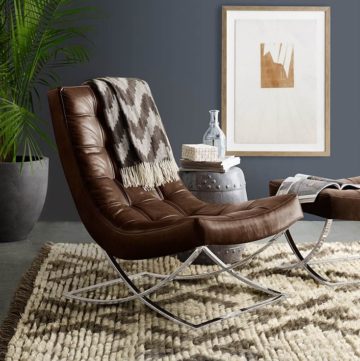
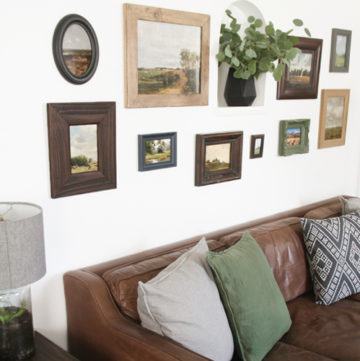
Crushing On: Leather Furniture
-
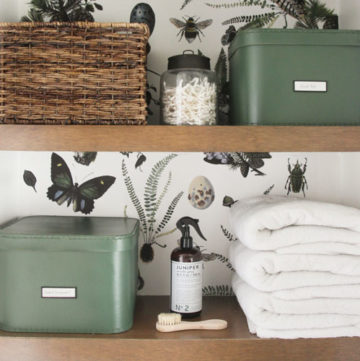
Bathroom Refresh REVEAL {Spoiler Alert... It's Green!}
-
DIY Wood Burned Chargers {Personalize Your Thanksgiving Table!}
-
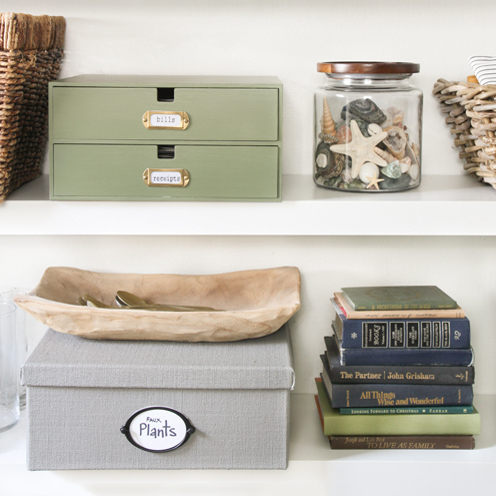
Home Office Makeover! {Create A Home Office}
-
Garage Attic Makeover REVEAL!!!
-
Stairway & Hall Makeovers
-
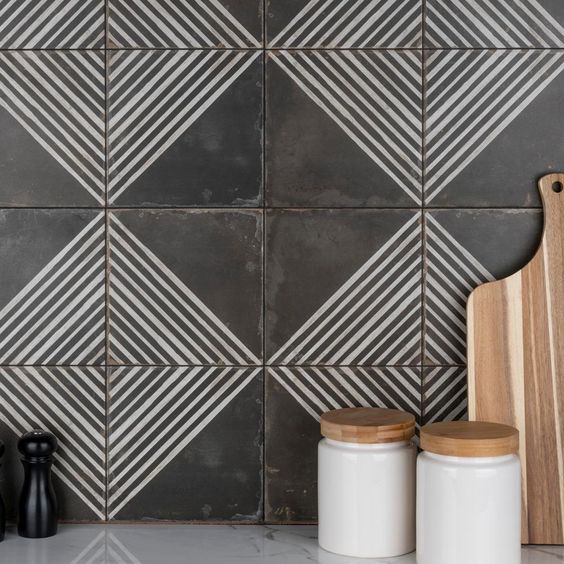
Crushing On: Bold Tile
-
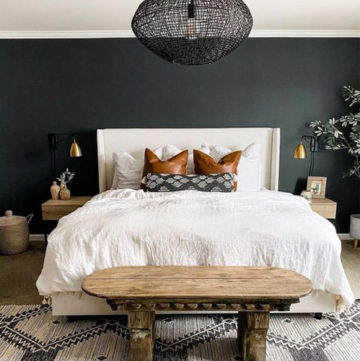
Crushing On: White Bedding
-
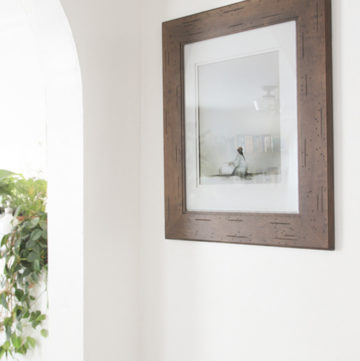
Inexpensive Wall Art


