
,This is the post I did for Roberts Crafts on their blog. In case you didn't see it (but really just so I can add it to my archives) here it is!

You will need an unfinished wood frame, spray adhesive, scrapbook paper, foam brush, paint or water-based stain, scissors, and an X-acto knife (razor blade cutting tool).

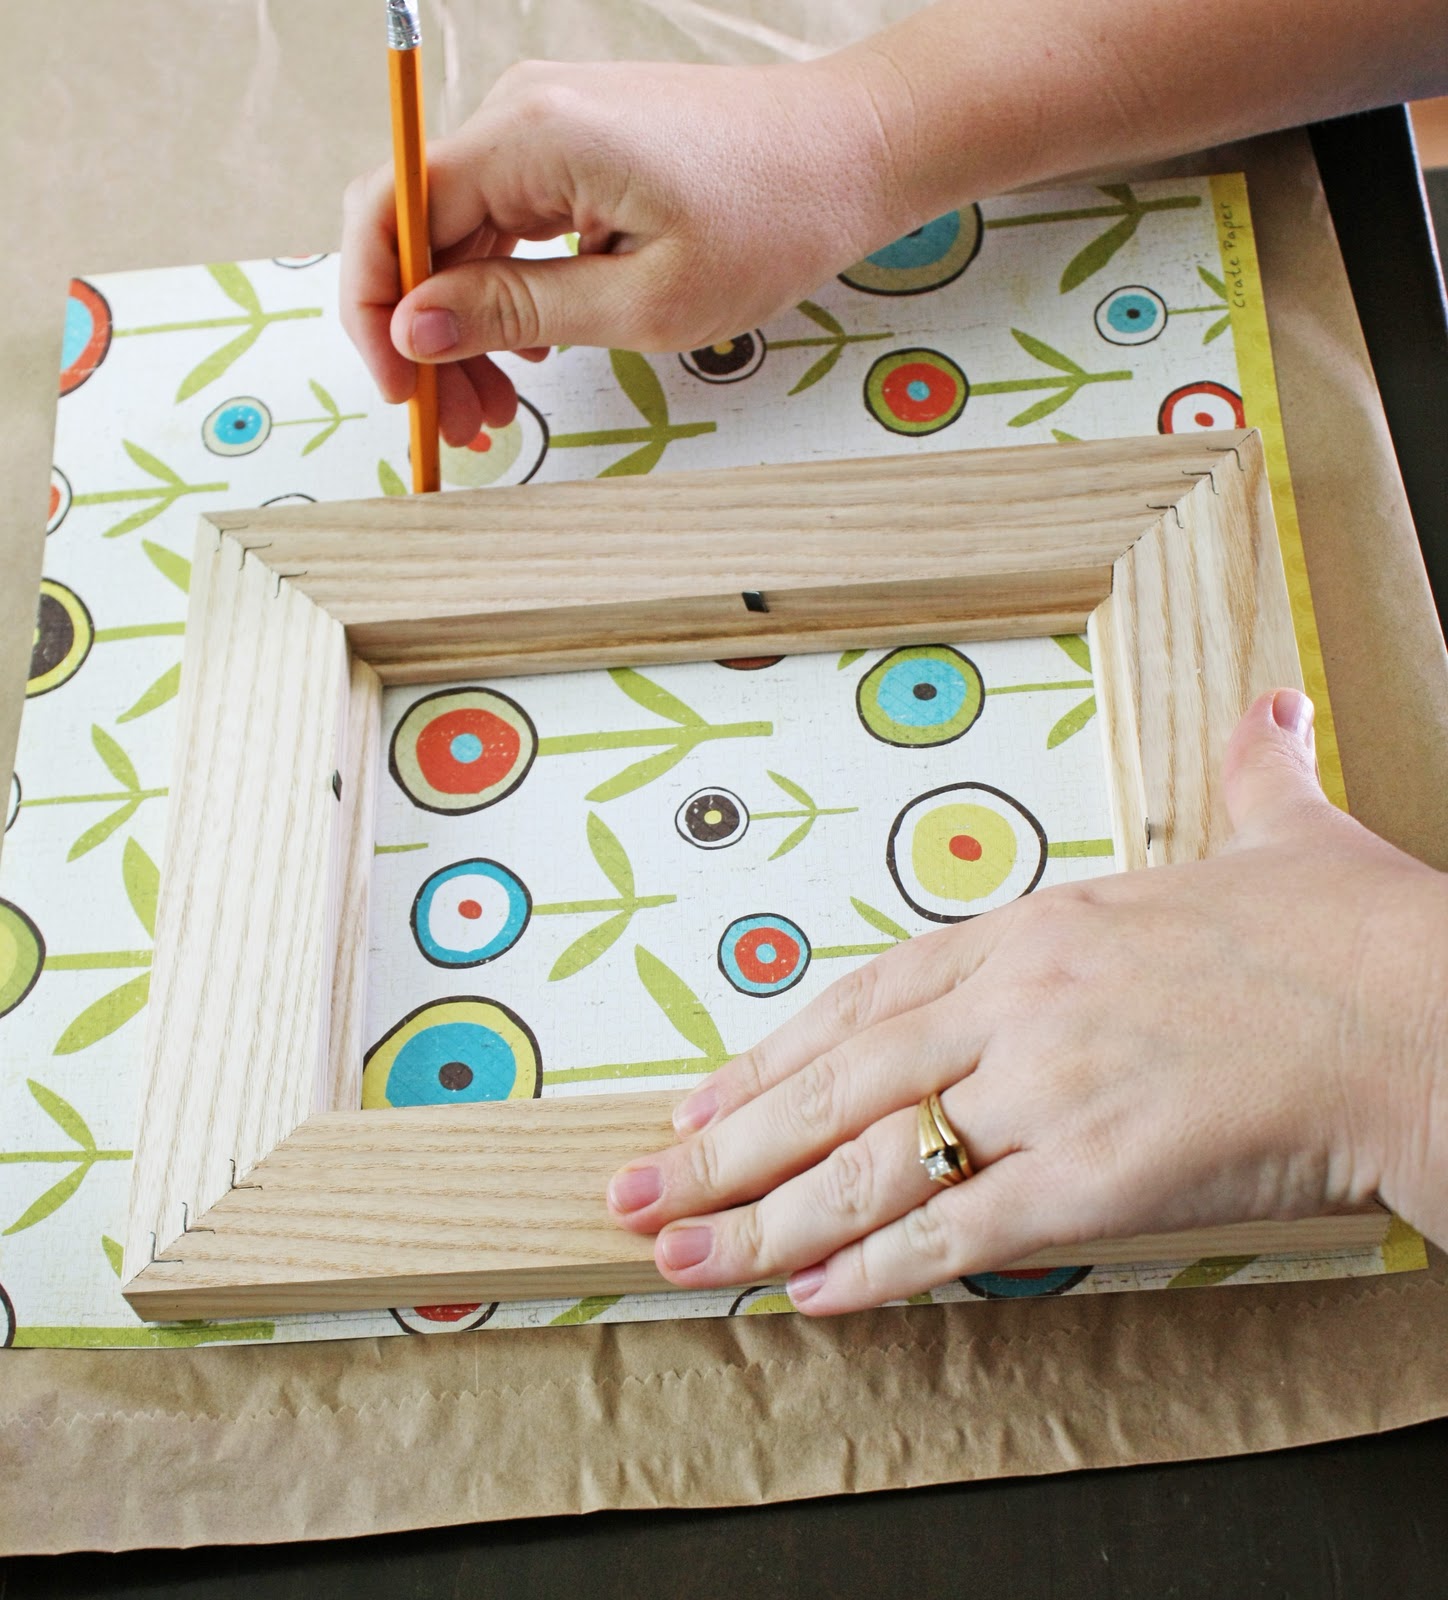
Position the frame on the paper where you want it and then trace it lightly with a pencil. Trace the outside of the frame and the inside. Then cut it out.
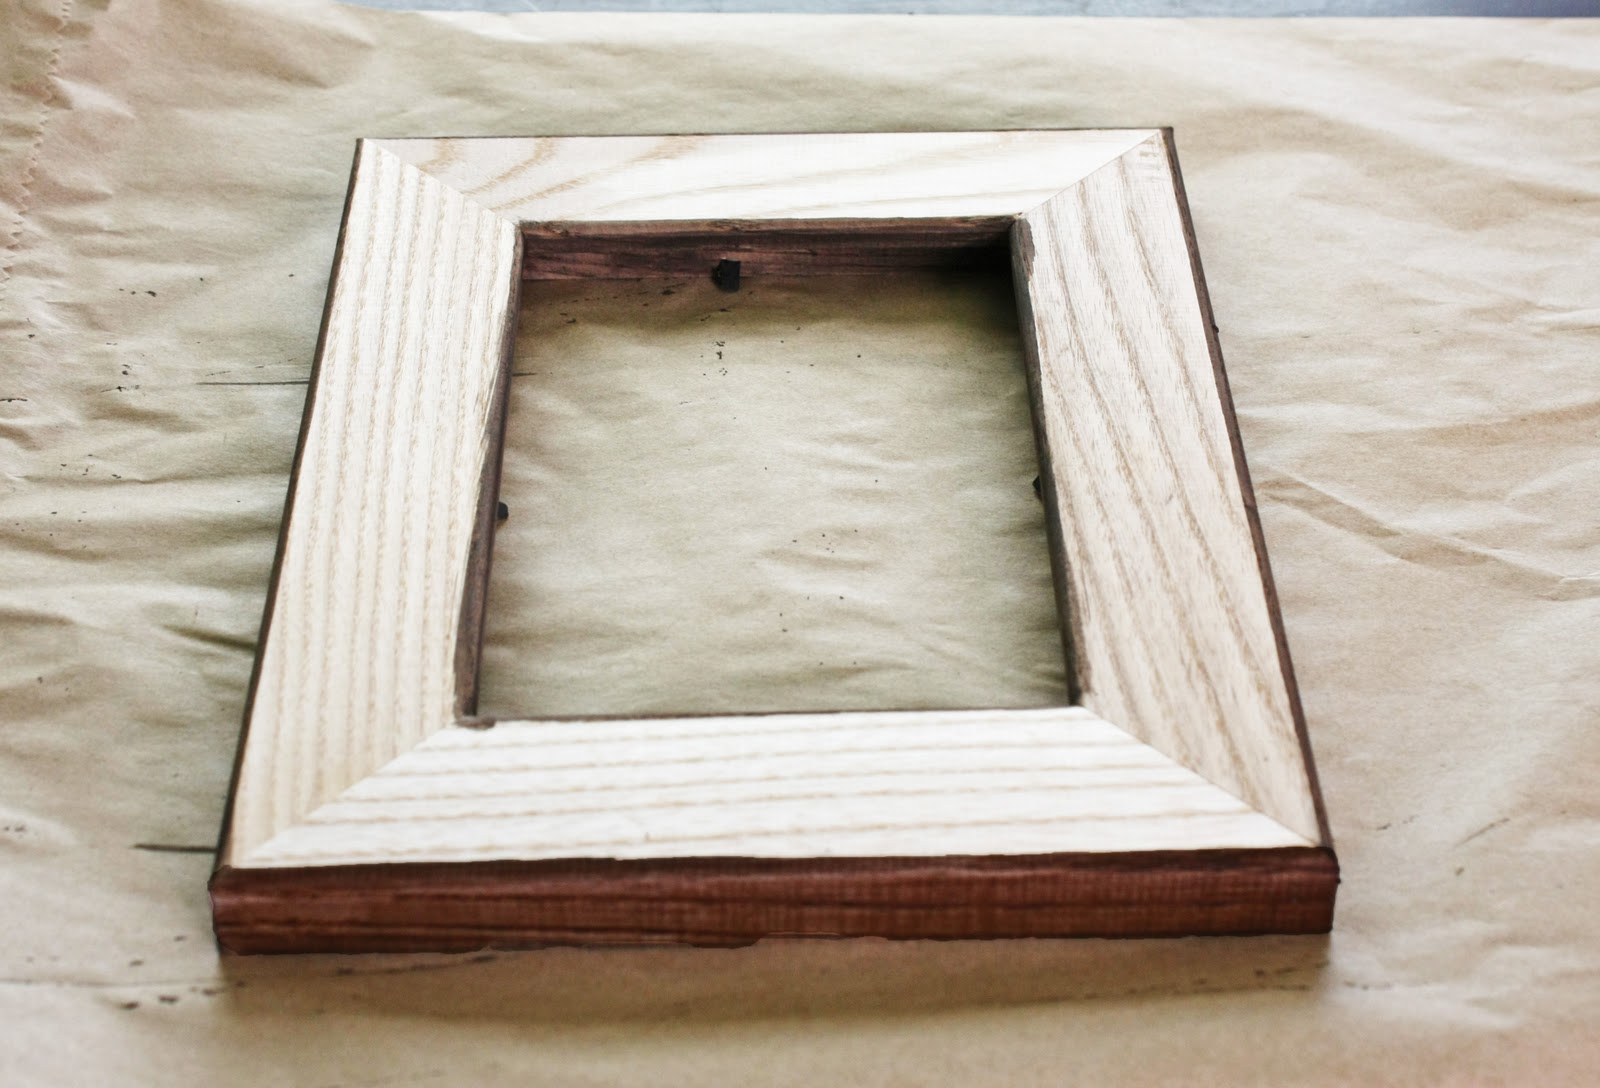
Next, paint or stain the back of the frame, the sides and the inside. Don't stain the top. I find that the spray adhesive sticks better to the unfinished wood better than when it is painted or stained.

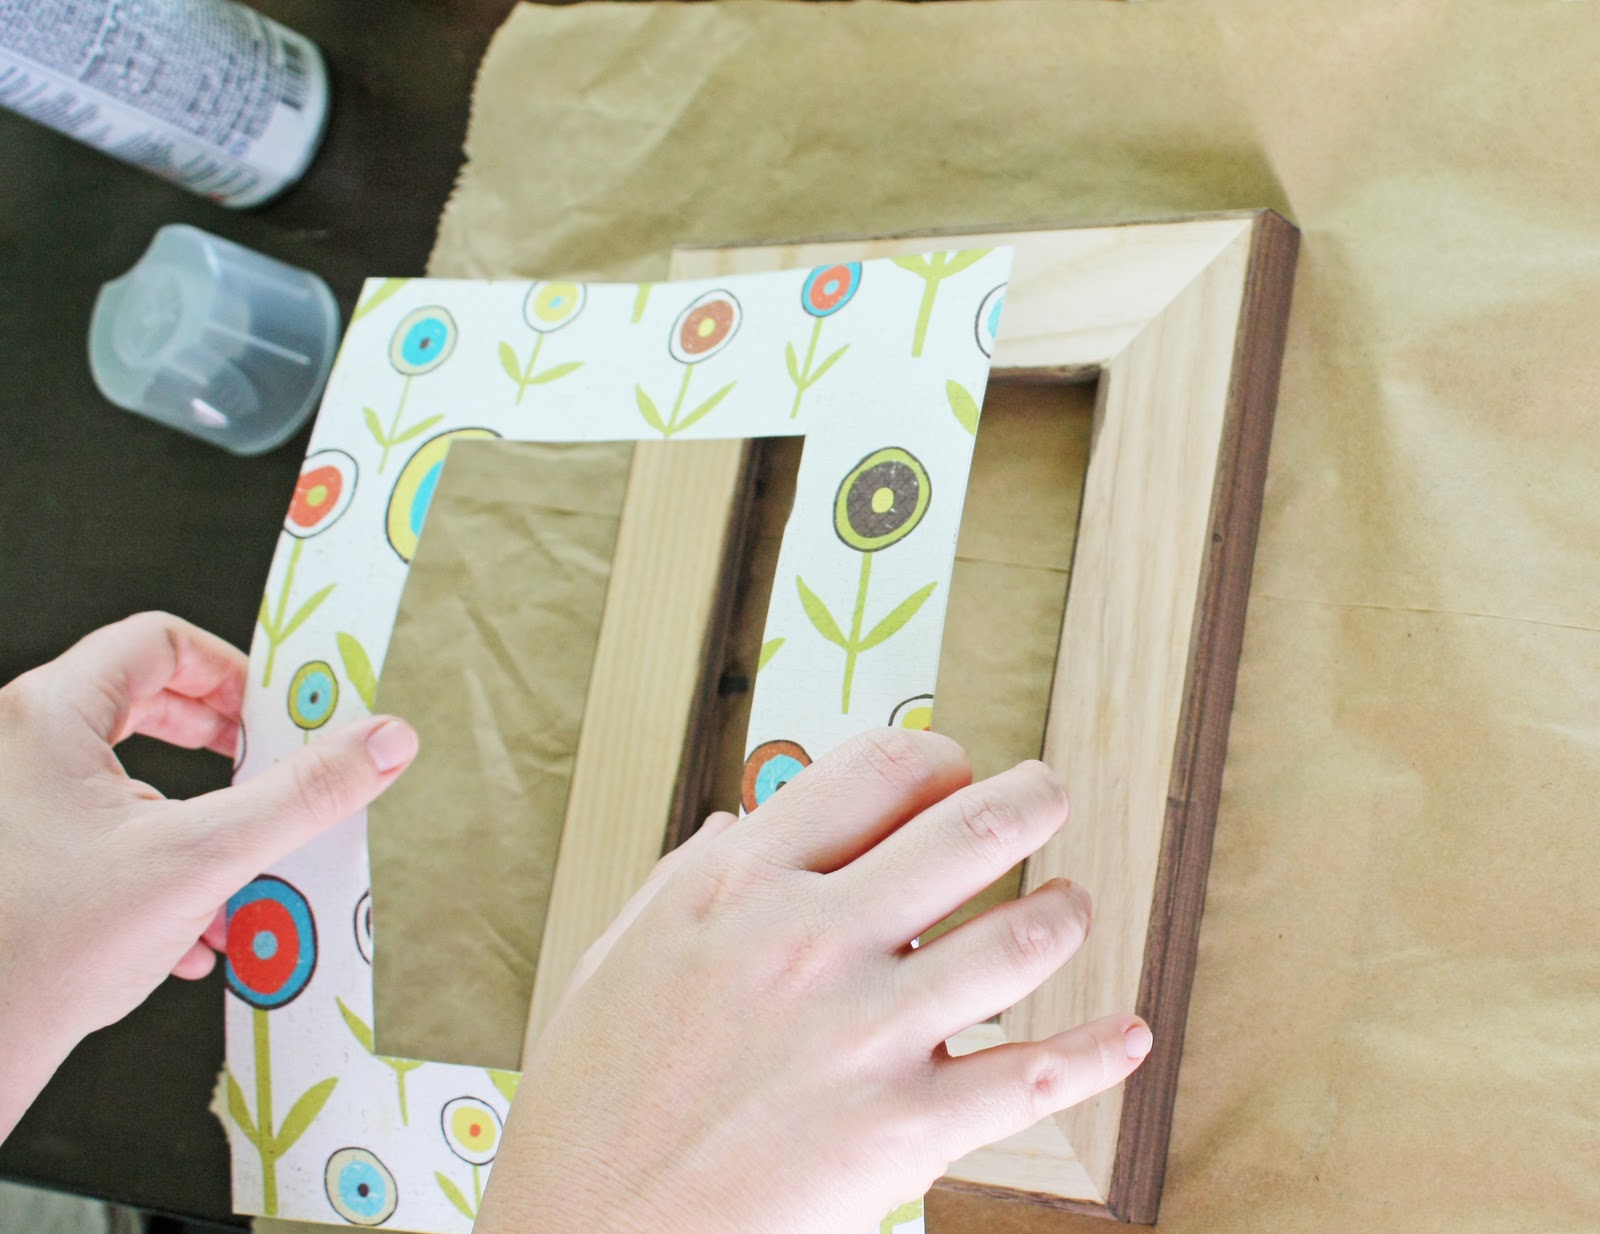
Spray the adhesive on the backside of the scrapbook paper. Get it nice and even but not too thick. I use the regular adhesive. I don't buy the heavy duty or the fast drying kind because I want to be able to take it off if it is crooked and try again. The regular spray adhesive gives you a little bit of time to get it right before it is permanent.

Place the paper on the top of the frame and when it is straight, rub all over to make sure it sticks well and there are not any bubbles.
Use an X-acto knife or some other kind of razor blade to trim off any excess paper. Make sure the blade is sharp so it doesn't rip the paper.

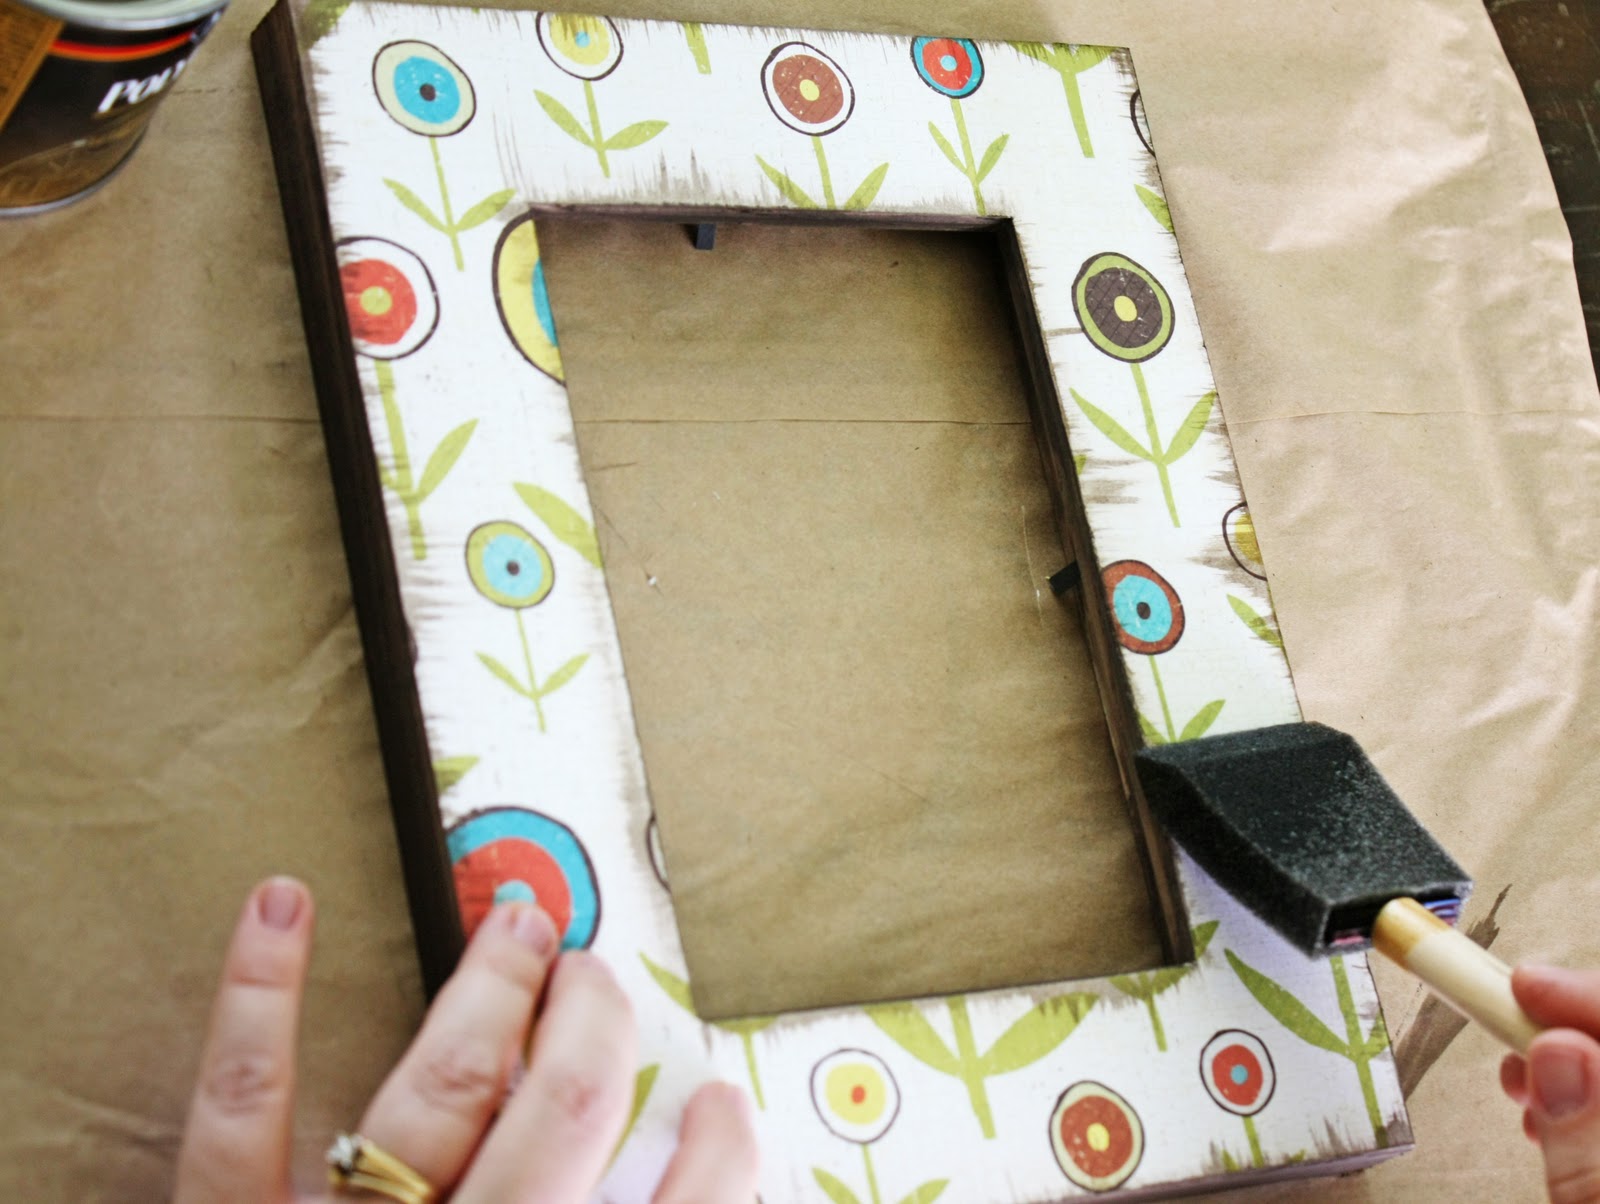
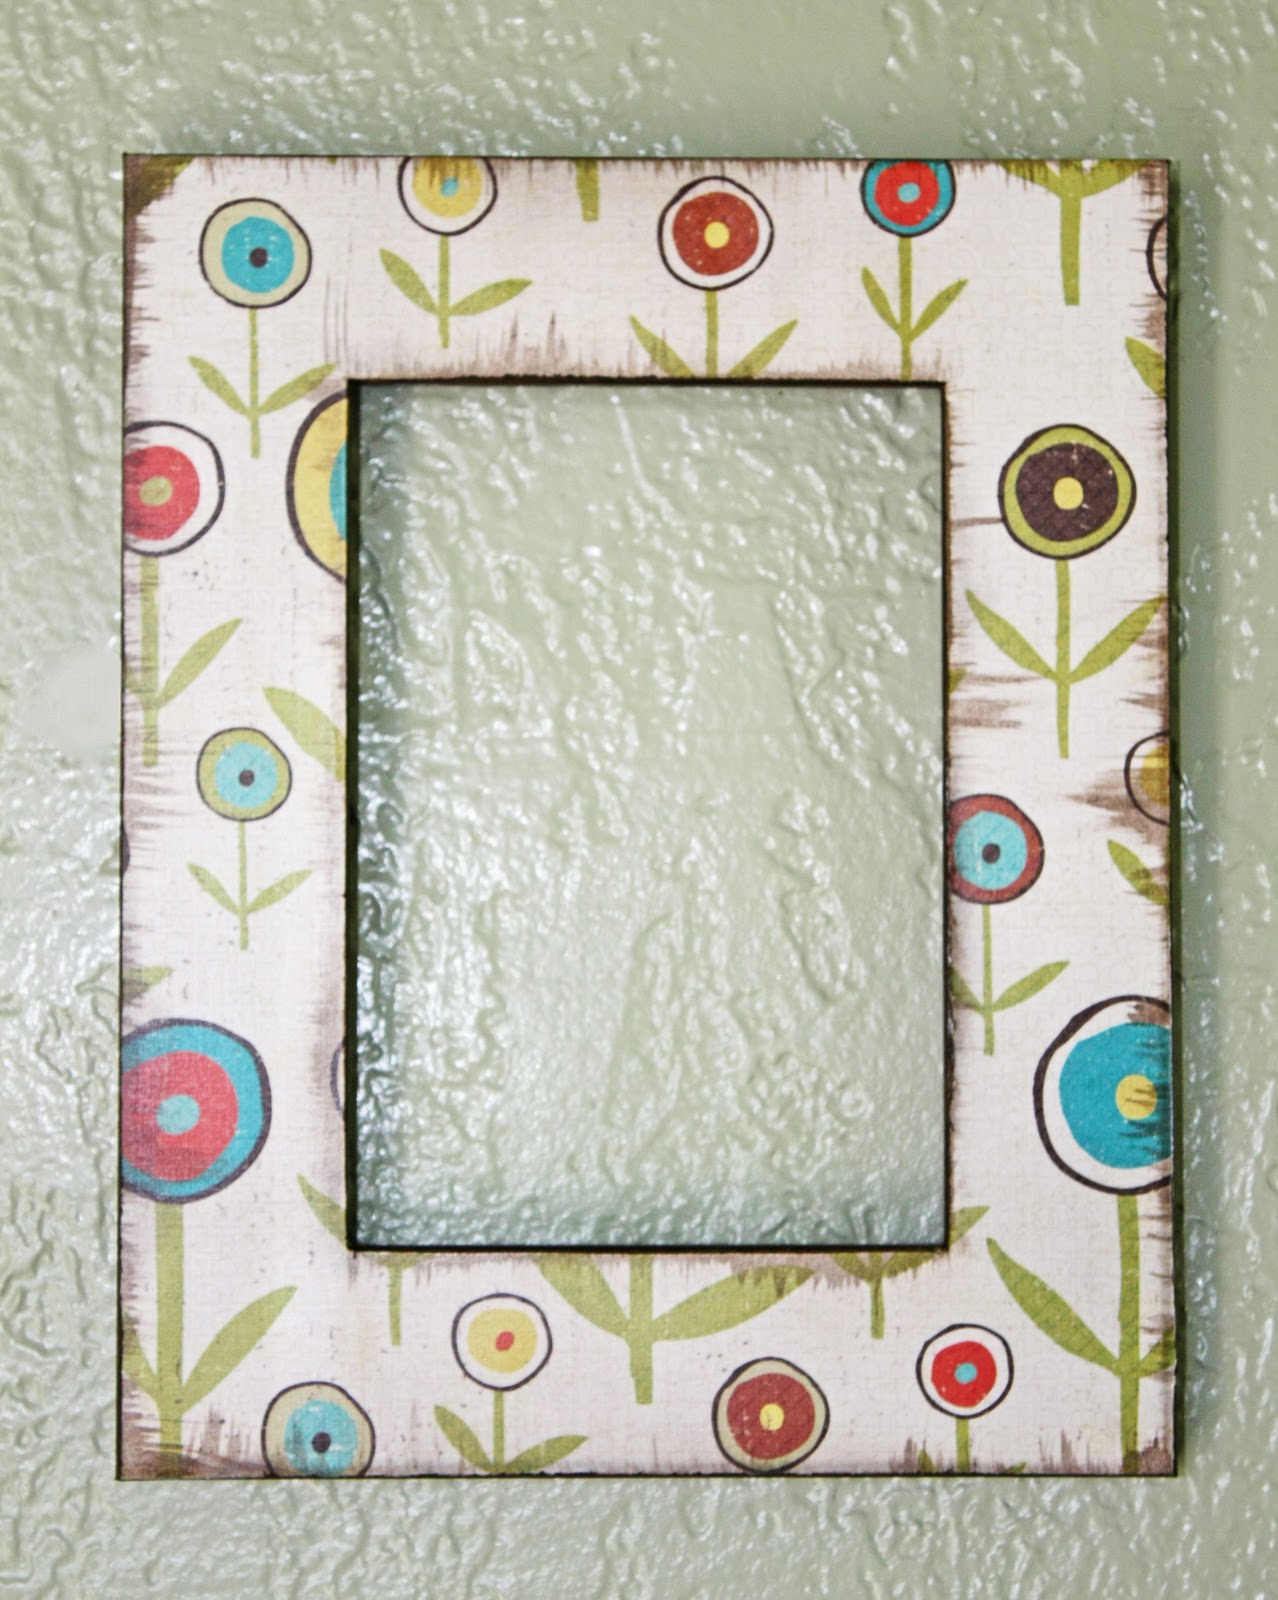
I like to antique mine but you can feel free to skip this step. I use either watered down brown paint or water based stain. You can also use distress ink. Make sure there isn't very much on the brush. Practice on a scrap piece of paper first. Gently brush along the edges on the outside and the inside.

The next step is to seal it. Most people would probably use Mod Podge. It works great. I didn't have any this day so I used polyurethane. It works really well too. Either way you want to go will work. I use foam brushes because you don't get lines from bristles.
And there you have it!!! You can pick paper to match any decor and make it custom just for you.
Here are some other frames I have made recently.


so very pretty! I bet these would make great gifts. But it would be hard to part with them. You did a great job. love the distressed look!!!
Thank you for the tips! I've done this with Mod Podge before, but it looks like yours turned out nicer.
I love theae too, but was also thinking of trying with modpodge. Do you mind sharing what all you did differently using the modpodge?
Love the frames Stacy!! The distressing is my favorite part. I distress everything...it's kind of addicting. :)
I love what you can do with a little deocrative paper. Cute frames!
very pretty! I am here from Thrilling Thursday link party.
So cute! I love using scrap book paper for everything! The distressed look is fabulous! I am in the middle of a scrap book paper distressed project and I ended up using a very fine sand paper to sand my scrap book paper because it looked way too new. Turned out nice. Thanks for sharing the frame tutorial. I'll have to try it with the extra paper I bought.
Very cute! :)
I'm thinking I will need to try this...I have so much scarp paper! They came out so cute!
Saw a pin on pinterest where they used old maps instead of scrapbook paper - good for those travel photos!
These are awesome & so cute! Now I will be buying up frames everywhere I go. When my husband asks what has gotten into me I point this post out in your blog. I'm sure he'll understand then!
Those are adorable!
Good job...thanks for sharing.
they look fantastic, great idea!
I love this idea! Cost effective and so cute! Would love for you to come link up to Made with Love Monday at Sew Chatty this week! http://sewchatty.blogspot.com/
Looks really pretty !
Looks like a fun simple project. Great paper choices. Love it.
I love this! So customizable, and I love how you made it look "weathered" with the paint. Thanks for sharing. I'm your newest follower!
Kelly
Woow! The frames look really great!
Can you tell where can I buy the scrapbook paper that you used? :)
Thx.
Thanks! I got the paper at Roberts Craft.
Hi! Have you got the paper online or from a store. I just couldn't find it online. Maybe you have a link. :)
Thanks!
Where do you buy these wood frames?
I got some frames just like these today at Michaels for $1
Oh my goodness, these are gorgeous! I love the papers you chose! The staining looks fantastic and the antiquing is the perfect way to finish these beauties :)
Did anyone else have problems with the paper bubbling up? Any tips?
I love these!! The ones I've made are beautiful, but I like Rebekah have a bad problem with air bubbles.. Any tips would be awesome!