
My dream of having ONE fully functional bathroom is almost here. I am a few steps closer :) Ever since our plumbing issues we have had a toilet and sink working upstairs and a shower working downstairs. So I think I speak for my whole family when I say that we are THRILLED with the progress on our basement bathroom.
I have teamed up with Home Depot as part of their "Let's Do This" campaign. The project I did was tiling my bathroom floor. But before I could get to the tiling I had few tiny things I had to do first.....
Like electrical (my friend Tony came to help), I put up drywall, taped, mudded, textured, used a self leveler on the uneven parts of the floor, and cleaned it all up! You know, just a few things.

While I was doing all of that, my cute sidekick was keeping me entertained. He was good as gold. He must have known I needed to get it done quickly :)

Once all of the prep work was done we were finally able to go shopping for tile. I met with the manager and with THE tile guy at my Home Depot. I had already taken the Saturday tile class at HD on a Saturday a while back but I still had some questions since this was our first time doing a tile project. They were amazing!

Here is the bathroom floor before.....

I am going to give you an overview of the process. But if you want more in depth details, Home Depot has awesome videos that walk you through each step. I watched them all before starting this project. The more information you have before you dive into a project you have never done, the better :)
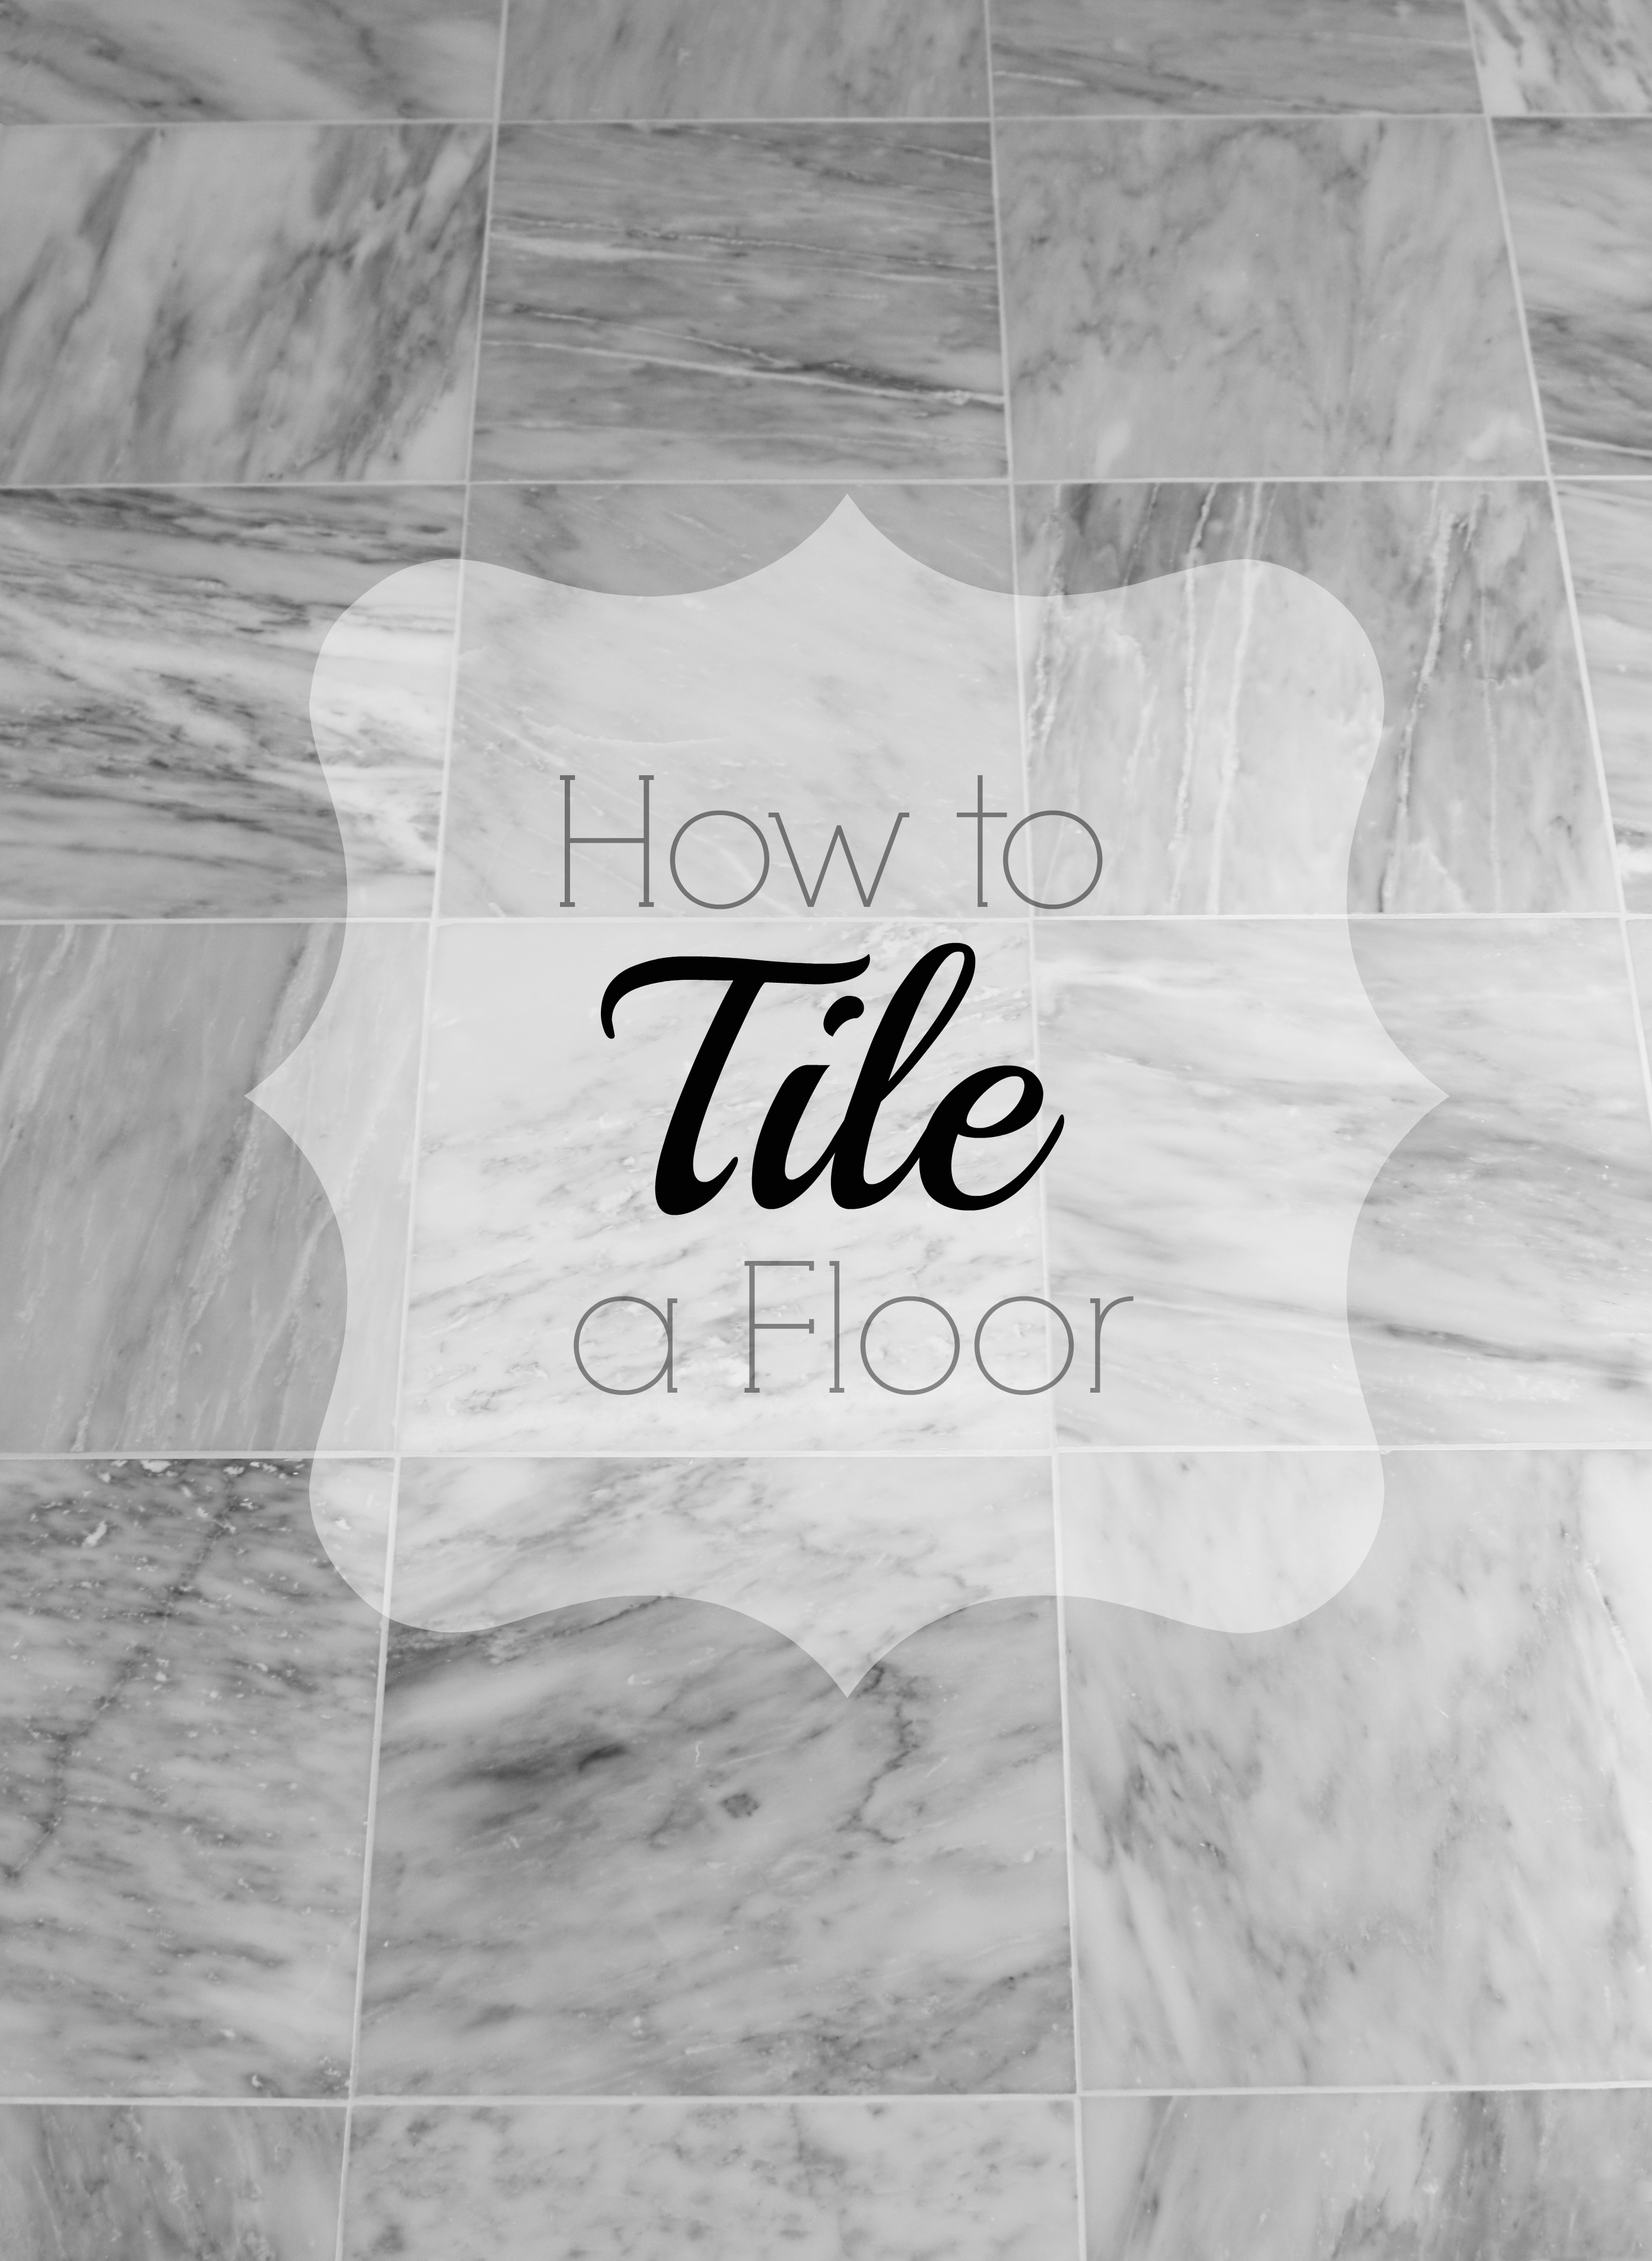
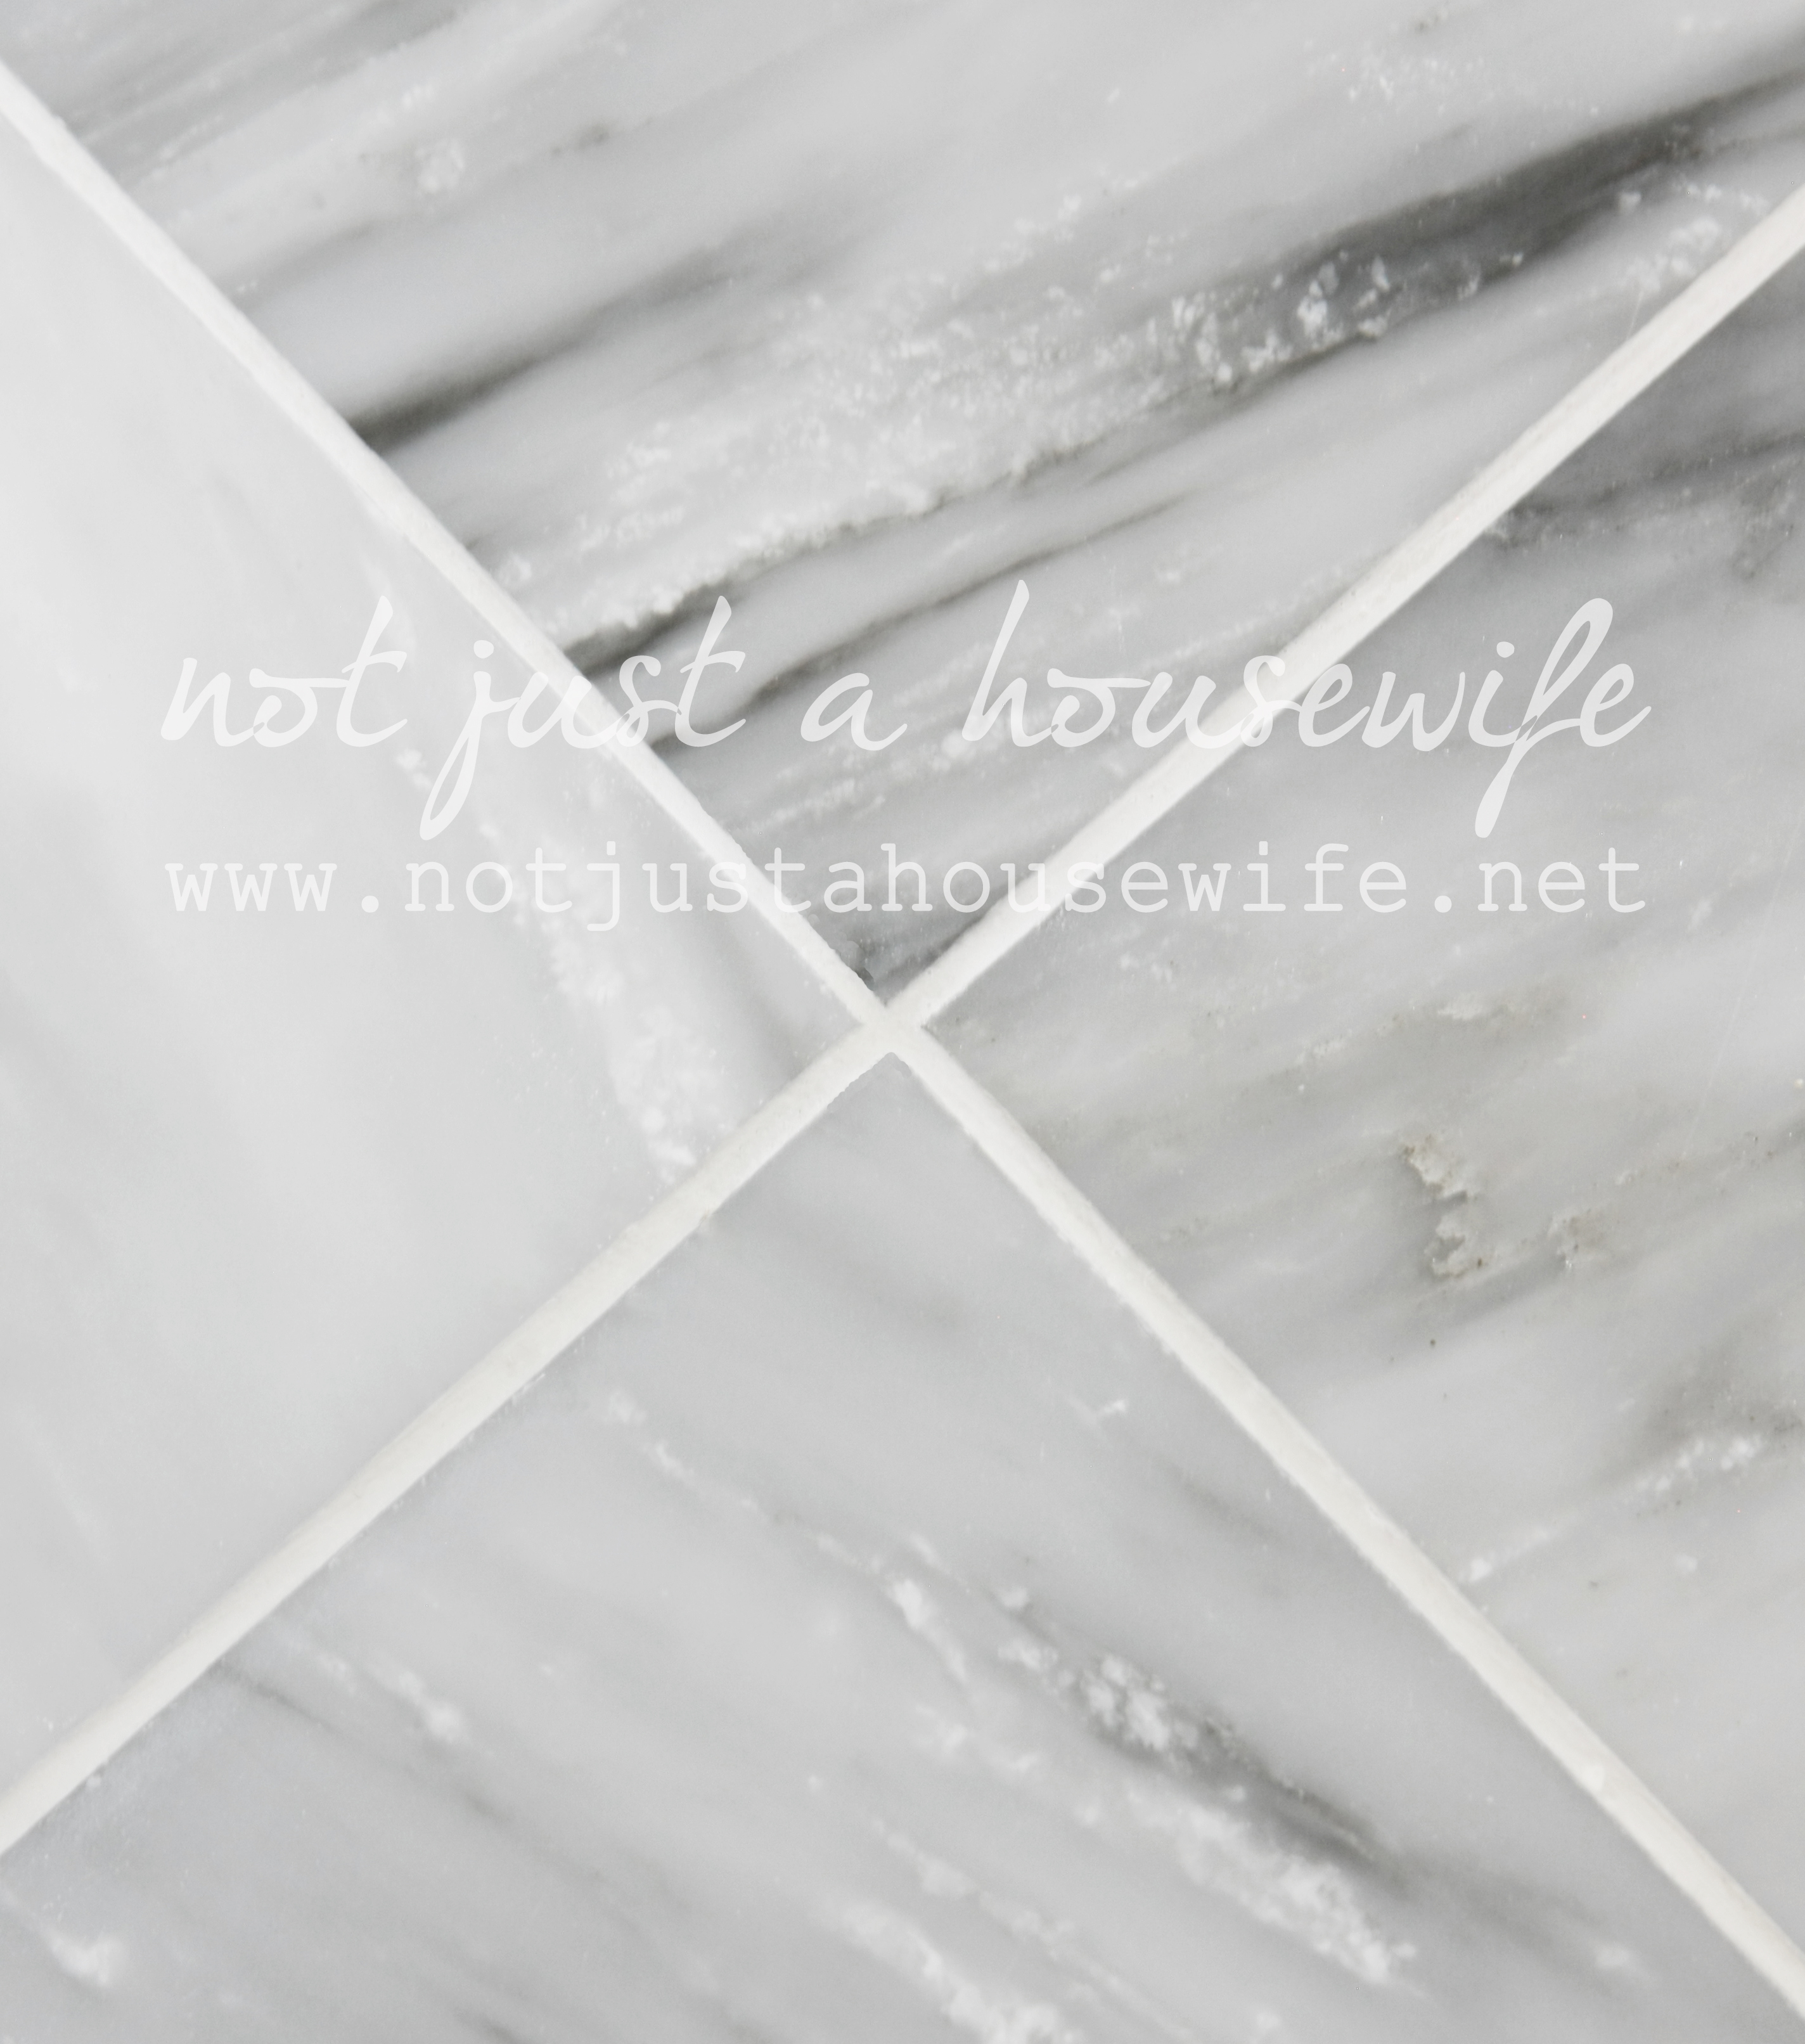
We chose to use marble tile. When you chose a natural stone there are a few differences in the steps and products you use than if you were tiling with ceramic tile.
Here are the products we used:
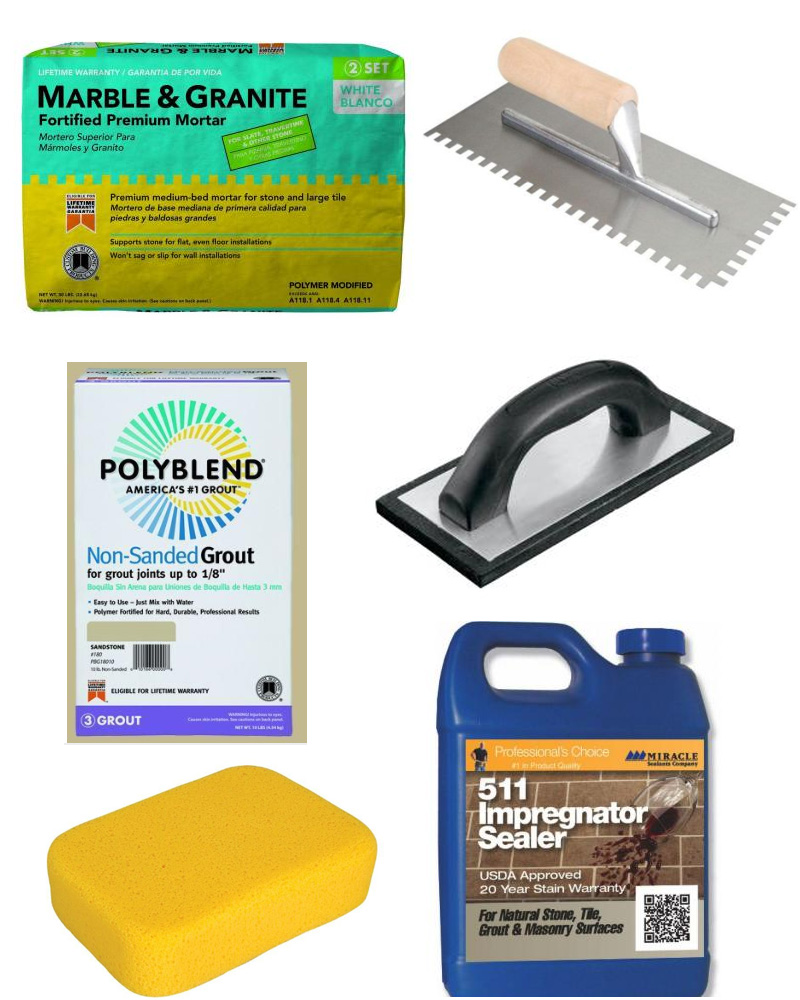
1. There is a specific mortar for marble. And you need white. If you chose grey the color will seep through the very porous stone and "muddy" the color of your marble.
2. A notched trowel
3. NON sanded grout. We chose snow white, not the color pictured here.
4. a rubber float to spread the grout
5. A sponge to wipe away excess grout
6. An impregnating tile sealer
The first thing we did was clean the cement floor really well. We were lucky in the fact that it was a cement floor because we didn't have to deal with backerboard. If you need information about this (since I don't cover it at all) here are more videos and instructions for preparing your subfloor.
After the floor was clean we started laying out the tile to see how we would line it up so that it made the most sense visually.
Then we started measuring and cutting the tile. Since the bathroom was so small we decided to just measure and cut them all before we started to set the tile in mortar. I ended up doing most of the measuring and marking while my husband did most of the cutting. It took a long time and I am so glad he was around on Saturday to help or it would have taken me twice as long. I also would like to have a bigger saw next time ;)

Once we had all the tile cut, I labeled them with numbers in the order they would be laid out and set. This is not needed, I just thought it would help to remember where they all went (especially the cut tiles). It made things go more smoothly.
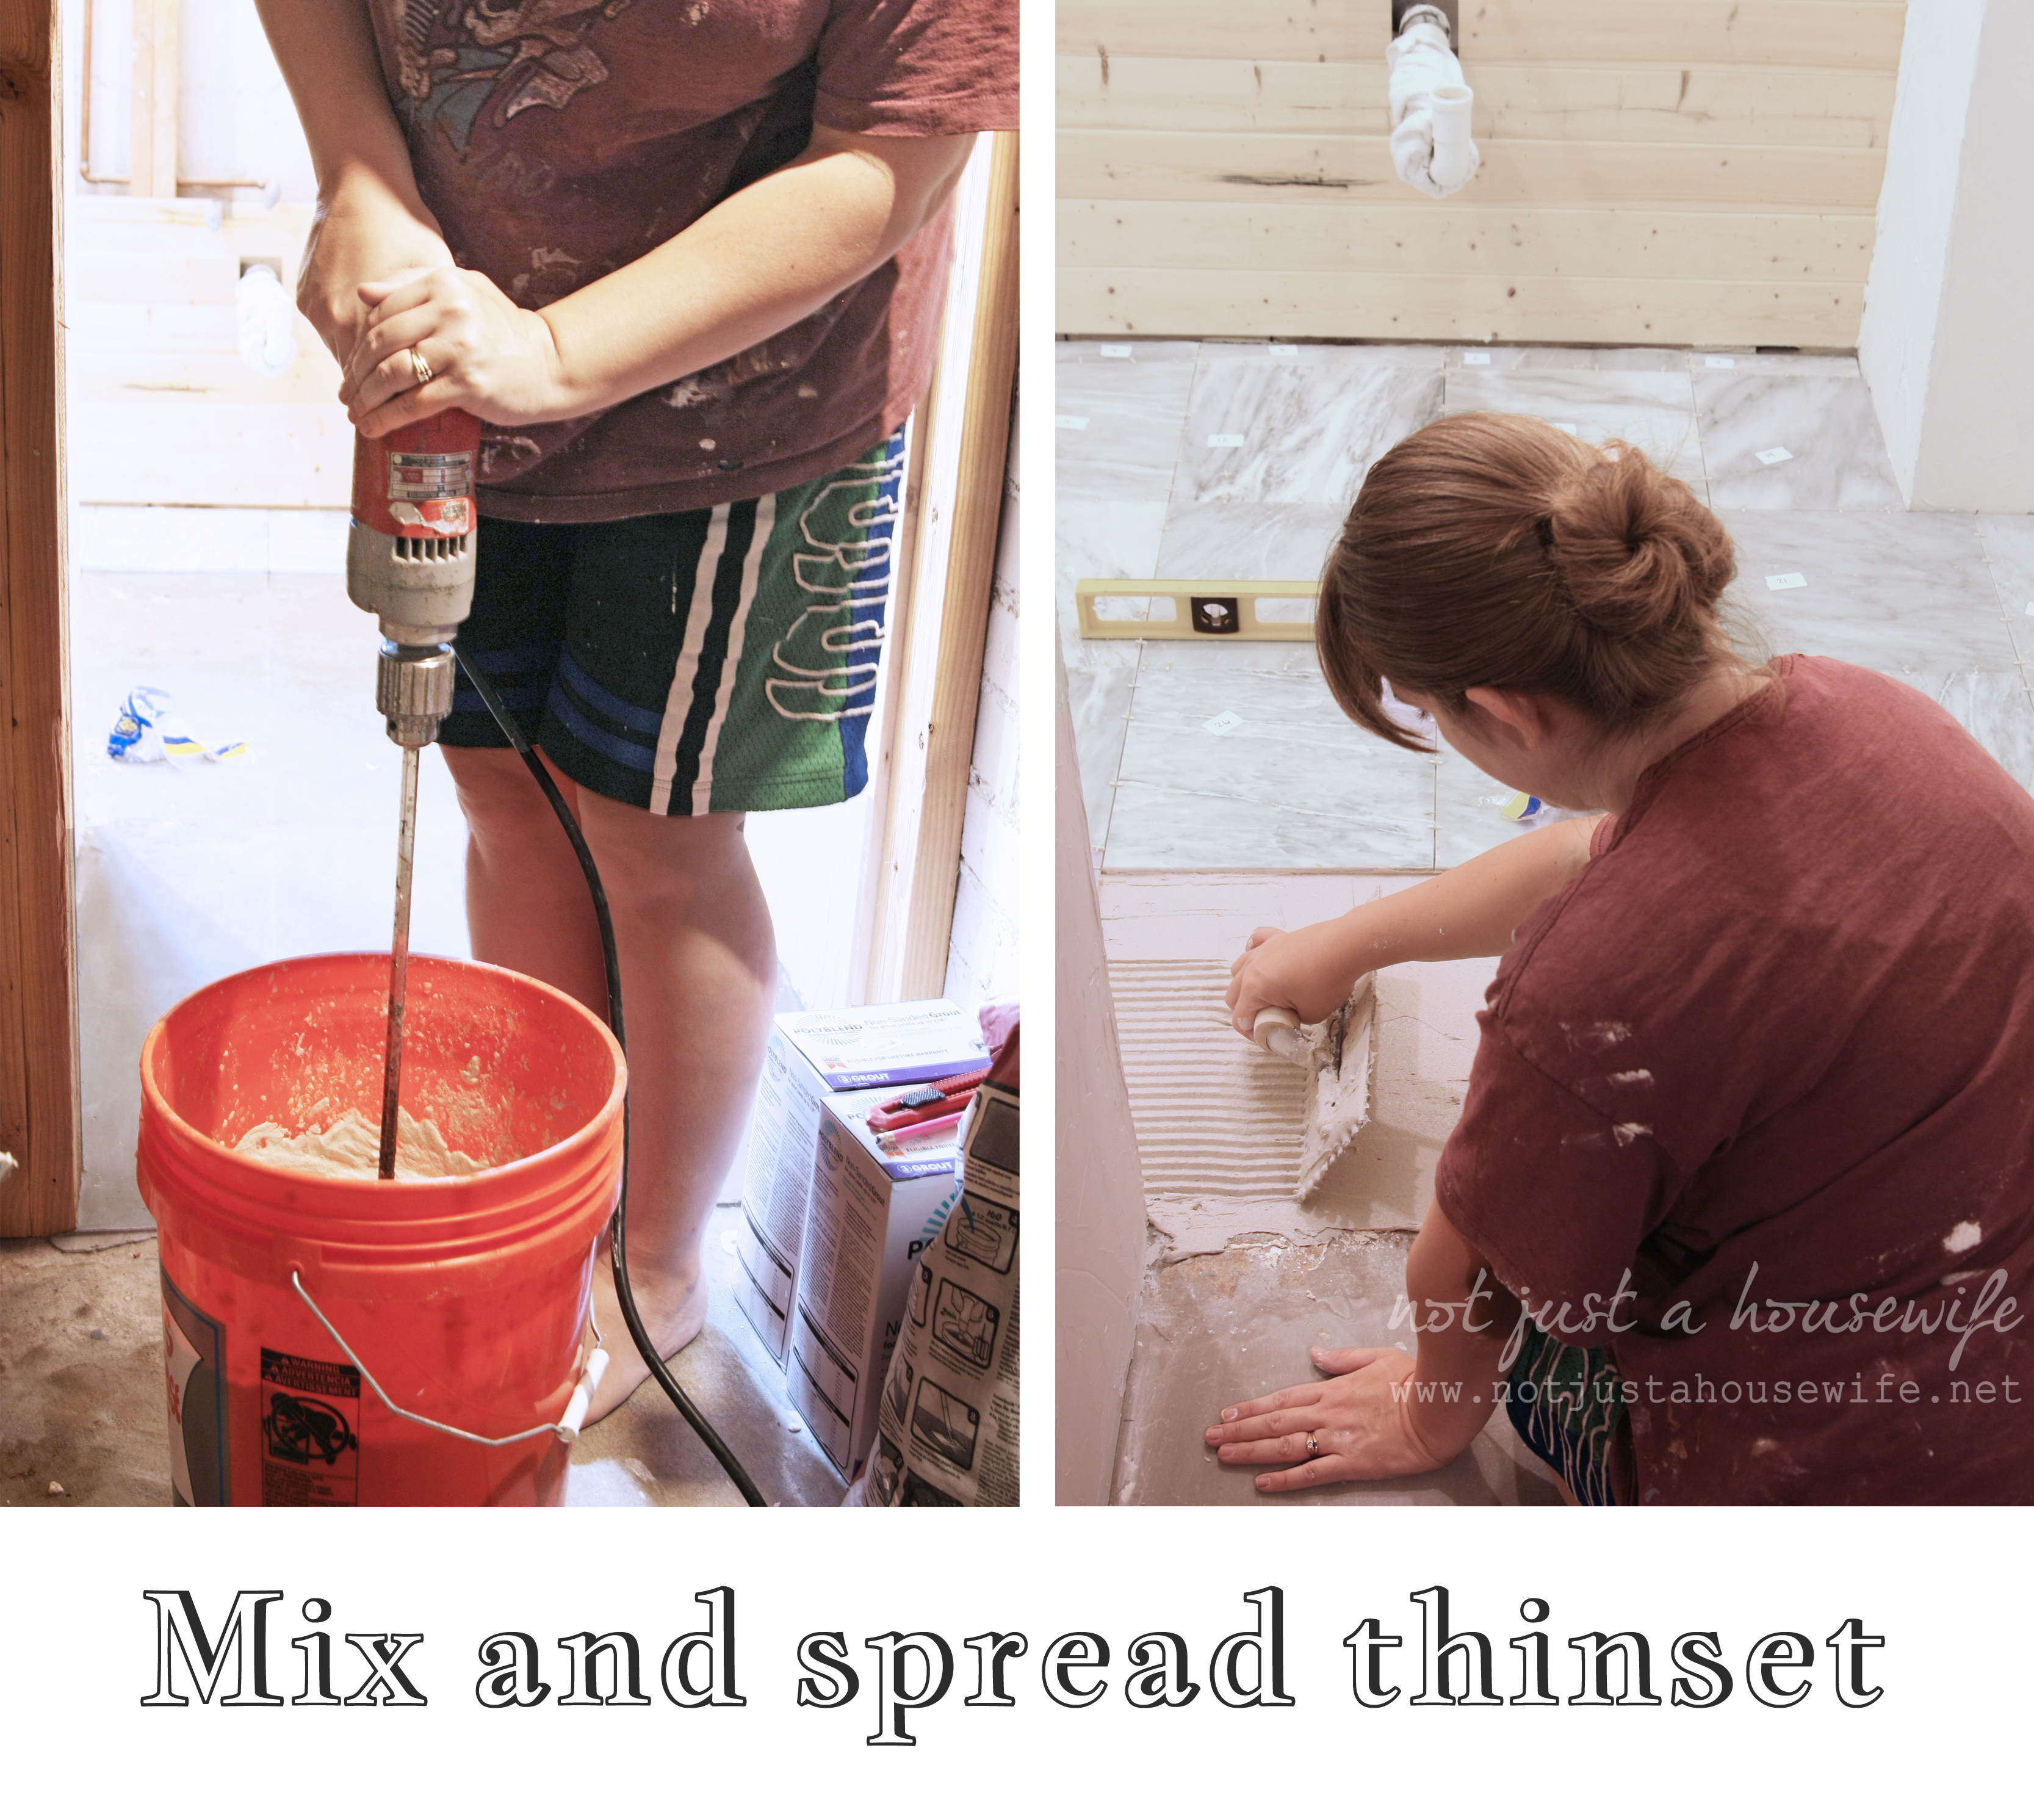
Then I followed the instructions on the bag of mortar and mixed it in a HD bucket. I started in the back corner and worked my way towards the doorway. I spread it thin and then combed it with the notched side of the trowel.
I am not going to lie. This step was brutal for me. Not only was it my first time, but I am a perfectionist. Trying to get those suckers level with each other and all the lines perfectly lined up nearly sent me over the edge. (P.S. I do not recommend inviting Aunt Flow to your tiling party.....It didn't help things either). Plus I did this at night when my kids were in bed and I was tired. But I survived and my thin 1/16th of an inch grout lines were mostly perfectly lined up.
I waited the 24 hours before grouting like you are suppose to. I removed the spacers and labels. I wiped it down with a damp rag. Then I gathered my grouting supplies and mixed the grout.
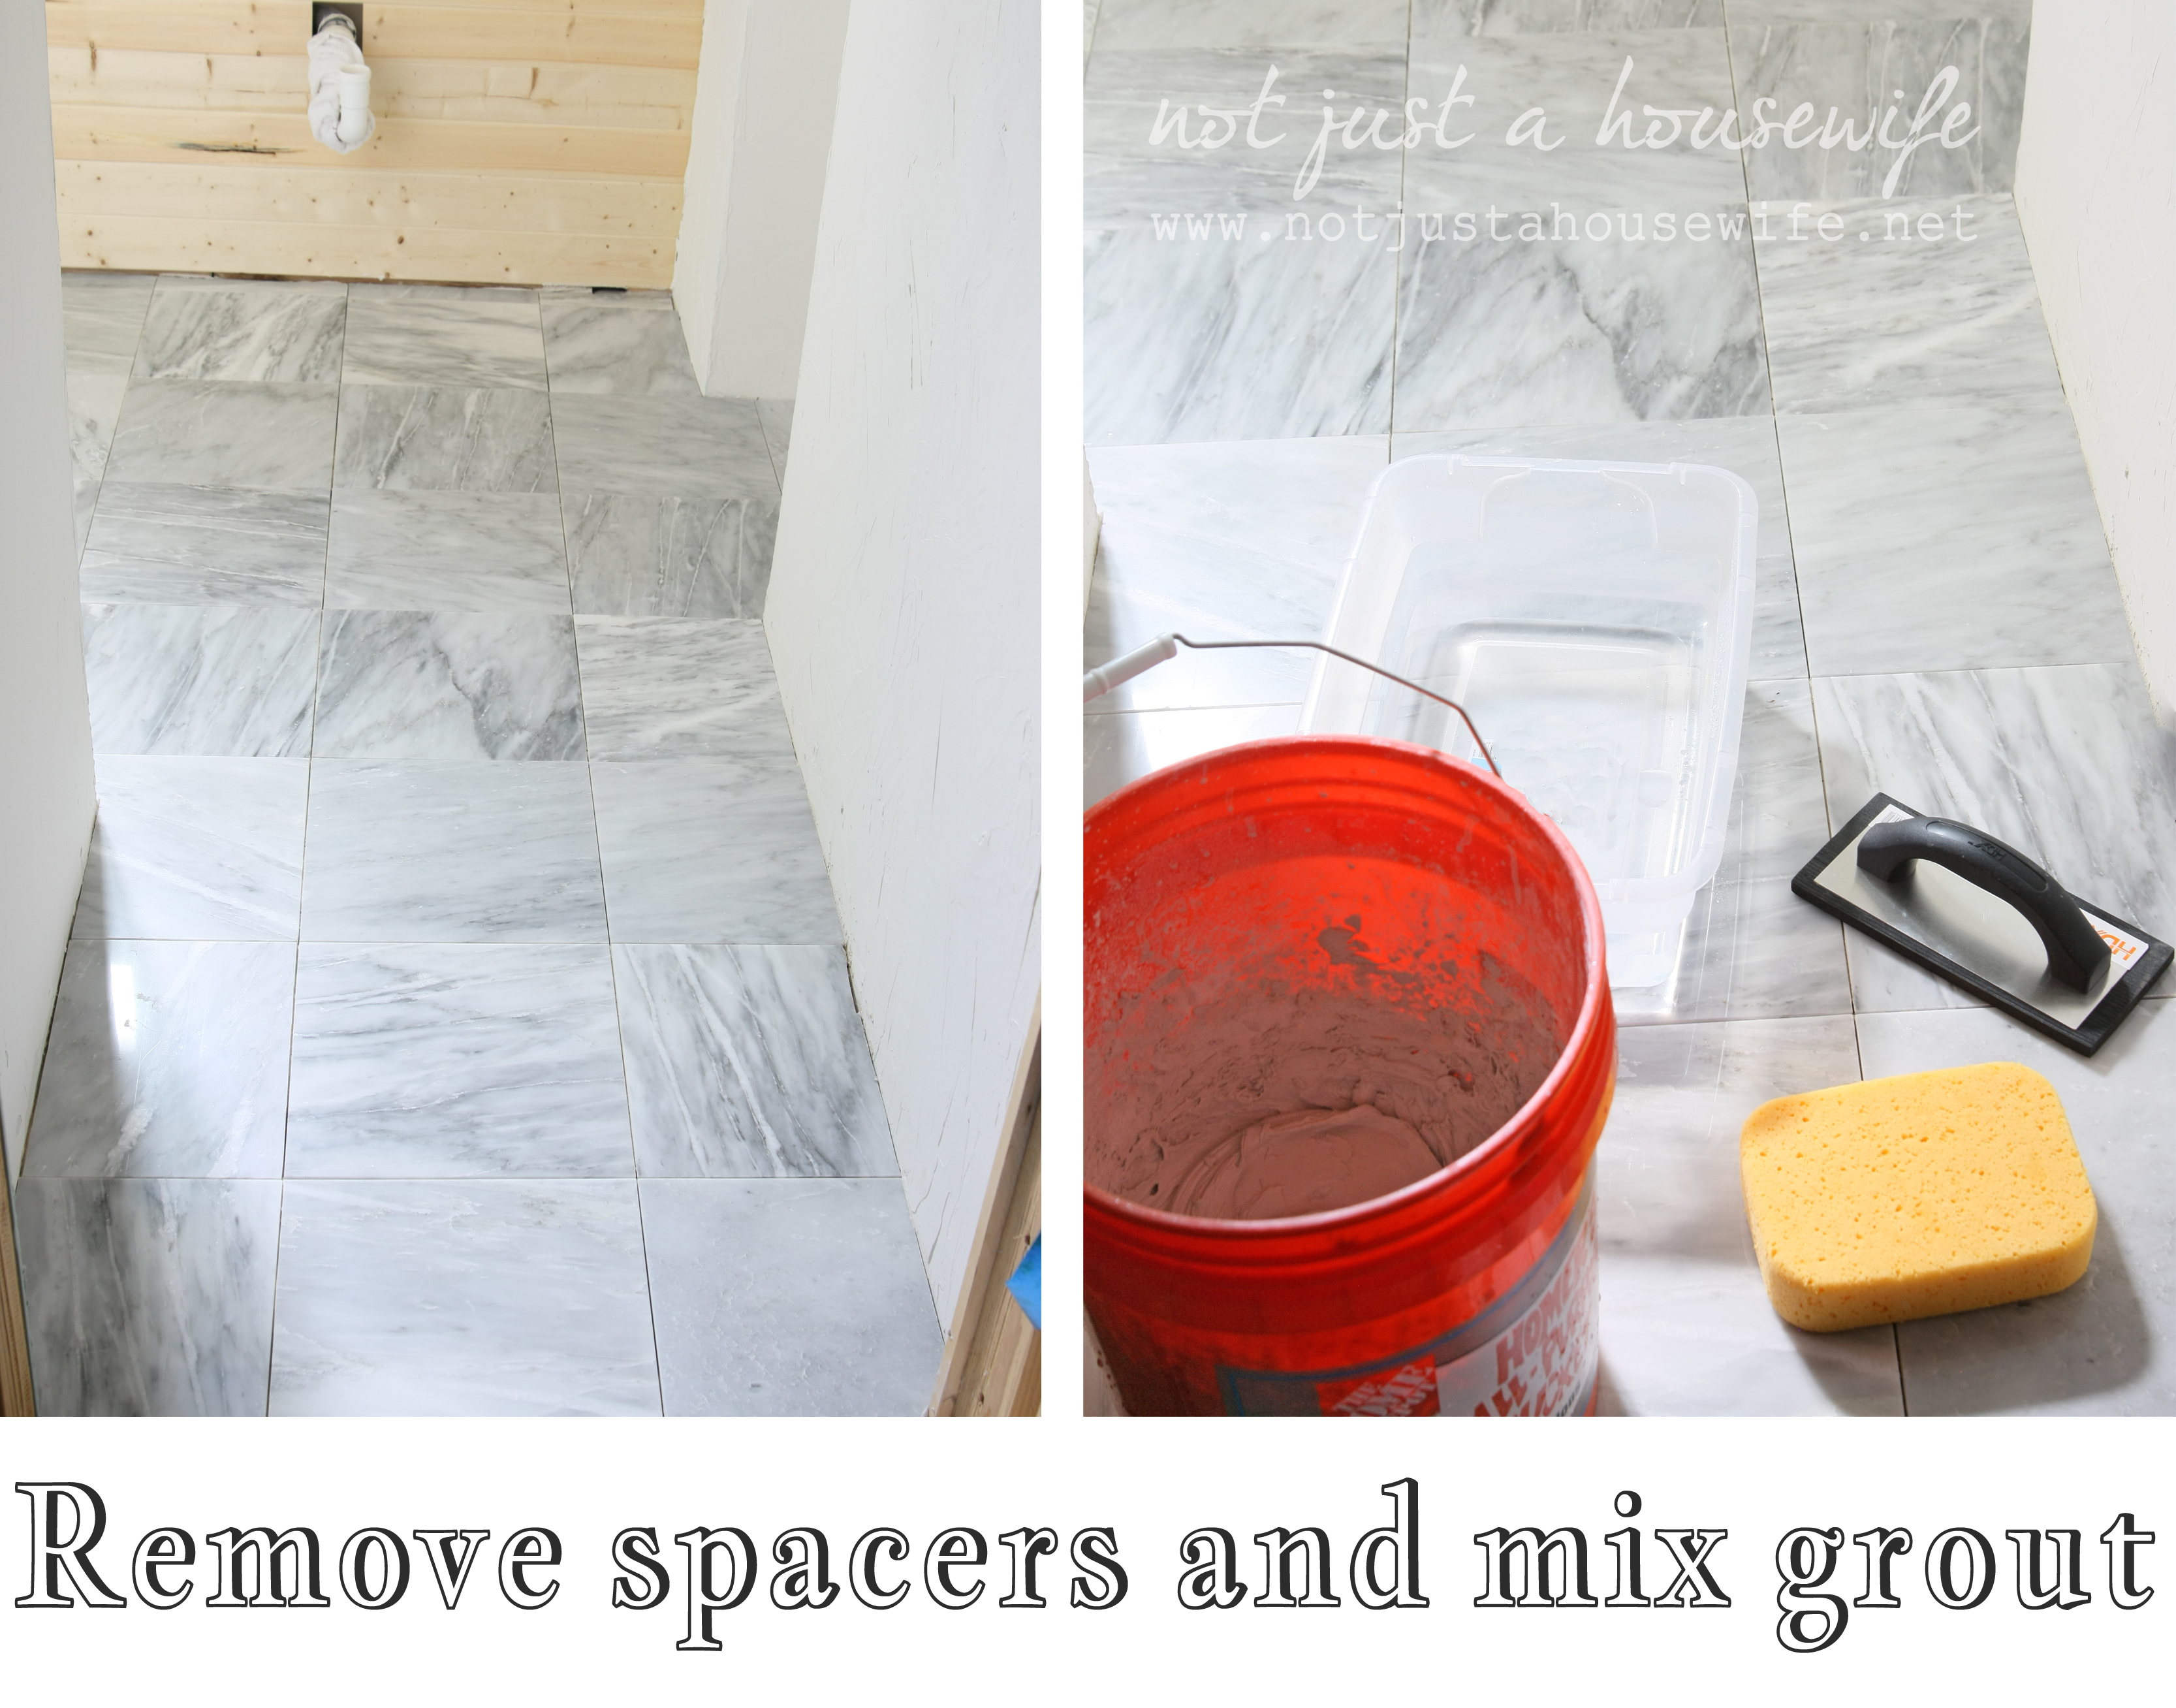
Use a foam covered float to spread the grout. You don't want to scratch your tile with a regular trowel. Work it in diagonally across the tiles holding the float at a 45 degree angle. Then scrape off the excess by turning the float at a 90 degree angle and scraping. When it is all done wait the recommended time on the grout container. Then go back over it with a DAMP ( not wet) sponge. Wipe off as much of the grout that is on the tiles as you can. There will still be a residue and that is okay.

Wait and additional 2 hours (or the time stated on your grout container) before buffing off the residue. I used an old t-shirt that I cut up into rags. It worked great!

The next step for me (because we have marble) was to seal the whole thing...tile and grout. If you have ceramic tile you only need to seal the grout. If you are doing a natural stone tile like marble or travertine, please get a sealer that says "impregnating" and not one that says "finish". You want a sealer that will penetrate the stone and not just sit on top.
I am so glad I am done with the walls and floor. Now I can set the toilet, put the sink back, paint, and DECORATE!!!! I already have the lights ordered and a few other things. You are going to DIE! I had some interesting design challenges to overcome with this space which meant my first (second, third, and fourth) choices didn't work. But sometimes that is for the best because the fifth choice ends up being even better :) And when it is done I will do a happy tap dance on my shiny, new marble floor.
I want to thank Home Depot for providing a gift card for the supplies. As always, all the thoughts and opinions are all mine!


Great job! I can't wait to see the finished product!
Love the floor tiles. Great job.
Go you! It looks great and I can't wait to see the finished space. I hate tiling. More specifically, I hate grouting. The tiling part isn't so bad but grouting? Oy! I'd rather not.
I love that you choose marble.
PS we are laying penny tile right now. http://thedomesticlady.com/2013/09/16/home-improvement-our-kid-bathroom-progress/
it's looking beautiful! I can't wait to see the rest of the room!
Wow. What a lot of work, but totally worth it for the beautiful floor!!! Thanks for showing us what's involved.
I really enjoyed this tutorial! Thanks for taking all those photos during the process. I can really see the difference between stages.
I'm trying to psych myself out to redo the floor in the dining room-it has carpet, I have 3 boys....you do the math. What kind of saw do you use to cut tile and what is that huge mixer? Is it attached to a drill? Maybe if I have these kinds of questions I should think twice...but I'm not smart enough to give in just yet ;)
Hi Stacy,
I love the tile! It's beautiful!!! Can't wait until you show all the finished pictures!!! WELL DONE SO FAR! :-)
The marble floor is beautiful. You go girl!
Both of you guys have done great job. This marble floor looks fantastic. Recently I have renovated my kitchen and bathroom for extra storage space. Now the only thing that is remaining is to decorate both these rooms. Stacy, I am glad to read your post and thanks for sharing your great experience with us.
Love the floor tiles! They're very beautiful and clean!
Such a big endeavor, but it is looking fabulous, girl! Cannot wait to see the grand reveal.
I love the tile you chose so so much! Almost as much as I love you. #impressiveasalways
What a LOVELY post:) your blog Is SO inspiring and I always leave here with a smile.
Have a great weekend dear
LOVE Maria
So far we have tiled our kid's bathroom floor and our kitchen counter tops. It isn't too bad once you get started. I am a little OCD so the fact that our grout lines are not perfect sometimes bother me, but I don't think they ever really are! Did you have to do a moisture test for your concrete floors? I know you have to do that when you are laying other types of flooring over concrete (like laminate wood), but didn't know if you had to do it for tile. (Oh, and your floor looks fantastic by the way!)
Did you use tile spacer for even spaces?