
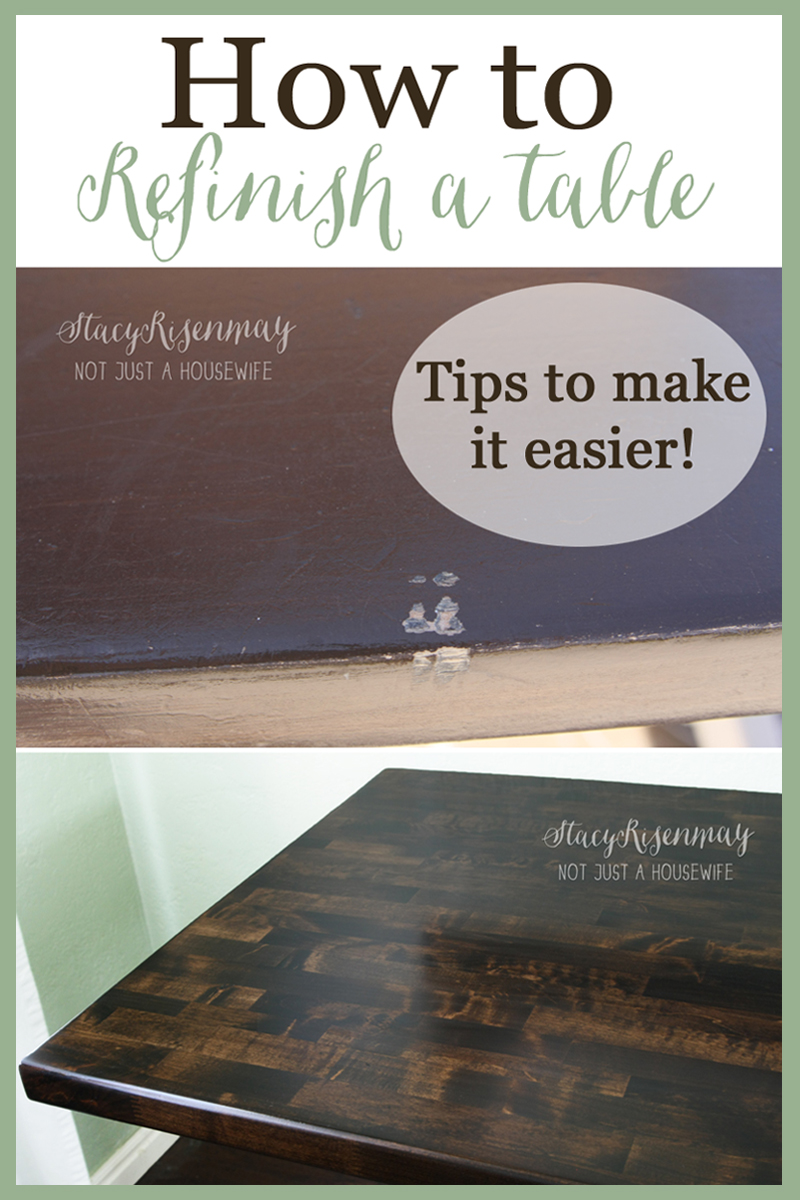
Apparently I gave birth to little beavers because a few of my kids chewed on furniture when they were little. I realize it was probably due to teething, but it was still frustrating. Good thing they are cute little beavers :) Now that my youngest is 4, and we have been past that stage for awhile, I decided it was high time that I refinished our kitchen table.
I had to take the kitchen door of the hinges to fit the table outside. You definitely want to do this in a wood shop or outside. Even if your sander has a bag (unlike mine) it will be very dusty and messy.
Tips For Sanding
* Start out with a 60 or 80 grit sandpaper. A heavy grit sandpaper will remove the existing finish much faster.
* Sand with the grain.
* Don't stay in one spot too long or the surface may end up uneven.
* Once you have the existing finish completely off, sand using a medium grit sandpaper like a 120.
* When you have gone over the whole table with the 120 grit sandpaper, sand the whole thing again using a very fine grit like 220.

Once you have sanded the sable using all three grit types, wipe it clean with a damp cloth to remove all the dust. While it is damp, you will be able to see if there are spots that are still rough from the heavy grit sandpaper. Sand those spots again with the fine grit sandpaper to make sure the whole table is smooth. You WILL see rough places and lines from the sandpaper when you stain it. They will stick out like a sore thumb.
Because I was repainting the legs, I took the time to paint them before I stained the table top. I used Rustoleum X2 in satin Heirloom White. I sanded and cleaned the legs before repainting.

I brought the table inside to stain because it was raining off and on for DAYS. I kept the windows and doors open for ventilation.
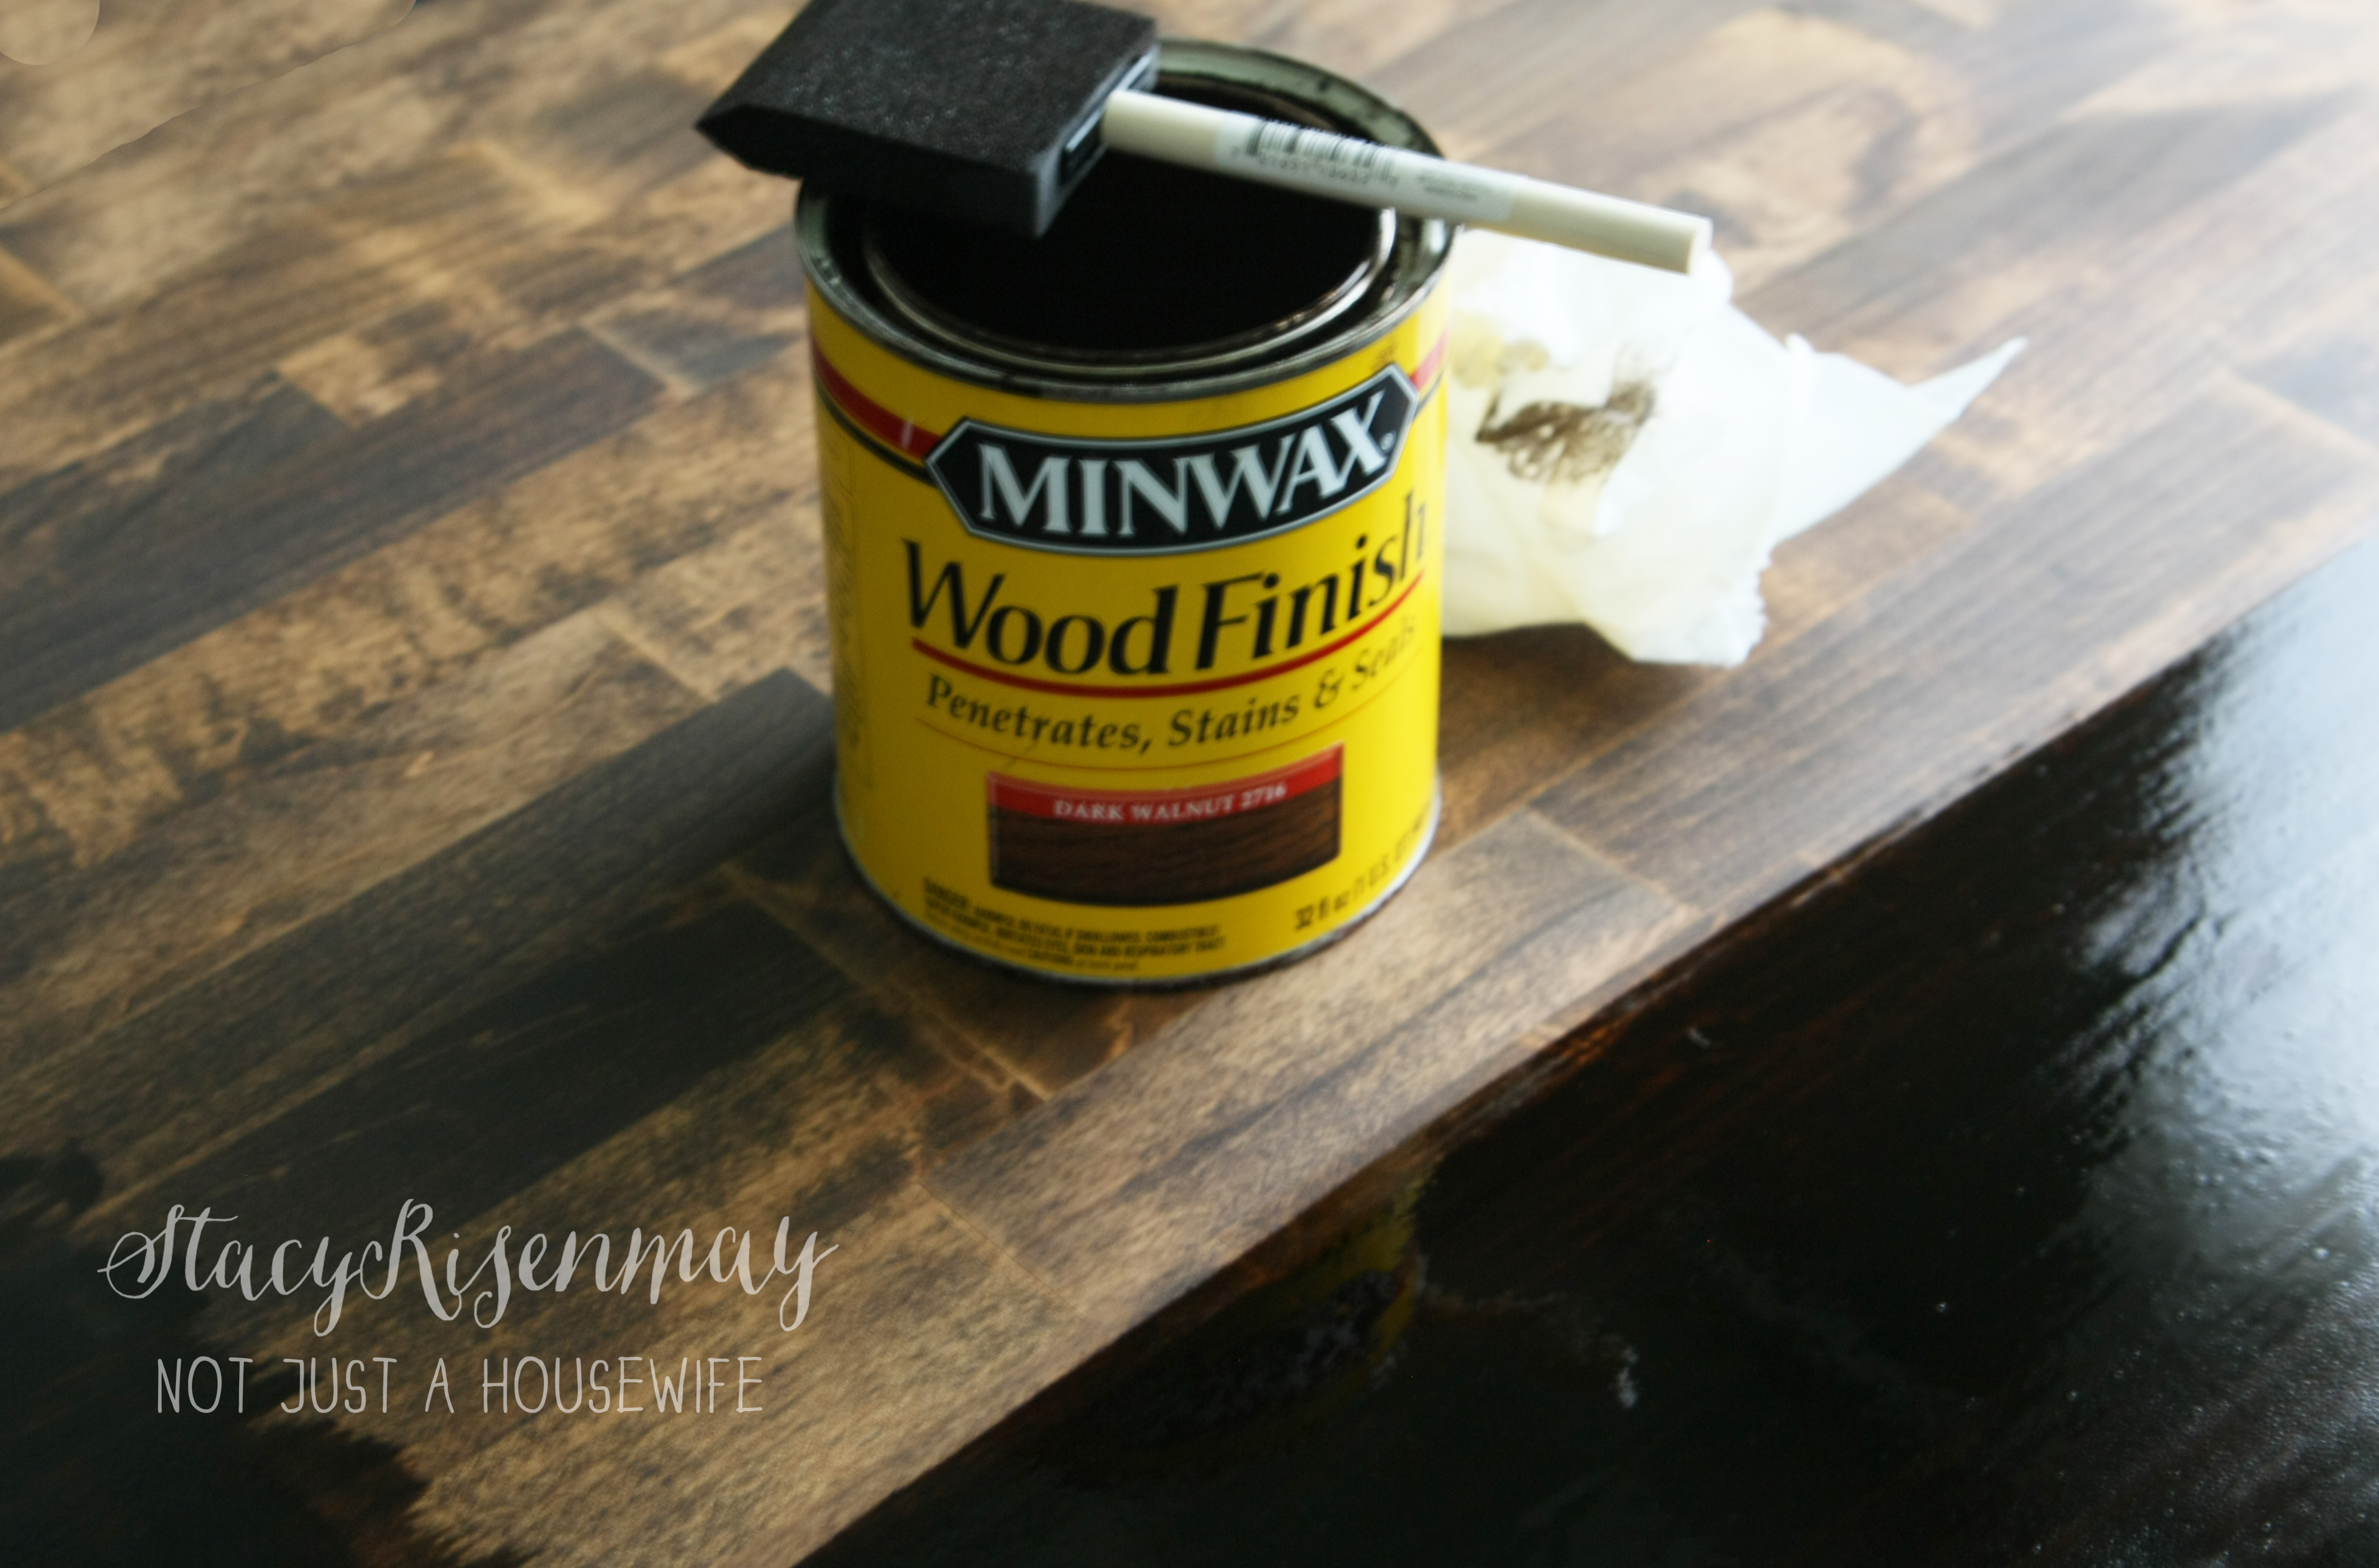
I used my "go to" color which is Minwax's Dark Walnut. I used an oil based this time. I am not sure why I used a water-based stain on my table last time, but water-based stain is very similar to watered down paint and by doing several coats last time it ended up looking like I just painted it brown. I wanted a richer color and I wanted to see the wood grain. You can see in the picture below that I already did one coat of stain and that it didn't go very dark. You can keep doing coats until you get the right color you want.
Tips For Staining
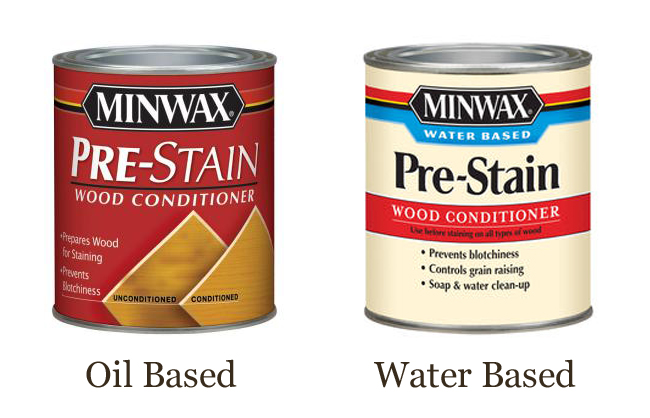
* Use a Pre-Stain conditioner before staining the wood for a more consistent look (read directions on can).
* If you are using an oil based stain then use an oil based conditioner and if you are using a water based stain use a water based conditioner.
* I like to use a foam brush to apply both the conditioner and the stain especially if the stain is an oil based stain because it is easy clean up and it applies quickly.
* Brush the stain on generously but not so much that it pools or drips.
* Let it sit there for awhile (5-10 minutes) before wiping off the excess with paper towels.
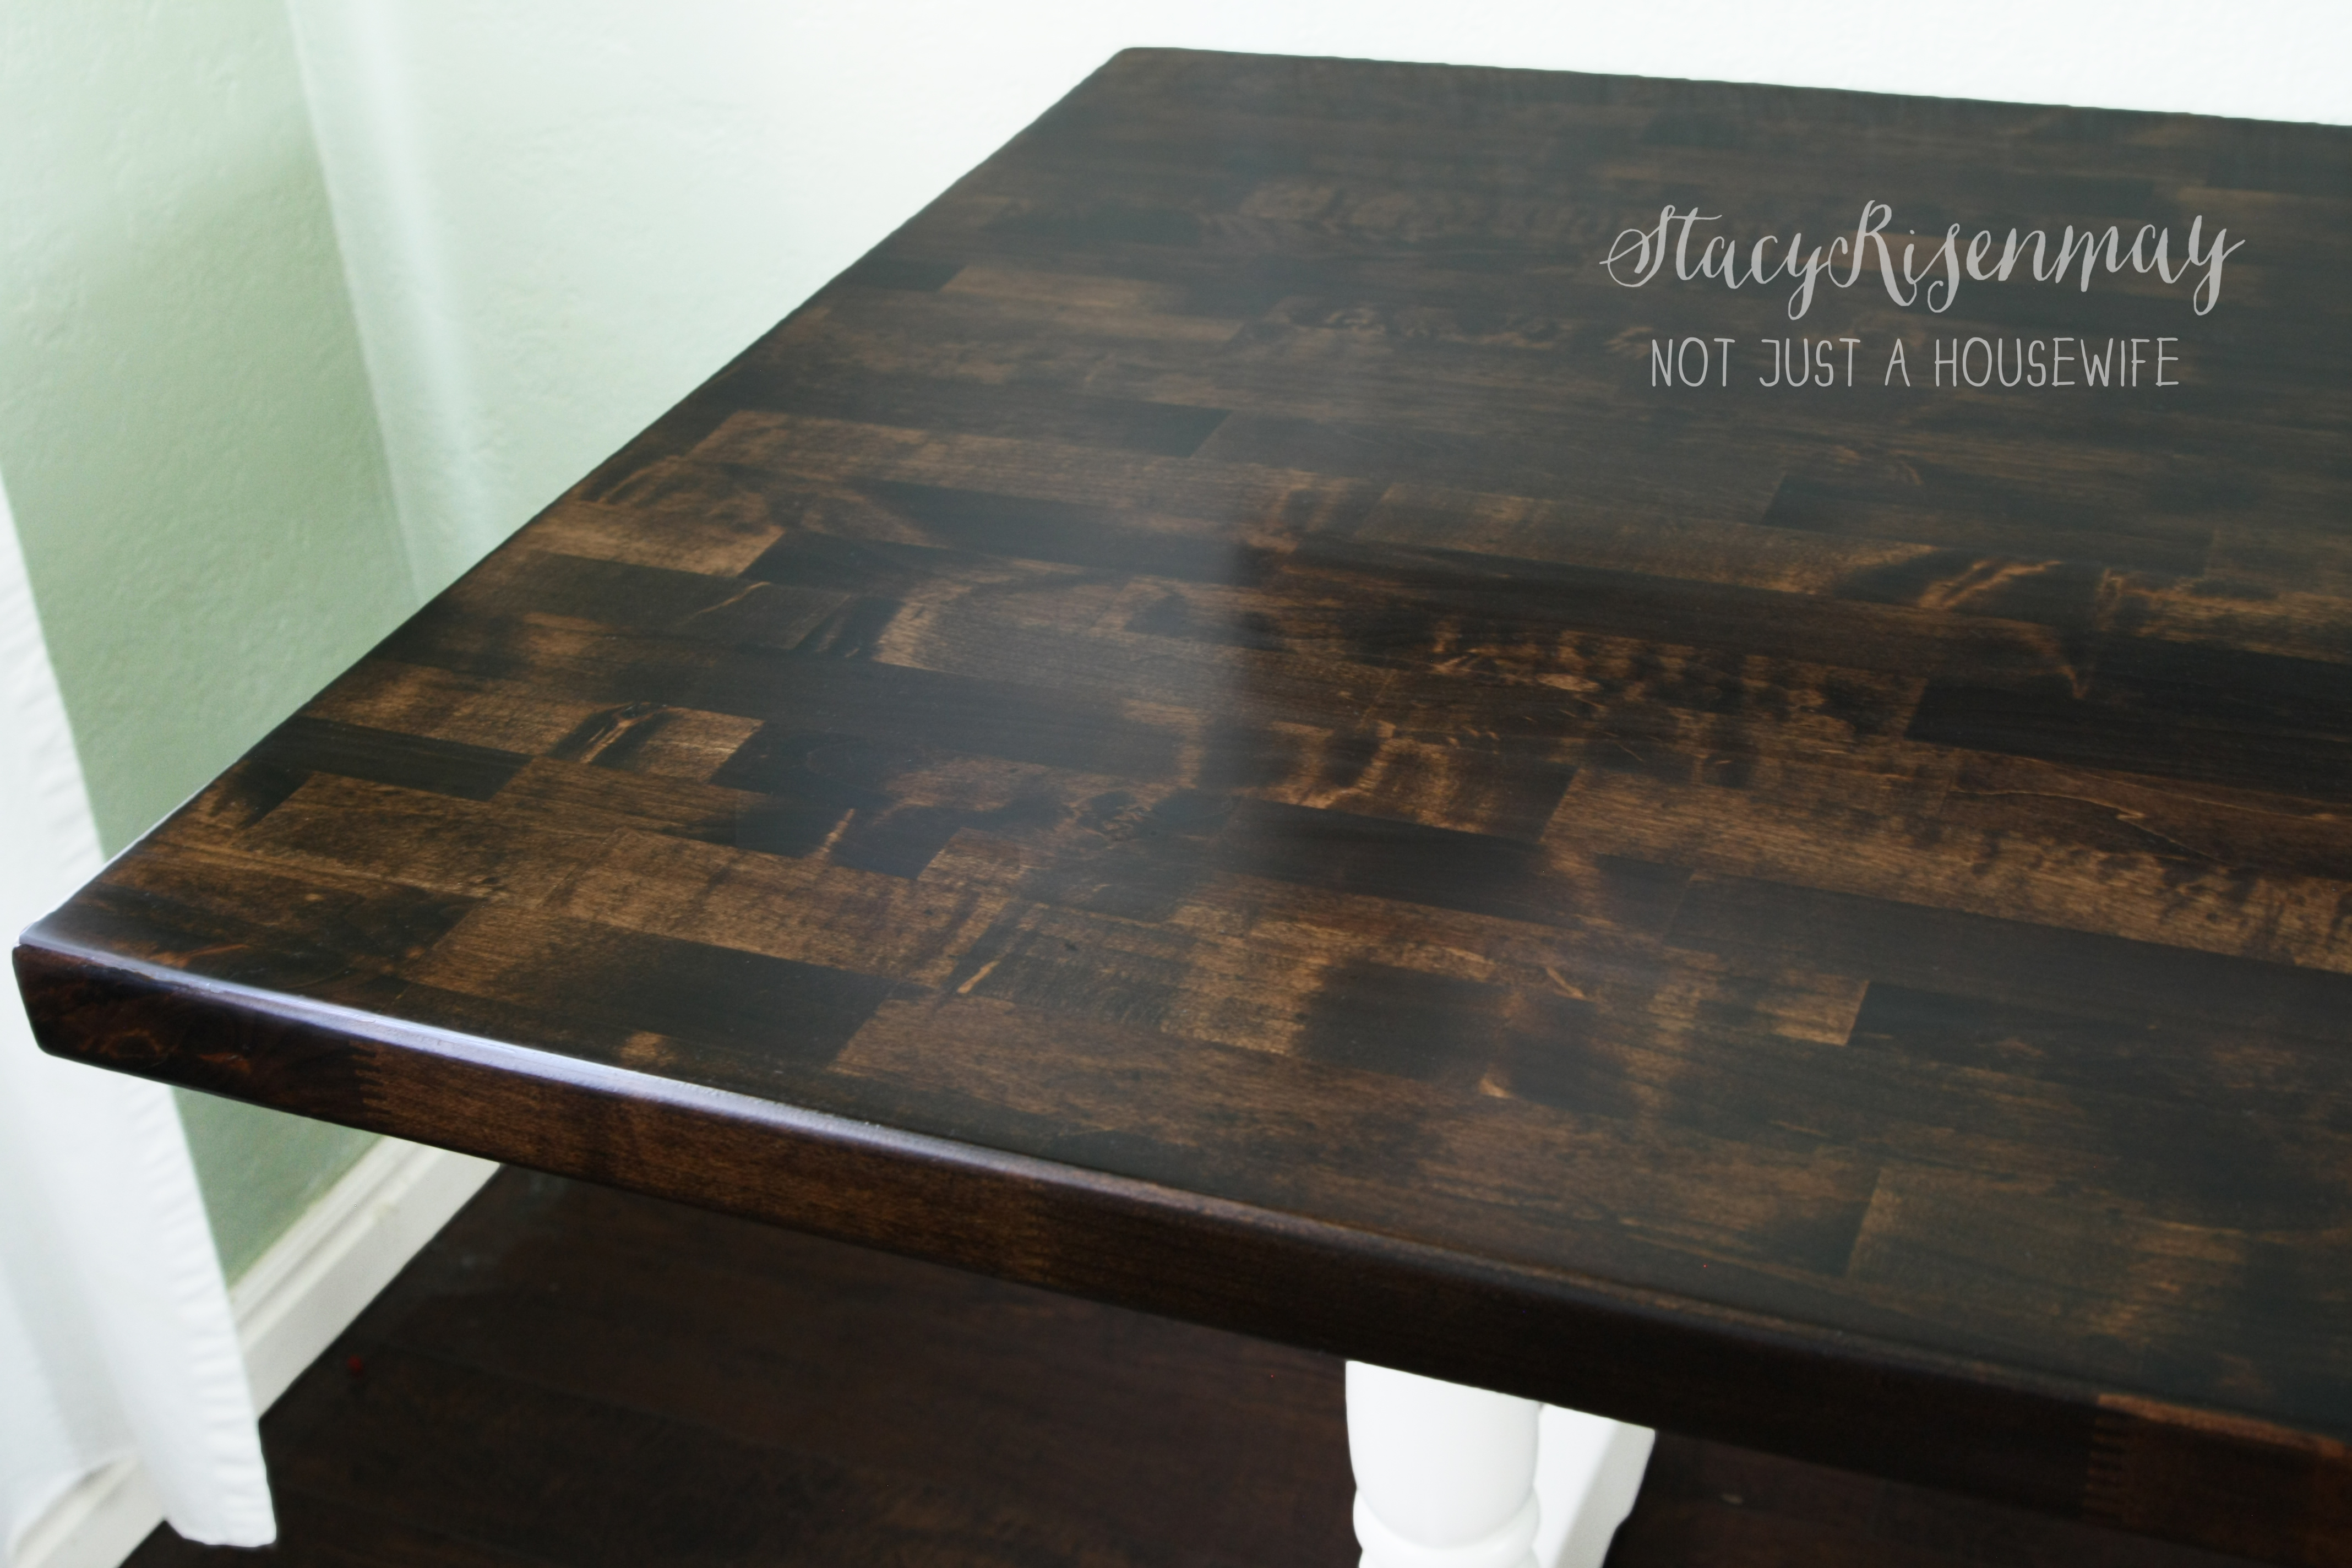
Let's say you forgot to use the wood conditioner and your stain ends up looking splotchy. Or in my case, the project is made up of a ton of different pieces of wood which all absorb the stain differently. What I do is apply more stain to the lighter areas, let it sit, and then wipe it off. You can only do this with an oil-based stain, however. The oil will allow you to blend so you don't have lap marks.

I do not have pictures of me applying the polyurethane because I did it at night. With the shininess of the sealer plus the flash it would require to take a pic at night, the pictures would have been terrible! But here are some tips.
Tips For Applying Polyurethane
* Make sure the stain has COMPLETELY dried before applying any finish. If you apply it too soon, the finish could turn milky or streaky.
* If you used an oil-based stain, use an oil-based sealer. Do the same with water based.
* You may hear to only use a high quality brush to apply the poly and that is very good advice. But on the can it says a brush OR a foam brush. I use a foam brush for the same reasons I use a foam brush to apply the conditioner and stain ... easy clean up! If you are going to use a foam brush buy the nice, dense foam kind with the wood handle. The downside to the foam brush is that you can get air bubble in your polyurethane when applying it. I rarely if ever get bubbles because I saturate the entire brush. But if you find it doesn't work for you, then go for a good bristle brush.
* Apply it thick enough to evenly cover the surface. Not too heavy that it pools or drips. Apply it in long even strokes, going with the grain.
* Always be on the lookout for drips and correct them quickly especially if you have fast drying polyurethane. I walk around my projects when I am done applying it and look at it from every angle to make sure.
* After the first coat has dried (read can and factor in humidity) lightly sand (with the grain) with a fine grit sandpaper (220) or steel wool. The second layer of poly will need to be able to "grip" the surface. Wipe it clean and dry it before adding the second layer of polyurethane.
* Wait at least 24 hours before light use and even more before heavy use.
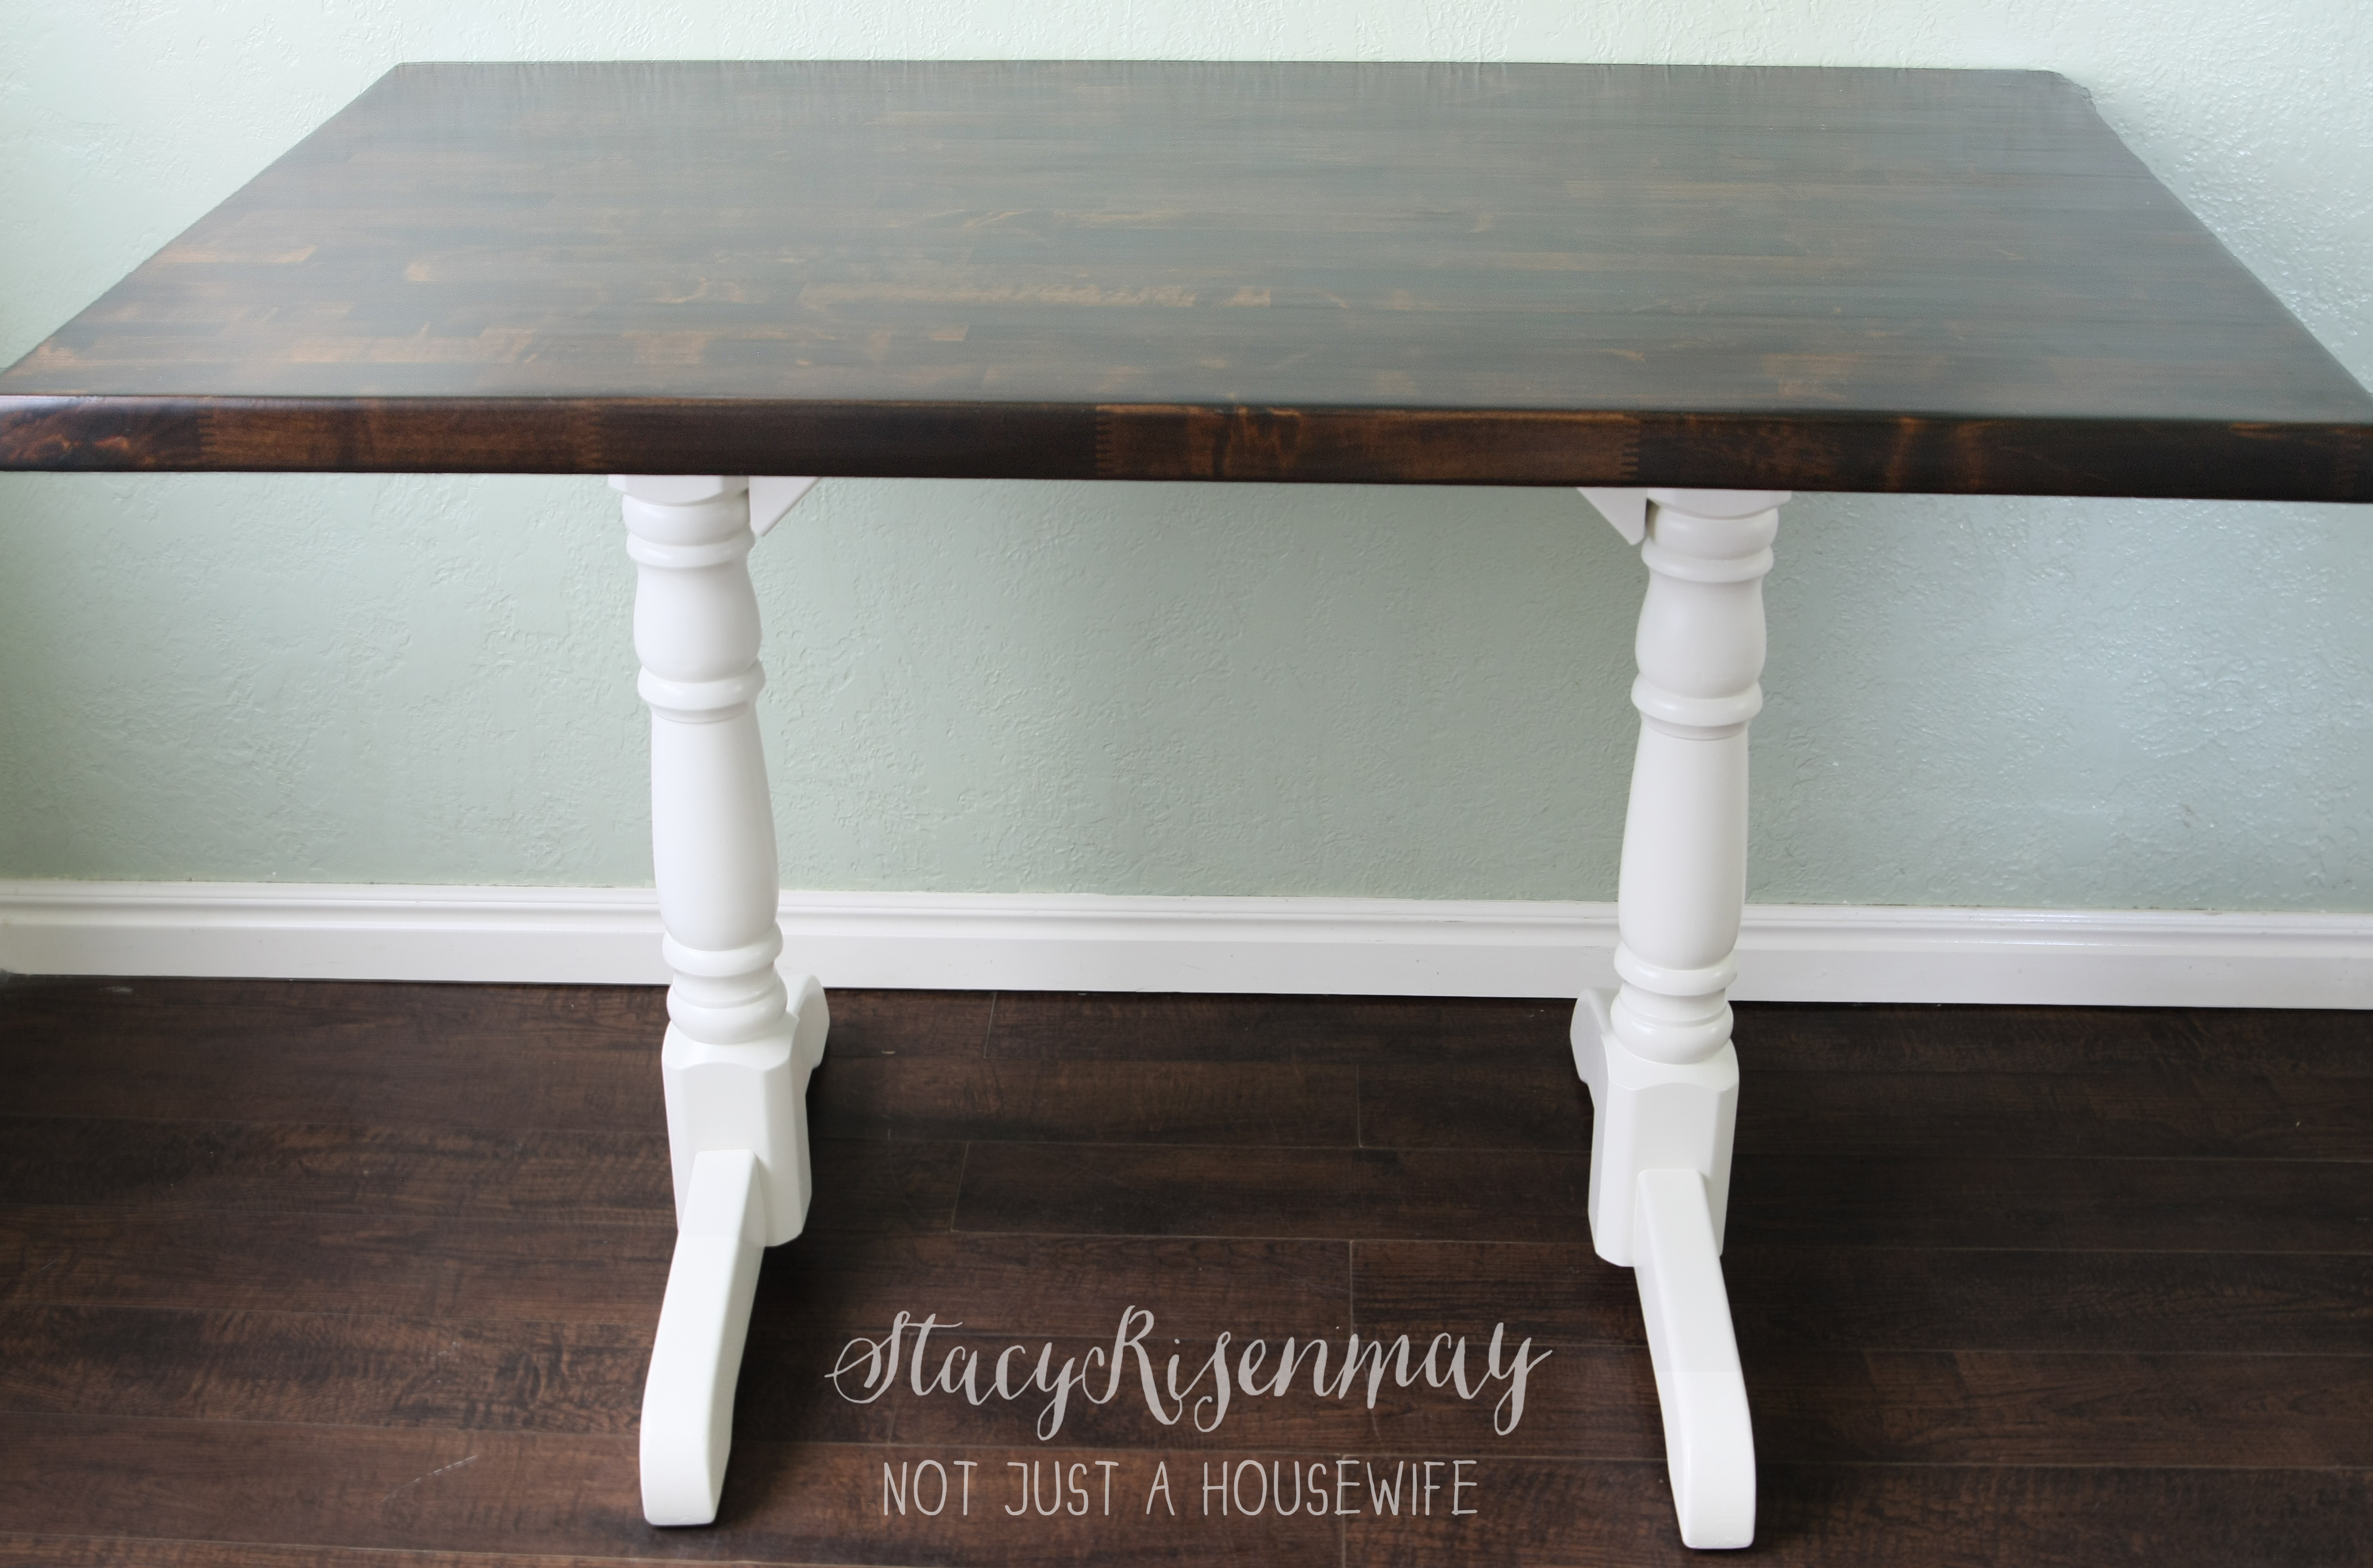
Nice legs!
I am so happy with how it turned out! And I can't wait to show you the rest of the dining room. The mini makeover has turned out better than I had hoped.
For another refinishing tutorial, check out my old desk that got a new life!


Thanks for this! I've been wanting to makeover our table as well. We slapped some black paint on it a couple of years ago & it has NOT held up well with the 5 of us using it. Now I just got get my husband on board...
This is great information - I use to refinish furniture when I was a kid with my grandma. I enjoyed the process but not the products we used to get the layers of paint off. This looks great - I still prefer a wood finish over paint. Great job!
- Carole at GardenUp green
Looks beautiful, Stacy! Thank you for the tips, too. I am about to refinish an antique oak table that a friend gave me, so your tips will sure come in handy! Have a great day,
Val @ artsybuildinglady.blogspot.ca
I'm so glad you posted this. I have an entire dining room full of furniture that needs to be refinished and I didn't know where to begin. Your table looks beautiful! I found little teeth marks on my daughter's crib. I thought, "Oh well, at least it makes for good memories!" haha
Have you considered a bar top finish for your dining room table? My mom recently had her dining room table refinished w/a bar top finish, and it looks amazing...and she doesn't have to worry about food & water spills :-) She had hers professionally done, but I would love to know the process of how to do this DIY.
It looks so beautiful stained. Thanks for all the tips; they're really useful.
I have a kitchen table that really needs to be refinished. But I am wondering about the sanding part, my table has 1/8 inch groves running the length of the table in 4 places. I think this was to give the 'look' of a farmhouse table. Problem is it collects crumbs and junk that look unsightly and take forever to clean out. Do you think it would be possible to sand the table enough and do it evenly to get rid of these grooves?
Hello this was such a great relief to read this tutorial on your table. My husband and I just sanded oiled and stained our table in minwax dark walnut and it came out so splotches ....I was in tears at the thought of having to redo the whole thing. Then I saw that your table is a spitting image of mine with all the different pieces of woods in the table. We are going to go out tmrw and buy the foam brushes and try what you did to get the even look. Can I ask you ...should we sand the table down lightly before we start adding stain to make the light areas dark ? I am going to follow your blog !!! Love this. I feel relieved...
Thanks so much for the great info! I have stripped our old table (mission style with lots of slats - ughhh!), and am sanding it and prepping it for the stain and finish. Next I have to start on the chairs, and will also recover the seats. Thanks for the great post and tips.
Can you explain how you sanded and painted the turned legs? I have a similar table that is stained a honey color and I'm sick of it, but terrified to paint any of it since I love the grain and really dislike brush marks in paint.
Thank you for all the helpful tips
Thanks for the tips! Will any Polyurethane work? Any recommendations on brands?
I have an old oxen yolk that I want to hang over my mantle. How do I clean and preserve it. I have a 20x24 picture of myself and three siblings sitting on the oxen with my dad beside us. Using red barn wood from my dads barn to frame the pic. which was taken 78 years ago.
Enjoyed your article on refinishing a table. Question: If the table has a veneer top, please give me your suggestions. Thank you.