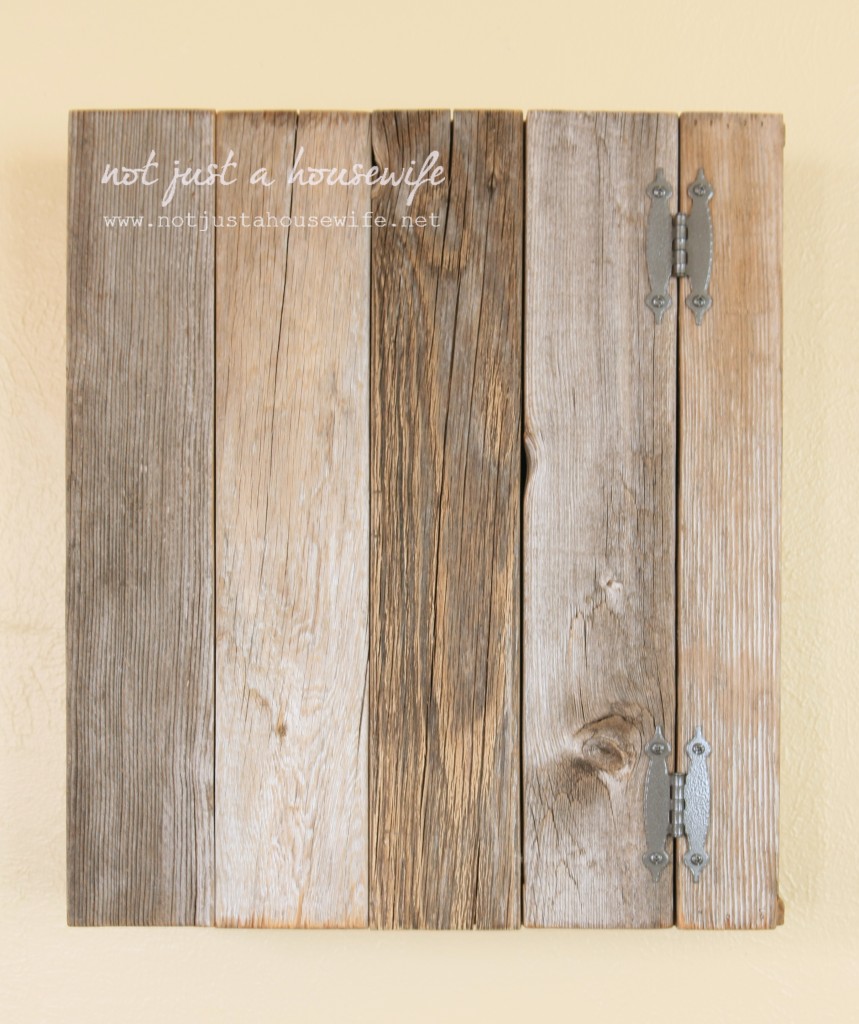
I am excited to have another project for my new family room crossed off my list! I am going to show you how I built it today :)
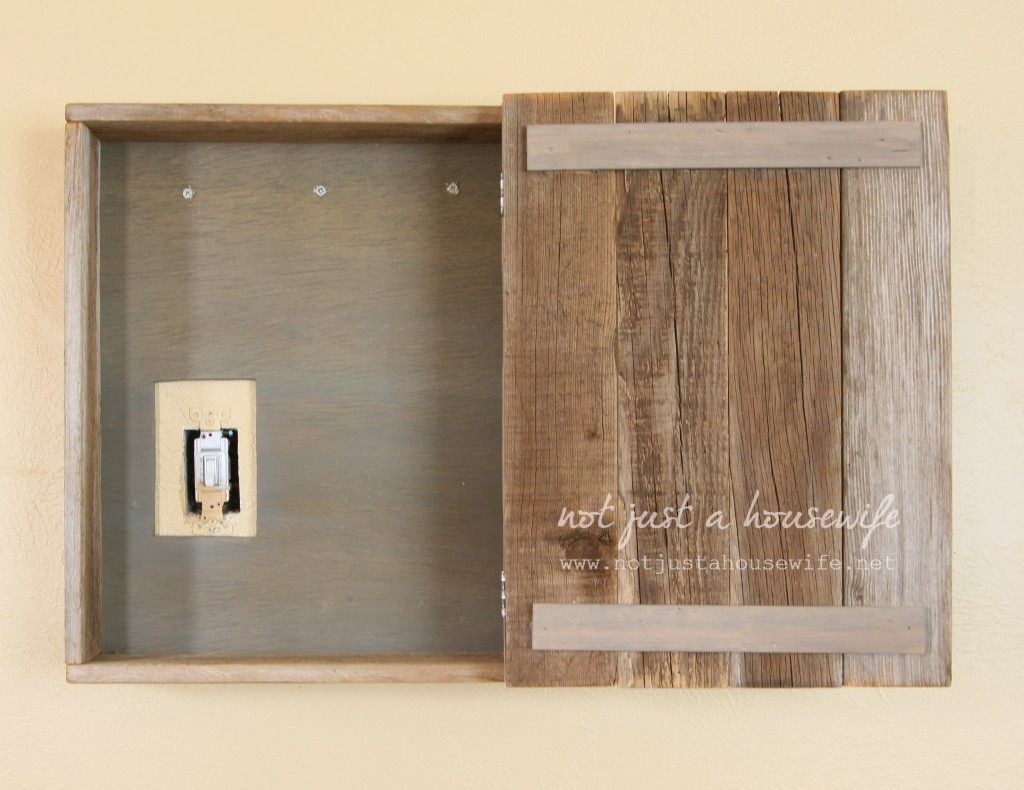
I am just sharing the basic cupboard today. You will have to wait for the room reveal to see it all styled, what goes inside, and how it looks with everything else.
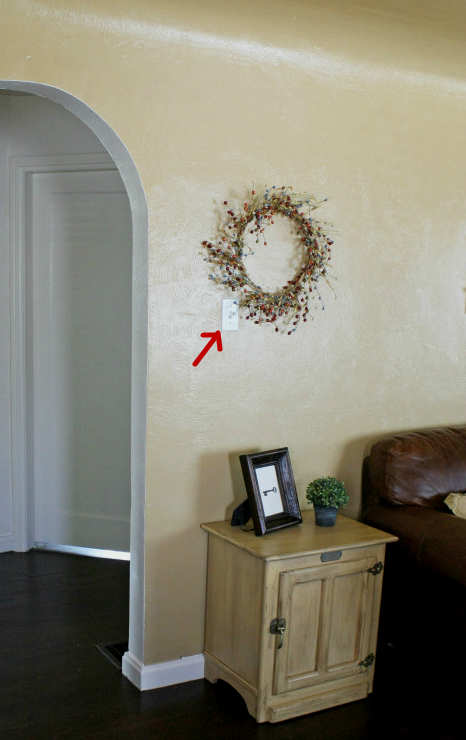
The idea for this cupboard all started with a light switch ...
This light switch was in an awkward spot as far as decorating goes because there really wasn't anything I could put on the wall right there. I tried putting a wreath up once even though I am not a big wreath person (GASP! Did I just admit that?!?). It fell off a lot and I wasn't in love with the look. So I decided to cover it up :)
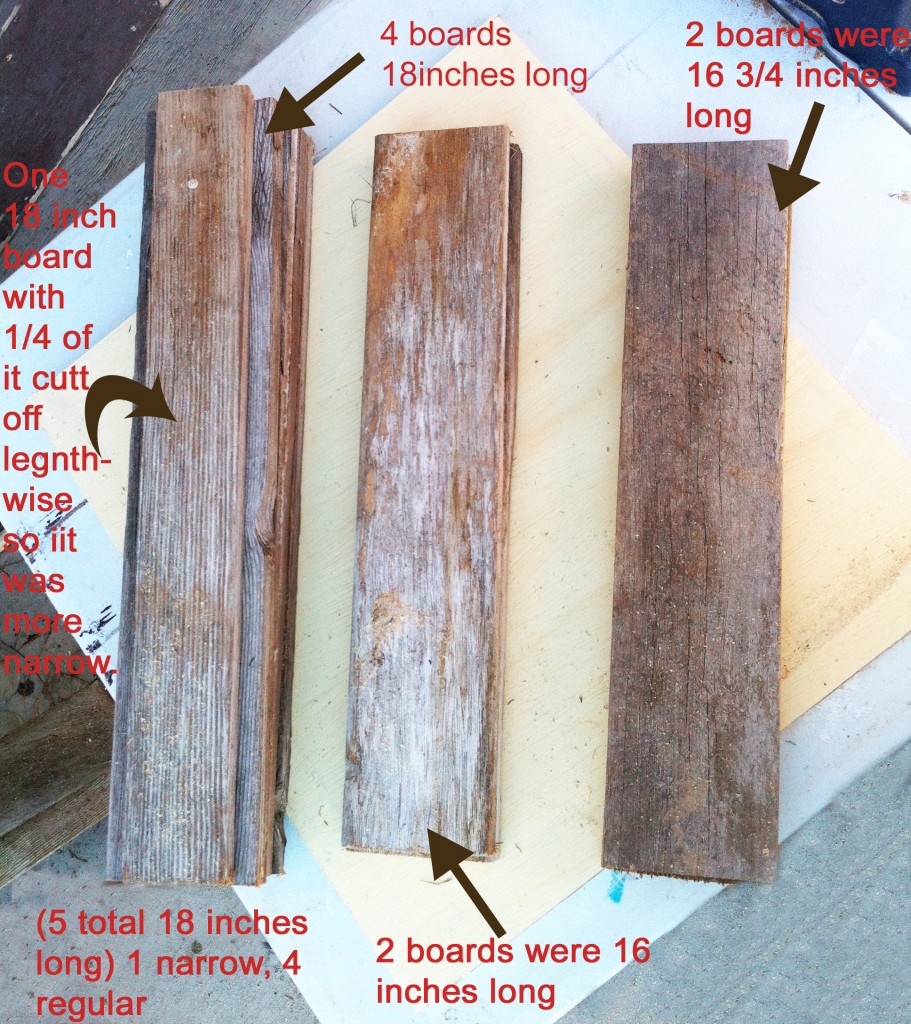
These are actually old fence pickets we got for free when someone took down their old fence. I cut them to size using my miter saw. Here are the sizes and how many of each:
There is a piece of plywood measuring 18x16 that will be for the back. The 18 inch boards will be for the door. The 16, and 16 ¾ inch boards will build the basic box of the cupboard. I decided to do butt joints with this cupboard instead of mitering the edges. The reason I don't have two 16 and then two 18 inch boards (since the cupboard will be 16x18 when done) is because two of the boards will be sitting inside of the other two to form the box. You need to measure the thickness of two boards together and minus that from the length, hence 16 ¾ instead of 18 inches.
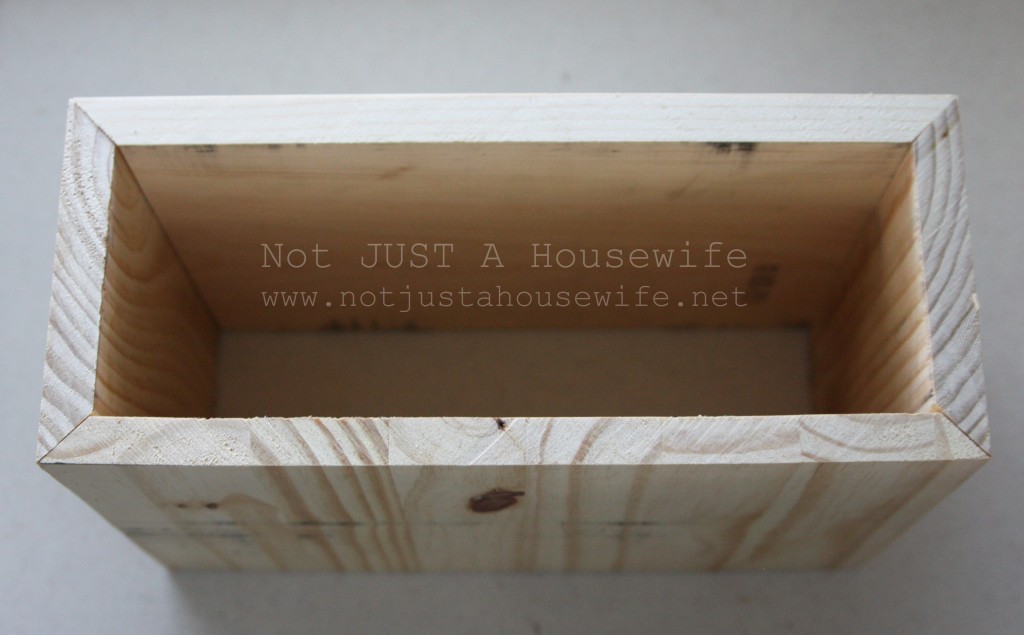
Here is an example of a box that was mitered:
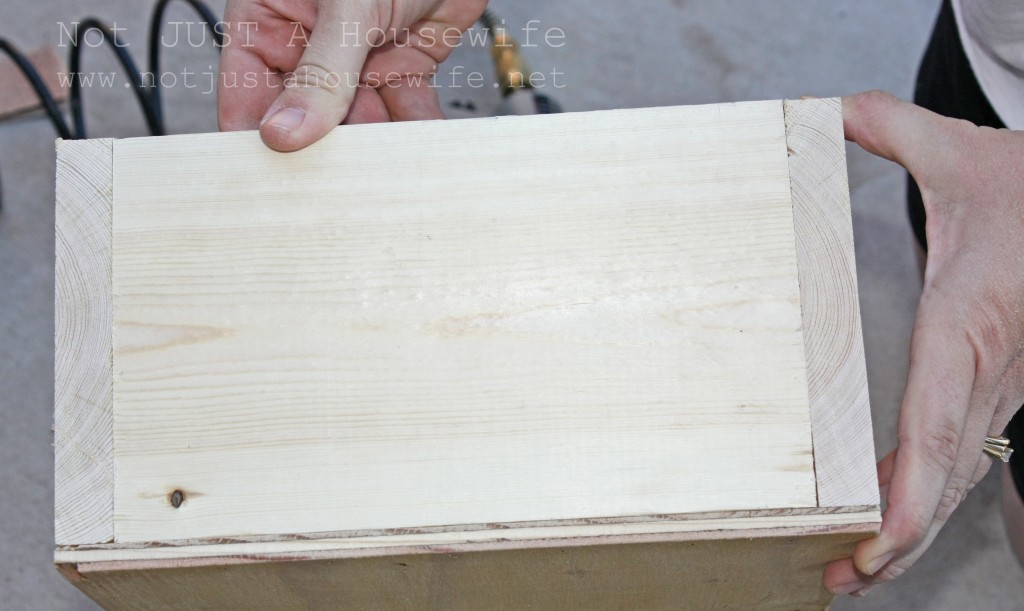
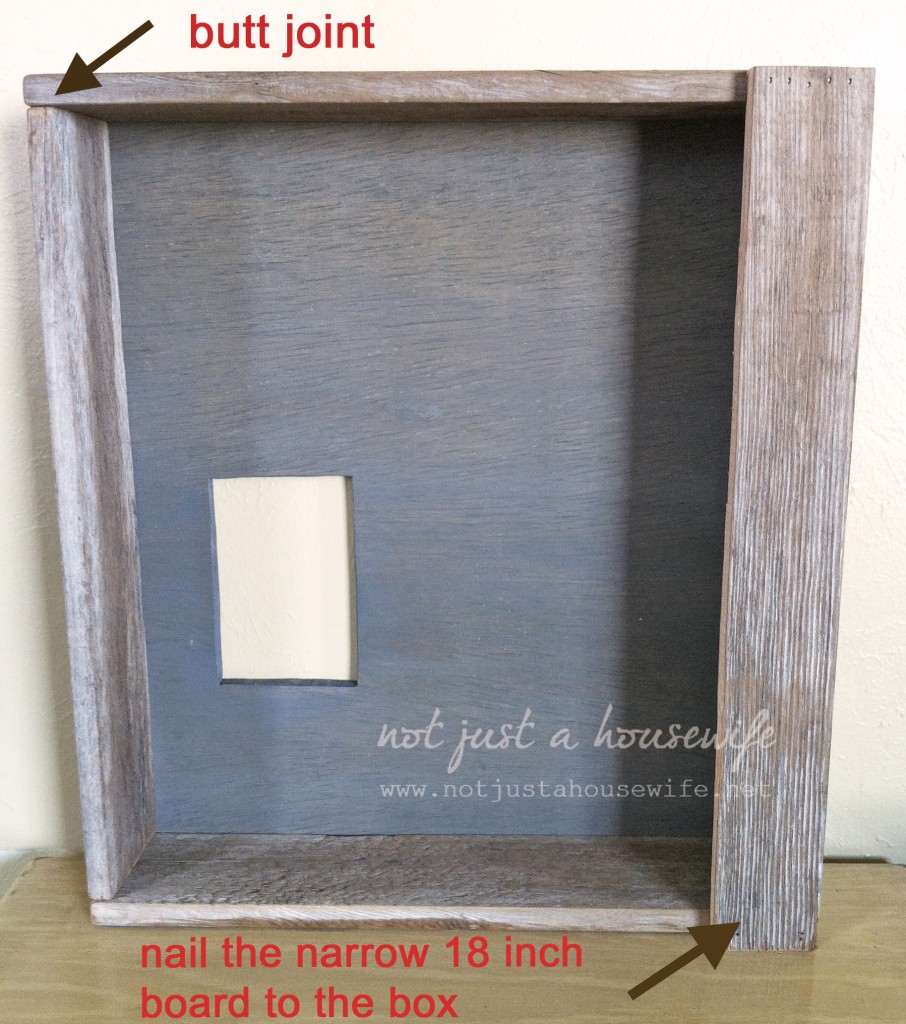
And here is an example of a butt joint which is the type of joint I did this time:
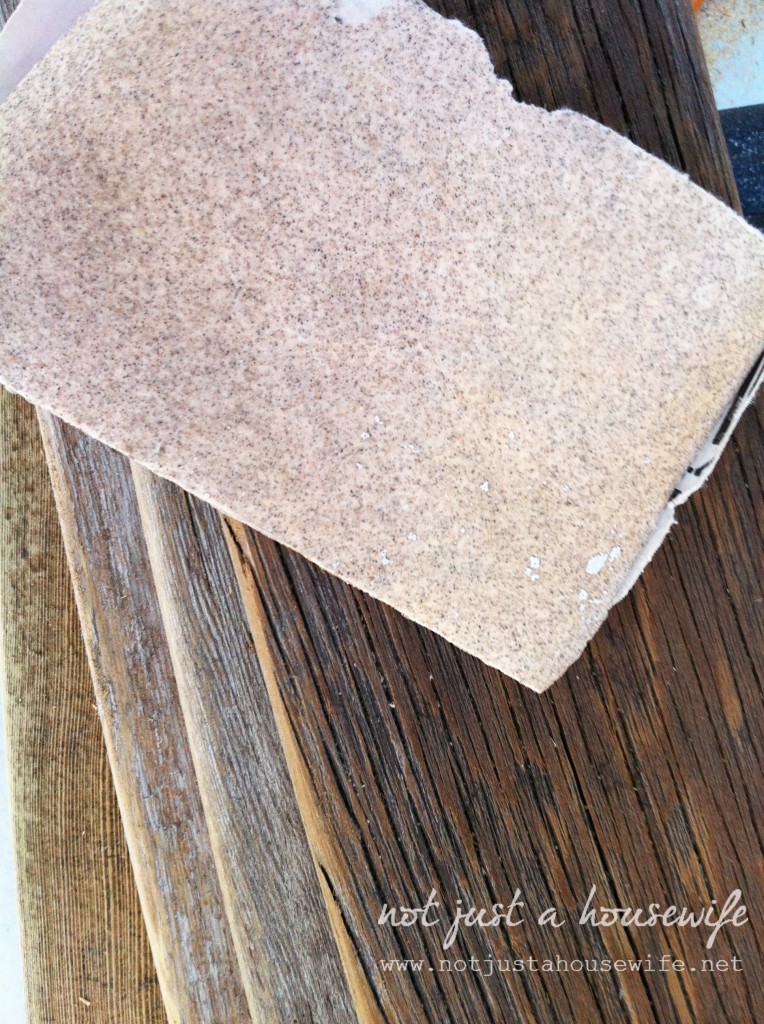
After I cut the boards I sanded the crap out of them. I wanted them as smooth possible. This will be a cupboard that will get opened and closed a lot so I didn't want there to be any chance of getting a sliver.
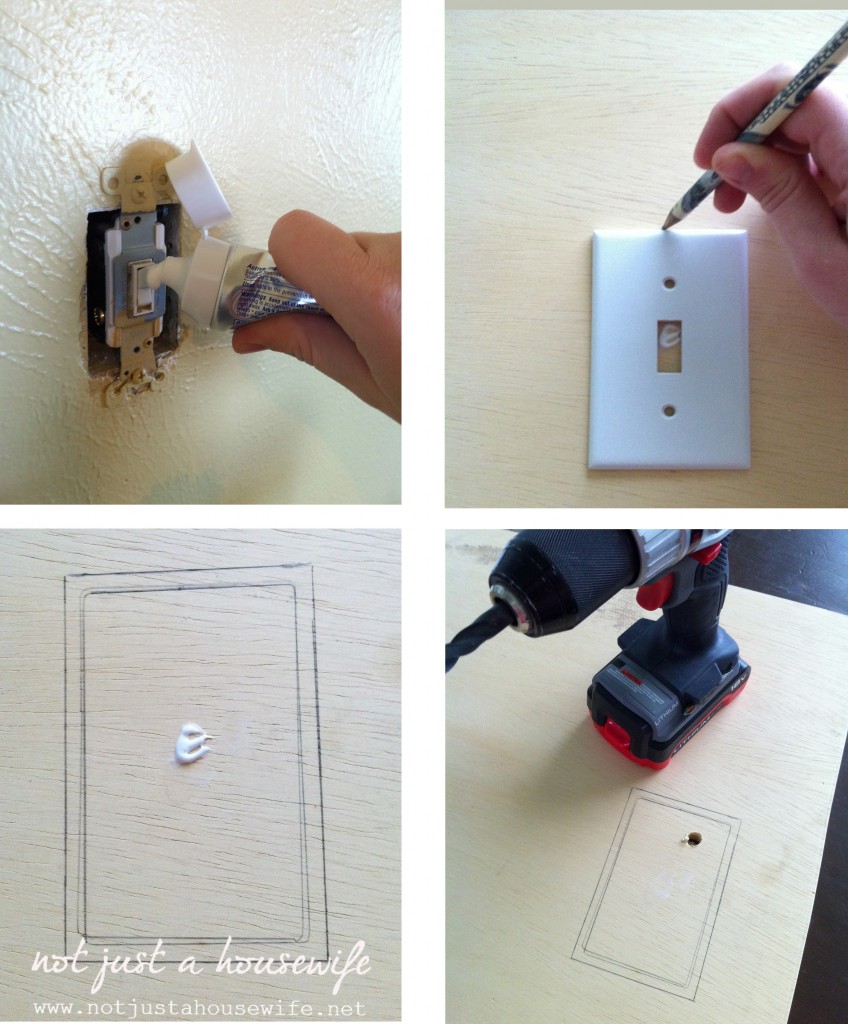
Because I was going to be putting it over the light switch I needed to cut out a hole in the plywood back. (If you are not going to put yours over a light switch then you can obviously skip this step) I put a little toothpaste on the switch then held the board up to where I wanted it on the wall. I pushed it into the toothpaste to mark where the switch was. Then I traced the light switch plate. I wanted a little bit of wiggle room so I used the switch plate as a straight edge and made it a little bigger.
Then you need to drill a hole big enough for the jigsaw blade to fit through and then use the jigsaw to cut out the rectangle.
Here is the box all put together. The thinner 18 inch board will be nailed to the box because the hinges will attached to it later.
Now on to the door :)
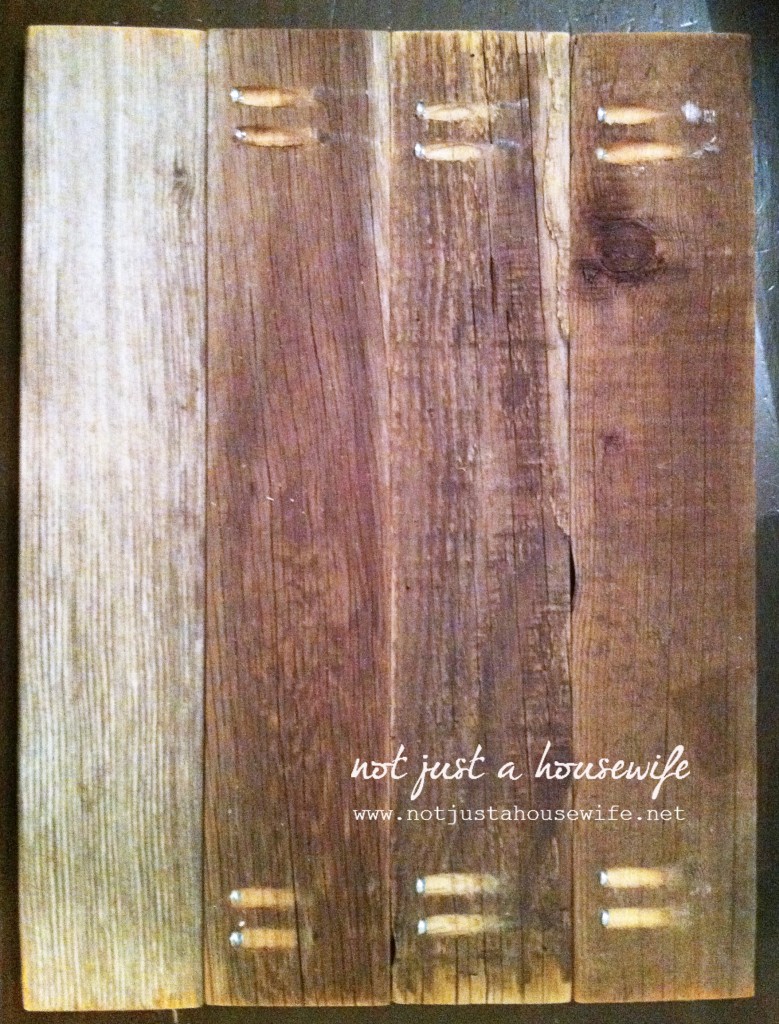
To attach the 18 inch boards together I used a kreg jig and drilled at an angle. That way I was able to screw one board into the other. (Sorry for the crappy cell phone pic taken at night)
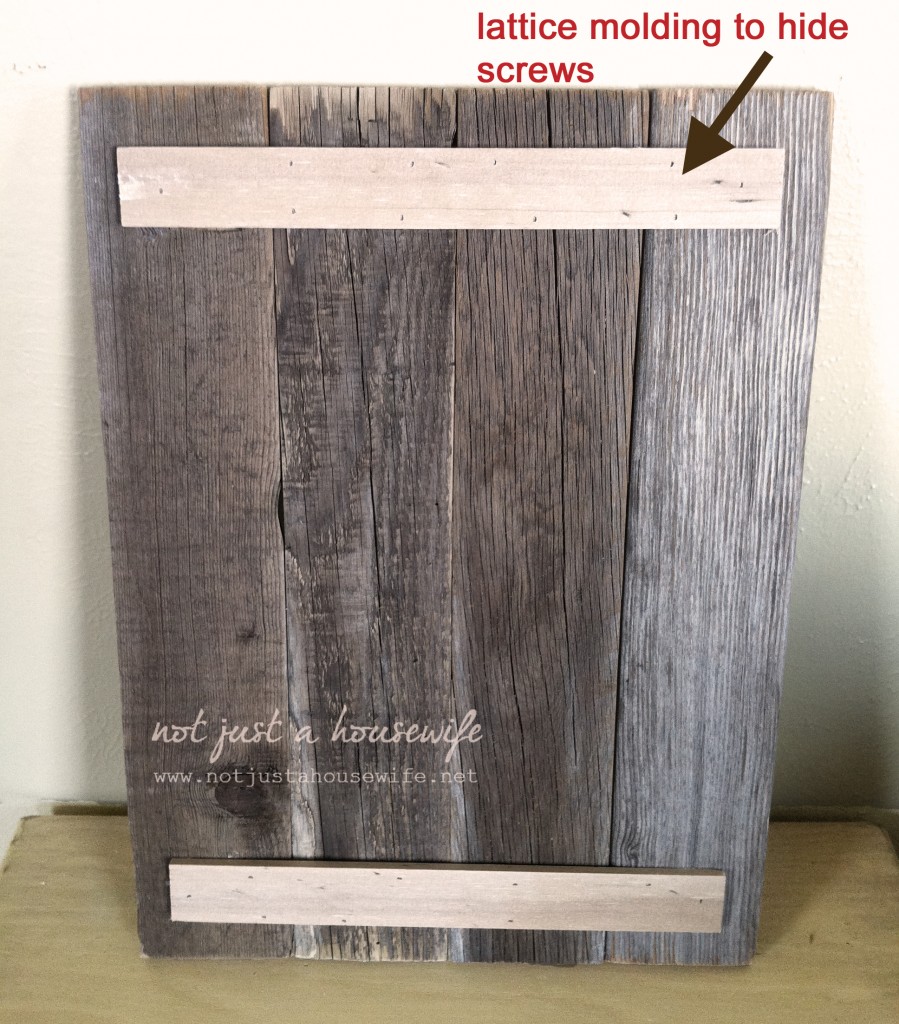
I didn't like the look of it and even though it was on the inside of the cupboard I wanted to add some trim.
To hang it I just screwed it directly into the wall.
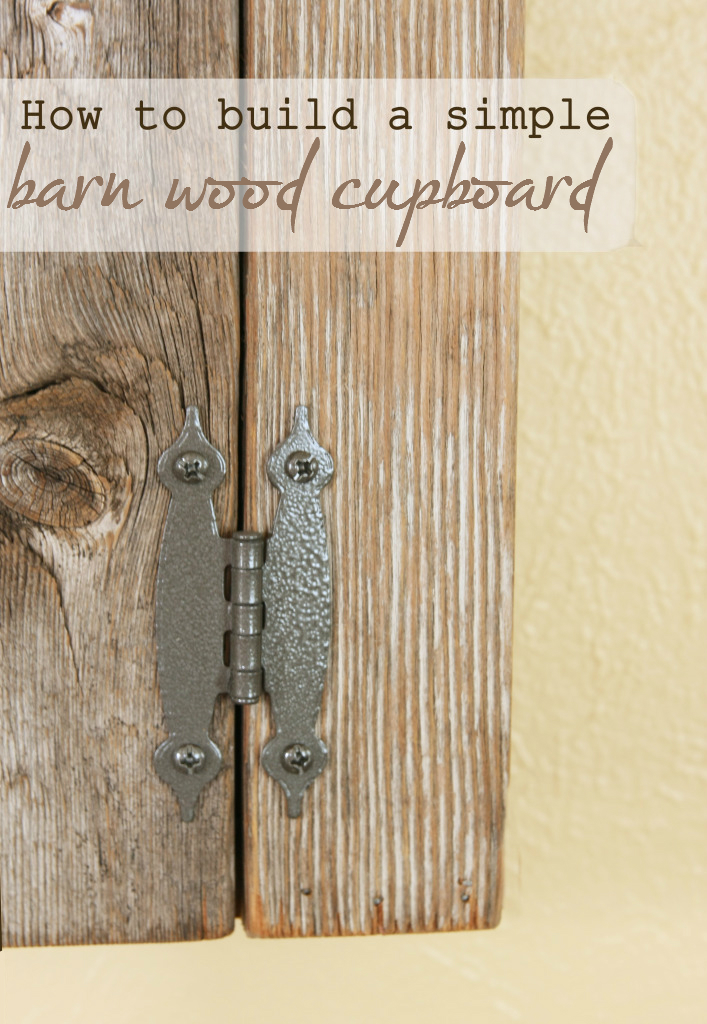
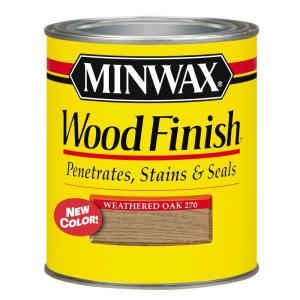
When I cut the wood the ends were not grey like the rest of the boards so I stained the ends ( and the back) using Minwax's Weathered Oak.
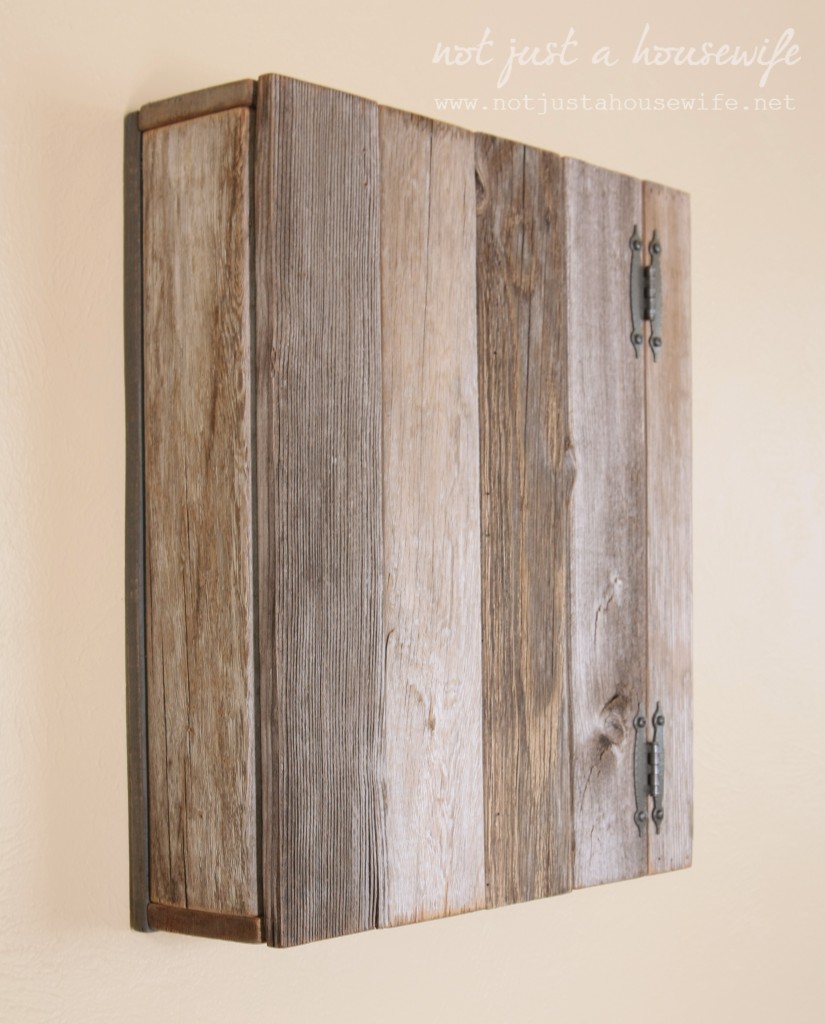

I love the look of the butt joint for this cupboard because of the barn wood. It seems very primitive and rustic. If I had built it our of new wood I would have done a mitered joint.
I can't wait to get building the biggest project of all for my family room. It is going to be EPIC!!!
You will also like:






What a nice job. I love the weathered look to the wood. Are you going to put a handle on the cupboard? Is this a light switch that gets used a lot?
I bought a handle for it and I am thinking about adding it. I really like how it looks without so I am not sure. It is in our family room so it gets opened in the evening when we need the light on and then before we go to bed to turn it off. My kids think it is cool and now argue over who gets to turn on the light :)
This is a fantastic idea! I love barnwood. If we ever build another house, I'll definitely be pickier about where light switches and outlets are placed. We have a heat and air condition temp. box in the oddest place. I have a shelf underneath it. I'd love to cover it but I don't know if it would throw off the temp and not work properly. Anyway, I love your idea of the barnwood cupboard. I can't wait to see the reveal of the entire room.
I know! you can tell builders are not designers :) They don't think about how to decorate around them.
Great idea. I love the weathered look of the wood!
Blessings, Grace
I absolutely love this project. You are just so talented. I agree that mitered corners would not be the best for this project. Love thew barnwood!
This is awesome. Looking on your sidebar I see lots of things that I love. I am going to add you to my reader. Do you mind if I pin some things off your blog?
I love the color & style of the cabinet. I can't wait to see what you use it for, and how you style it!
Cute cupboard!!! I hate it when they put light switches in awkward places :(
Love how this looks!
Ashley
http://www.simplydesigning.blogspot.com
Now if only I had some simple barn wood!
This is a great little project for me to get my feet wet with. AND I happen to have some fence boards in my garage and more to come as I replace fence slats in my back yard. Thank you for the inspiration, always!!!!!
Awesome, as always. Love to see you solve problems. This is one of the great satisfactions of being a DIYer. If you asked a contractor to "fix" this problem, he'd probably tear the wall down and rebuild it with the switch a few inches to the left. Then hand you a hefty bill for all the work.
Love the toothpaste trick!! Also have tool envy. Had to google kregg jig. Looks neat. Have you shown us how that works before? Are you going to put anything else inside the cabinet? It would be a great place to store all sorts of useful things you want handy but out of sight. I think I like the clean look of it without a handle. A handle of any sort would become a bulls eye and say, "open me." Somehow, without one, it looks a little more like a piece of artwork to be admired as a whole, and suggests it should be left closed. The weathered wood is so attractive and rustic. I like the placement of the hinges, rather than wrapped around the corner.
I love it to and you could also biscuit join it too, just longer to dry.
pretty! love weathered wood!
For those of us without a Kreg-jig, do you think using a sturdier piece of wood on the back of the door (like your lattice) would hold up?
Brilliant! I ended up on your site because I found the scrap wood lamp on pinterest and wanted to make it (but with different shades of turquoise/aqua stained wood) Imagine how excited I am to find that this is the EXACT SAME cupboard I am building right now. I have spent the last day trying to find double ended nails to attach the boards together, to no avail. This seems much easier! Thank you!
I love your cupboard. If you used old fence board, how did it keep the weathered look after you sanded all the boards? I have a lot of pallets which are weathered, but once you sand them to be smooth, the weathered look is sanded away. Please let me know how you did it.
Thank you,
Bobbie
If the board is just merely gray, then the color will get sanded off since it is just on the surface. Really old and weathered wood will be gray almost all the way through. And I don't sand so that the surface is perfectly level and smooth, just so that it is no longer rough and causes slivers :) Pallet wood is rarely old enough to be truly weathered. That is why I use fence pickets and barn wood instead. Even with fence pickets sometimes it will go from totally gray to brownish gray after sanding.