
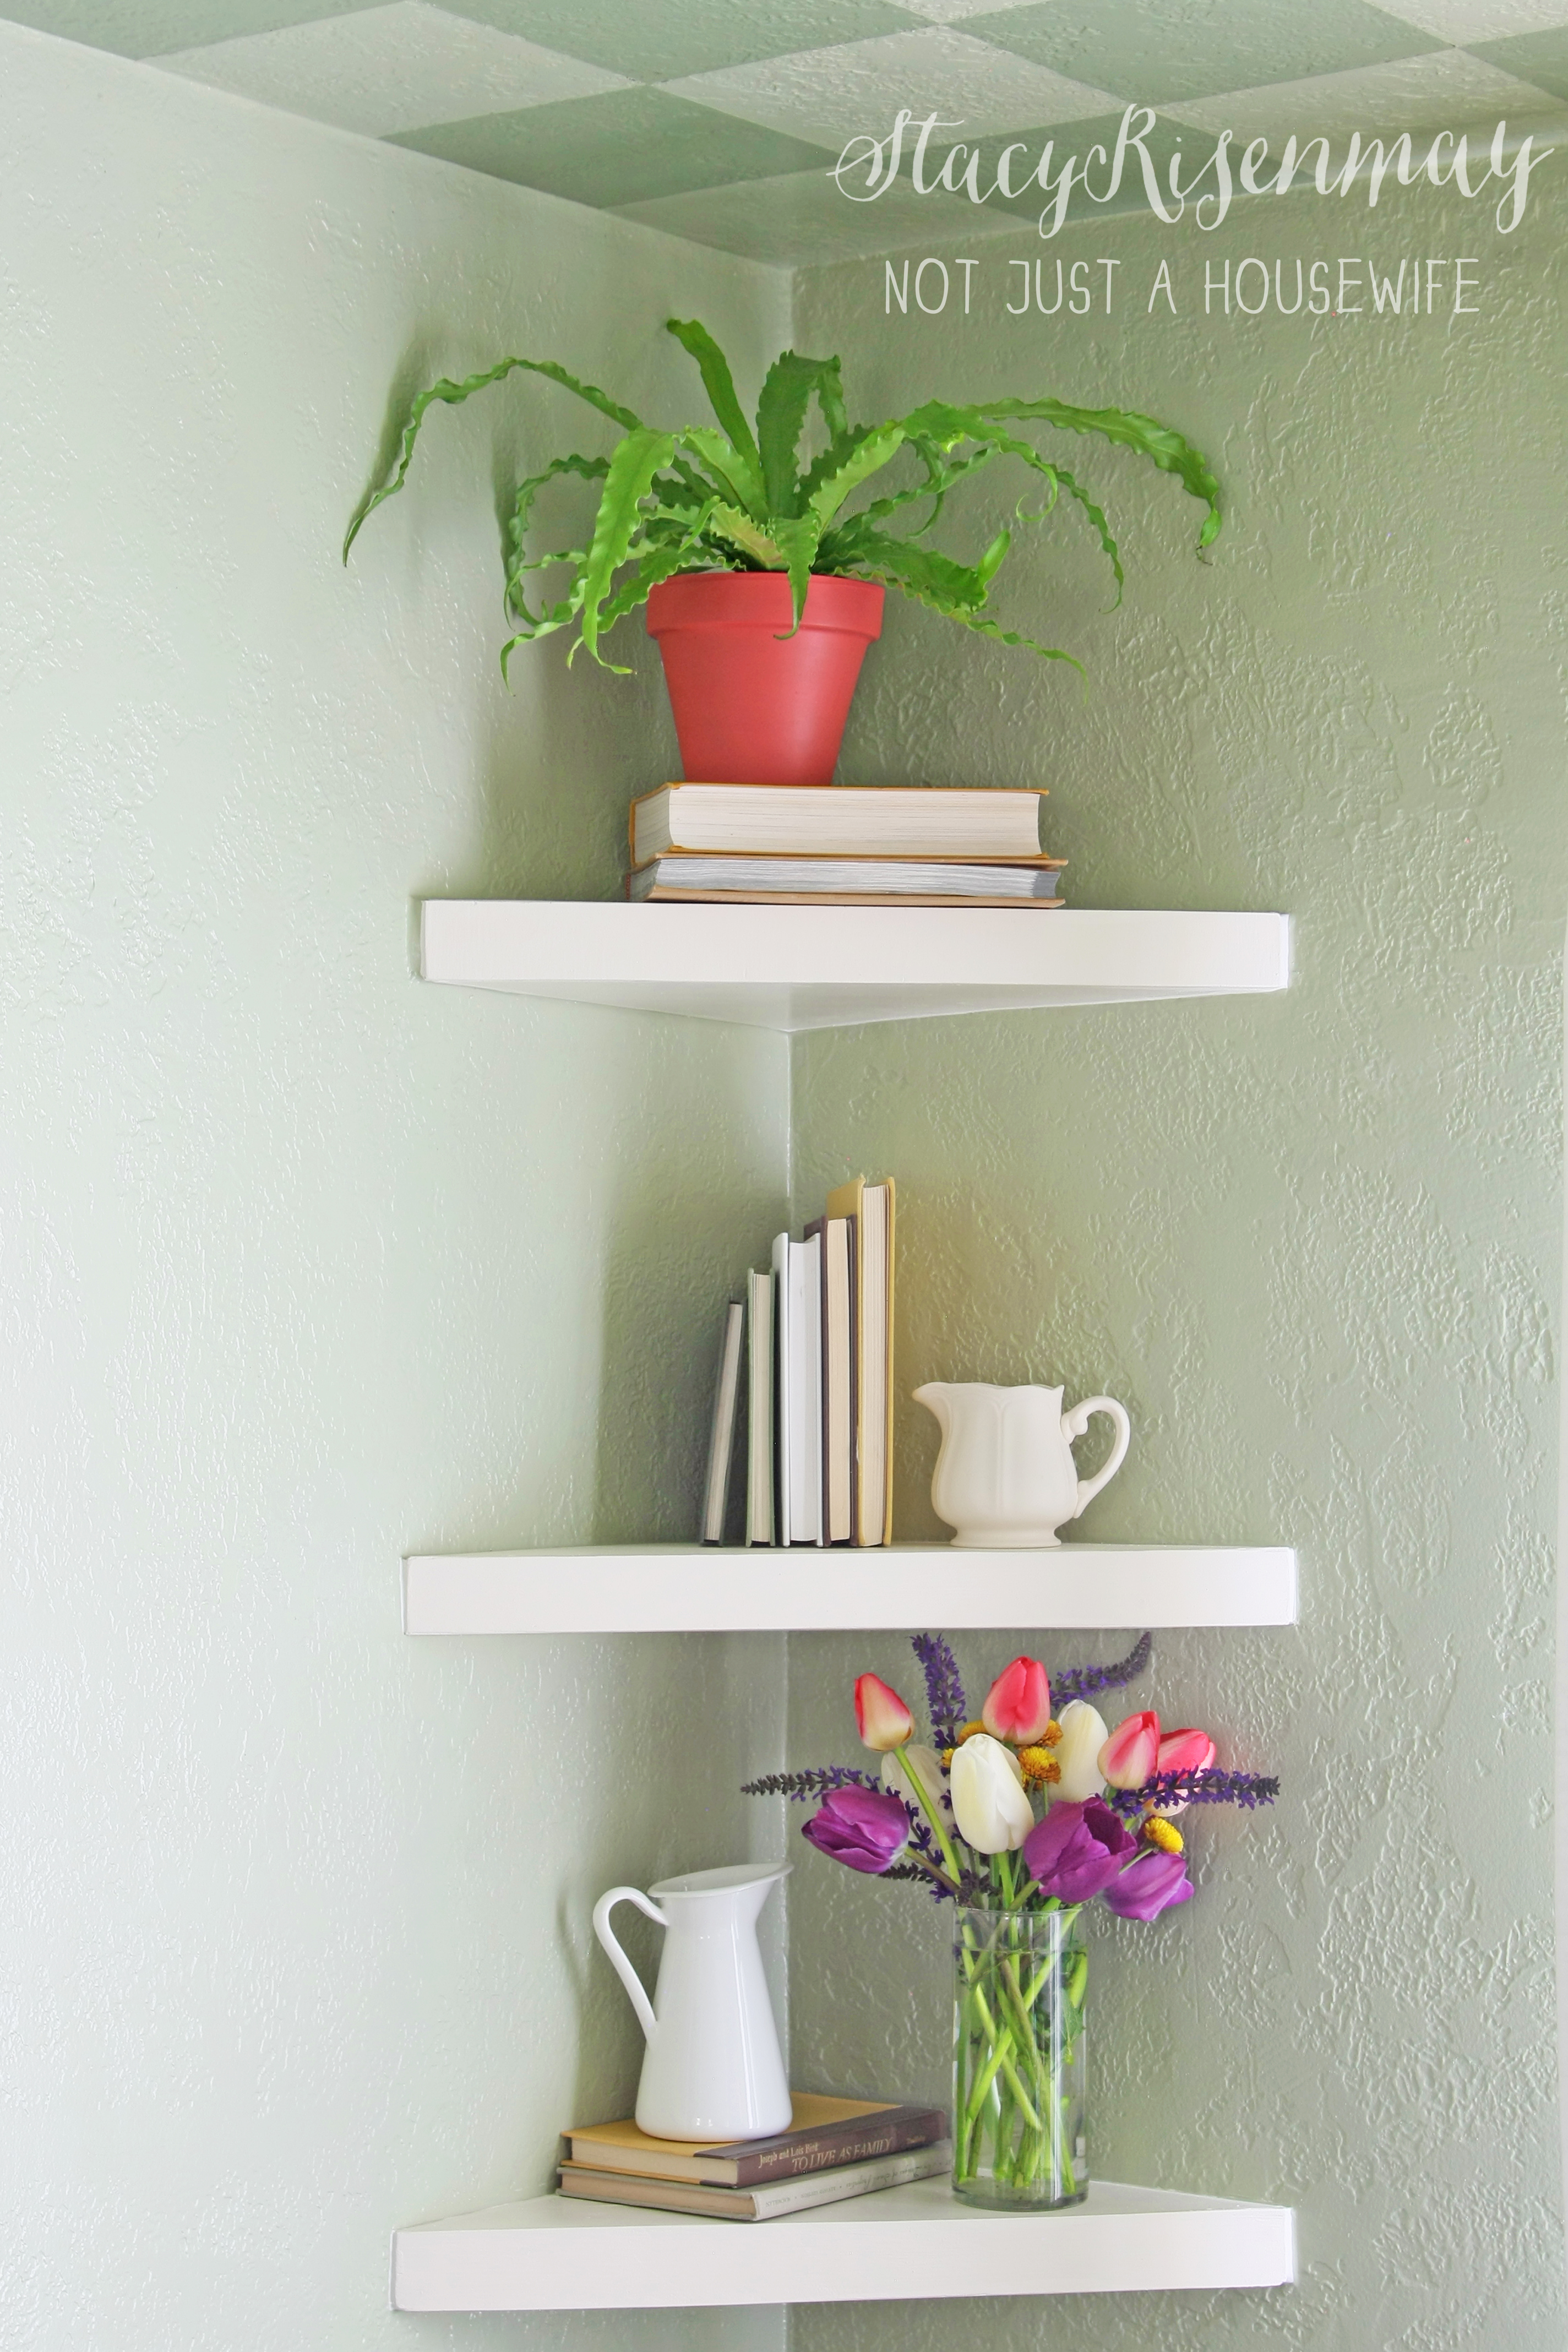
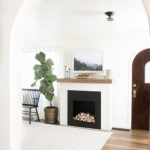
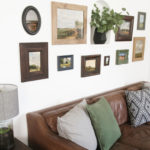
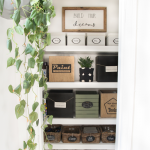
I have been making some changes in our dining space. It is such a small space that we can't really have furniture in there other than the table and chairs. We've got to fit 6 people in there! So I decided to take advantage of the corner and build some floating shelves.
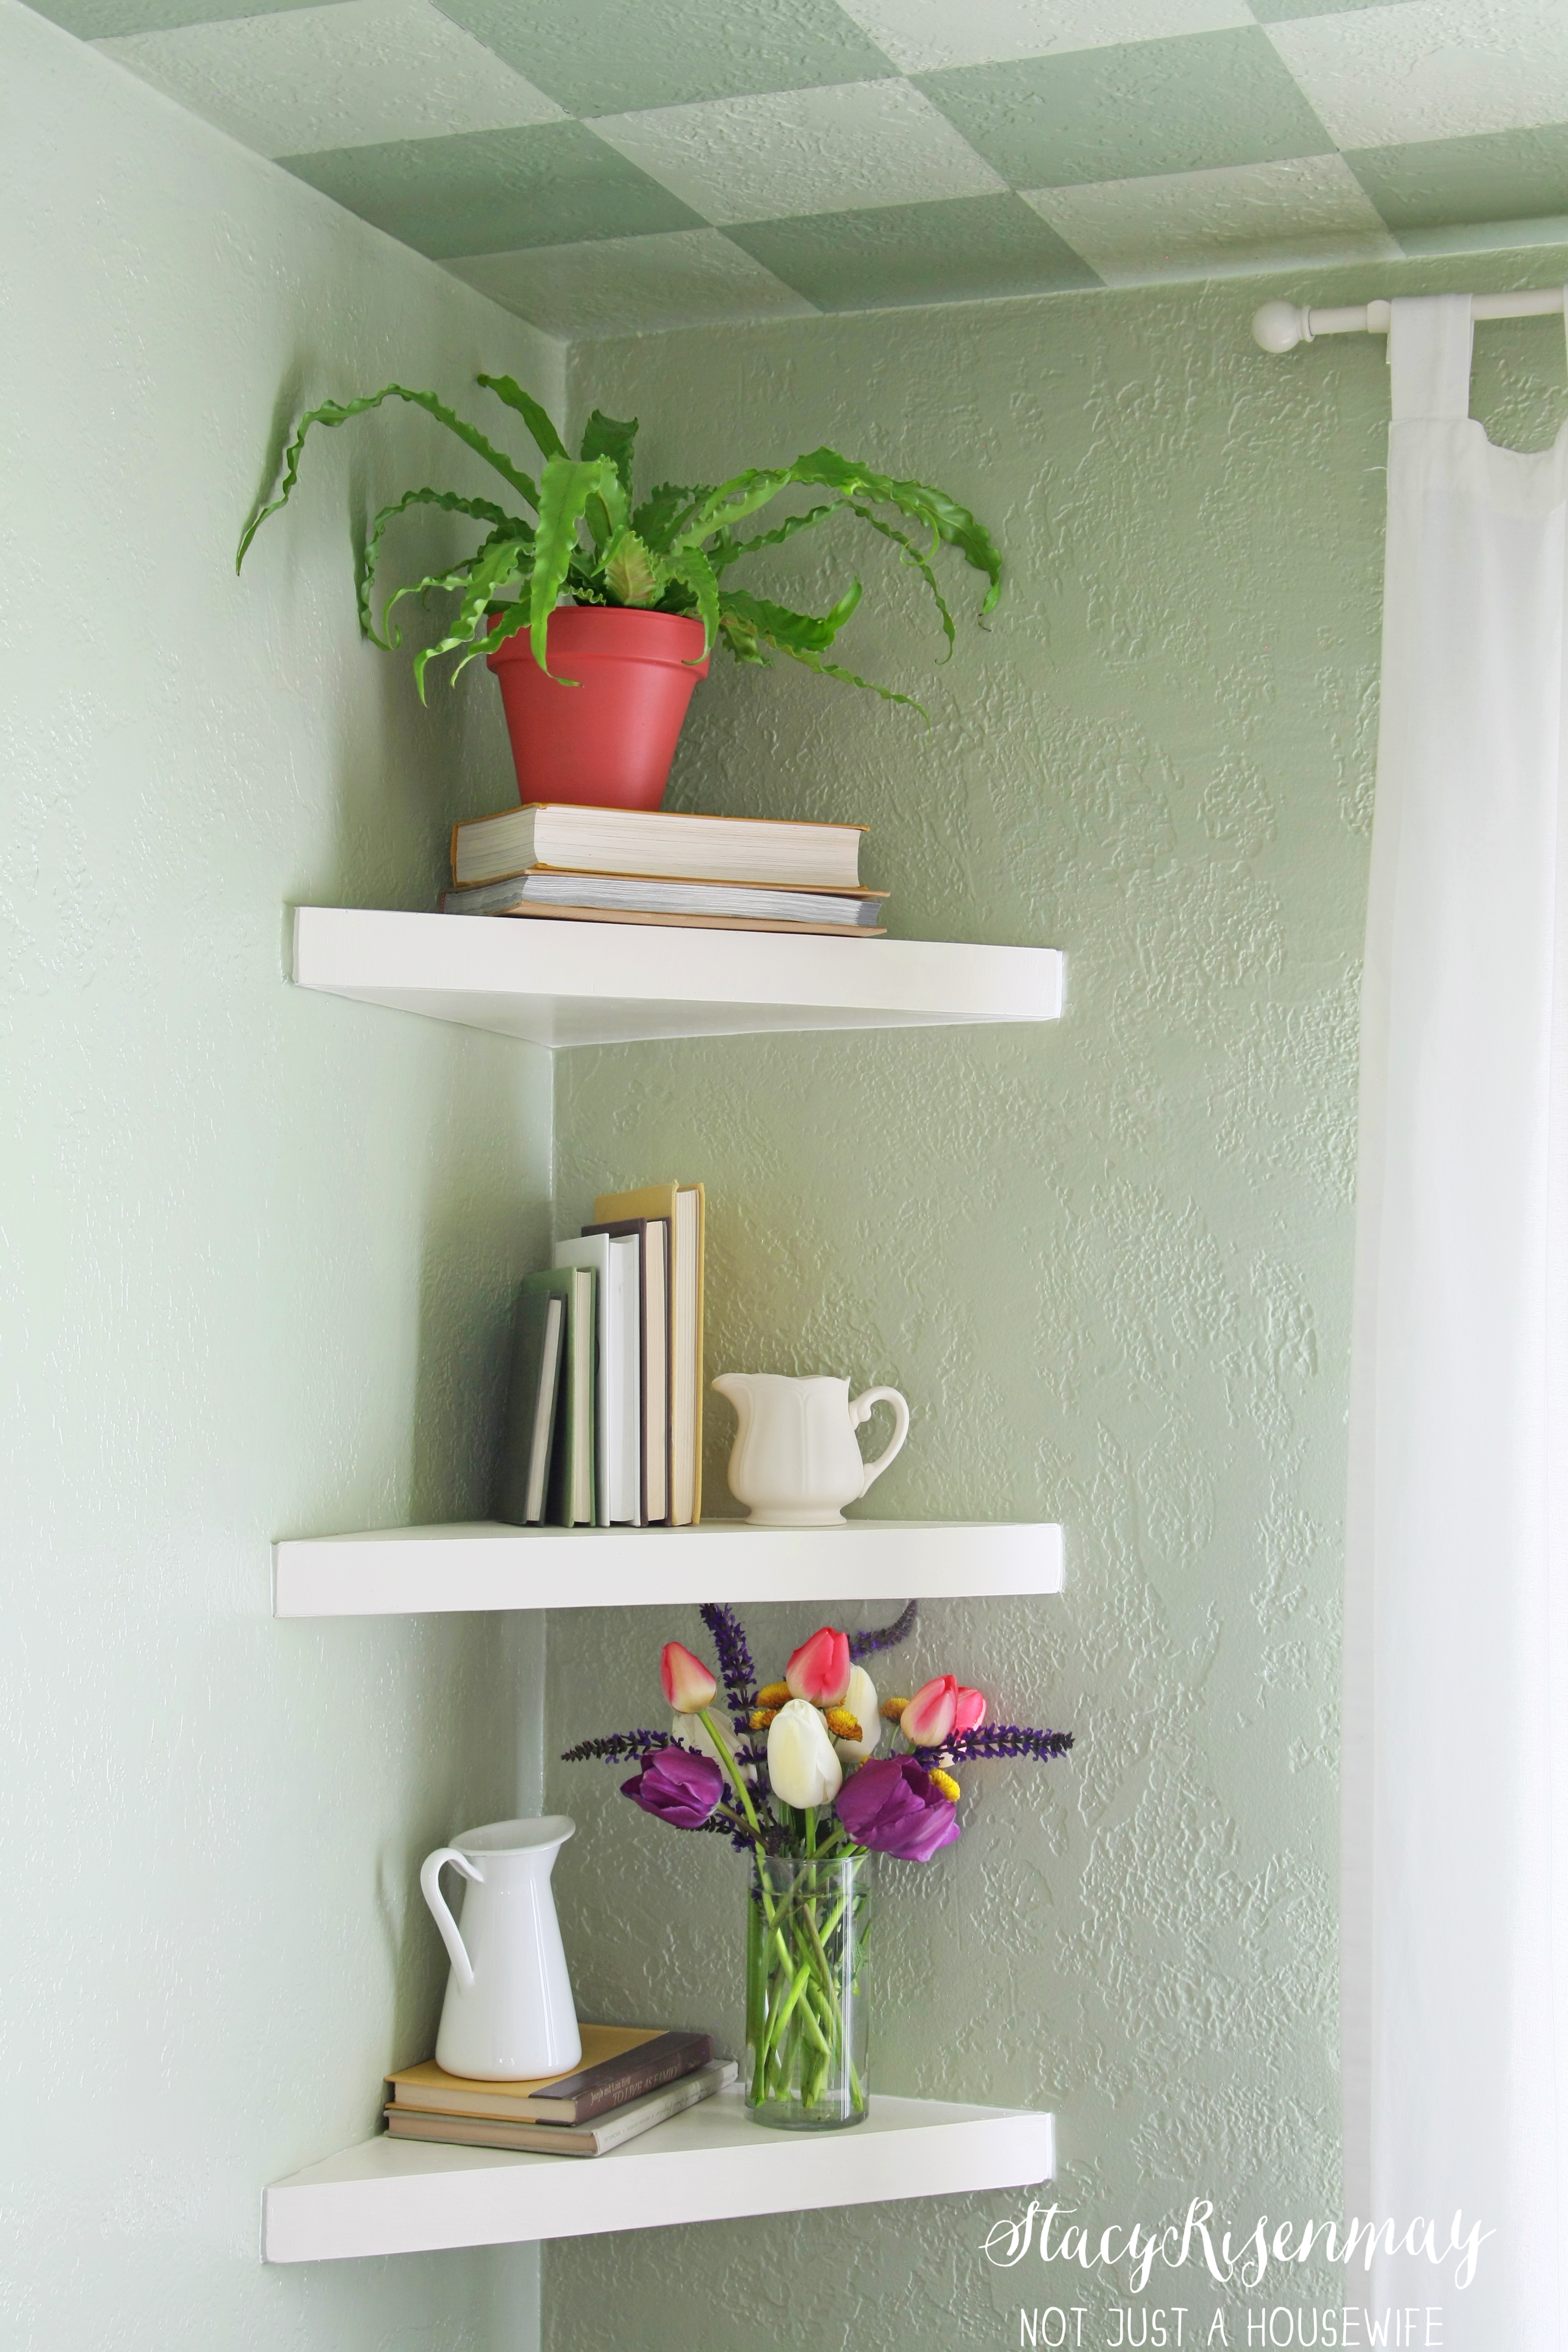
I decided last minute to style them for this tutorial but I am sure they will be more "dining roomy" when I style them for the full room reveal :)
How To Build Corner Floating Shelves
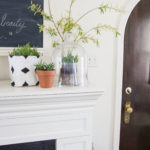
I actually already had one corner floating shelf from way back when I first decorated our dining room. You can see the lone shelf in the original dining room post. So I used that shelf as a template for the other 2. You can determine for yourself how deep you want them.
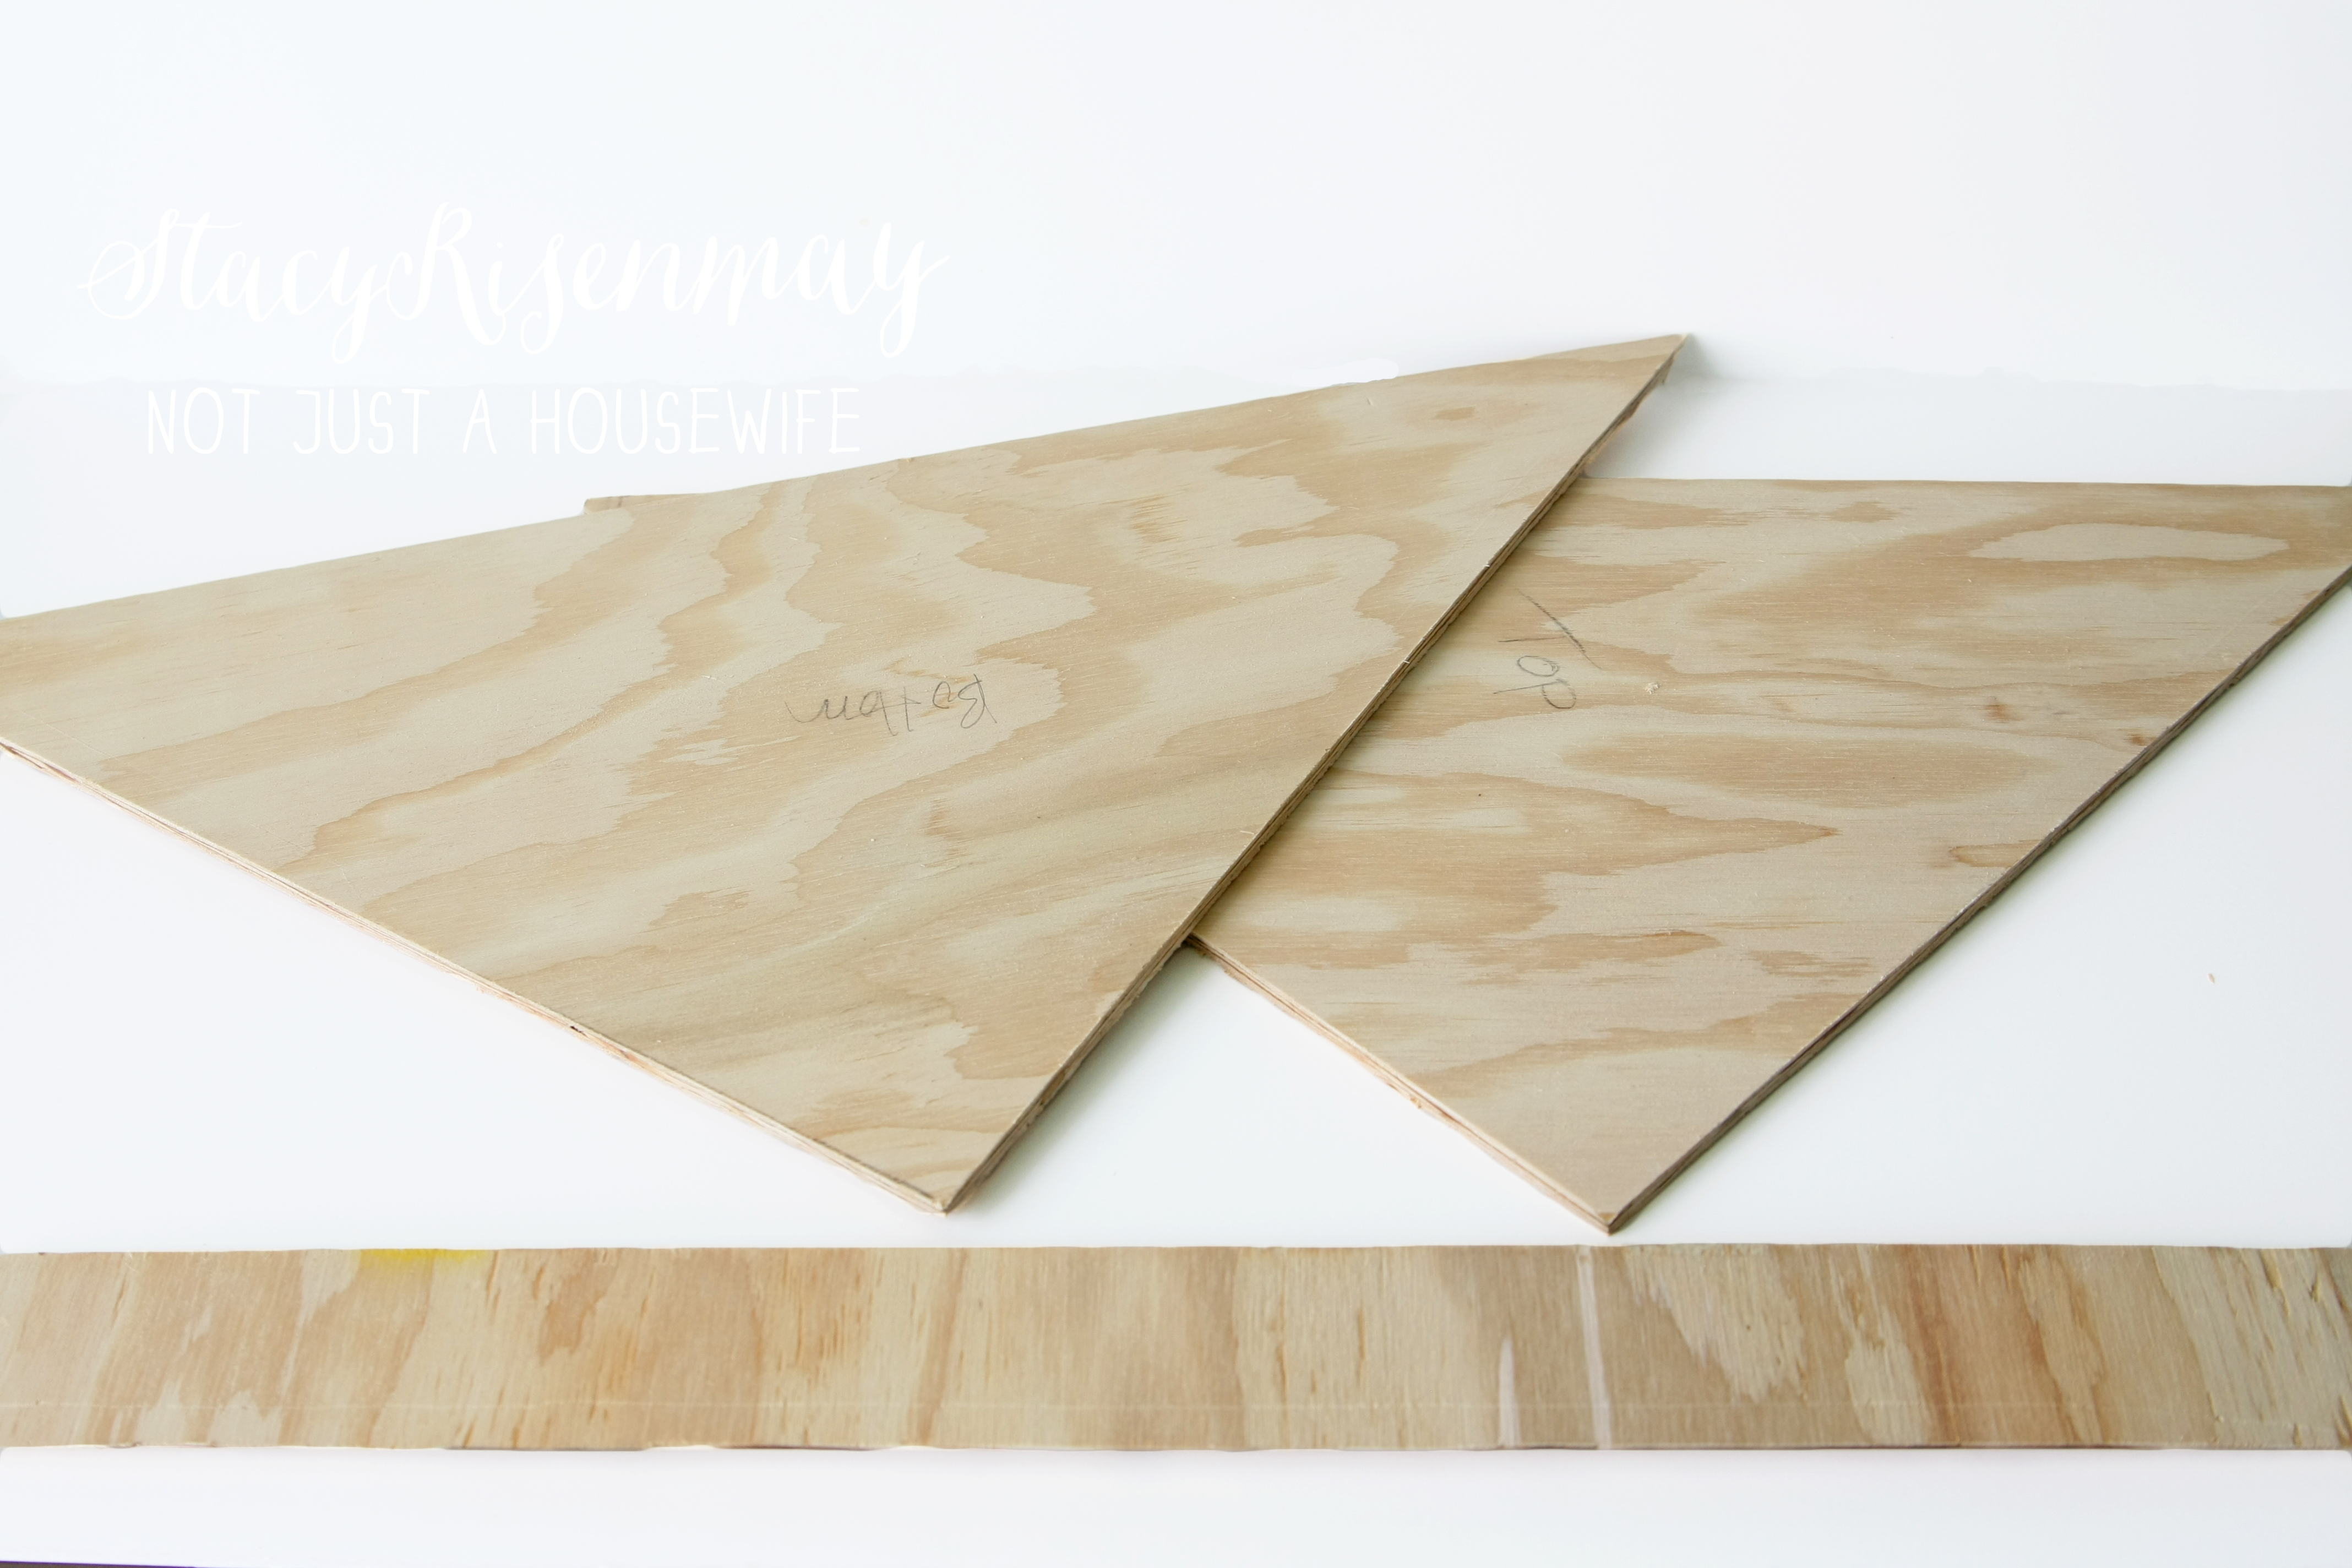
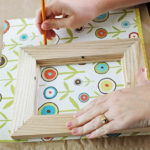
I used plywood because it is what I had on hand and because it is light weight. If you chose to use plywood, use at least ½" in thickness.
Cut out a triangle piece for the top, a triangle piece for the bottom, and a long rectangular piece for the front. I chose to also cut the edges on a 45 degree angle so the edges would be mitered instead of doing a butt joint. You can see more detailed photos of the different joints on my floating side table tutorial.
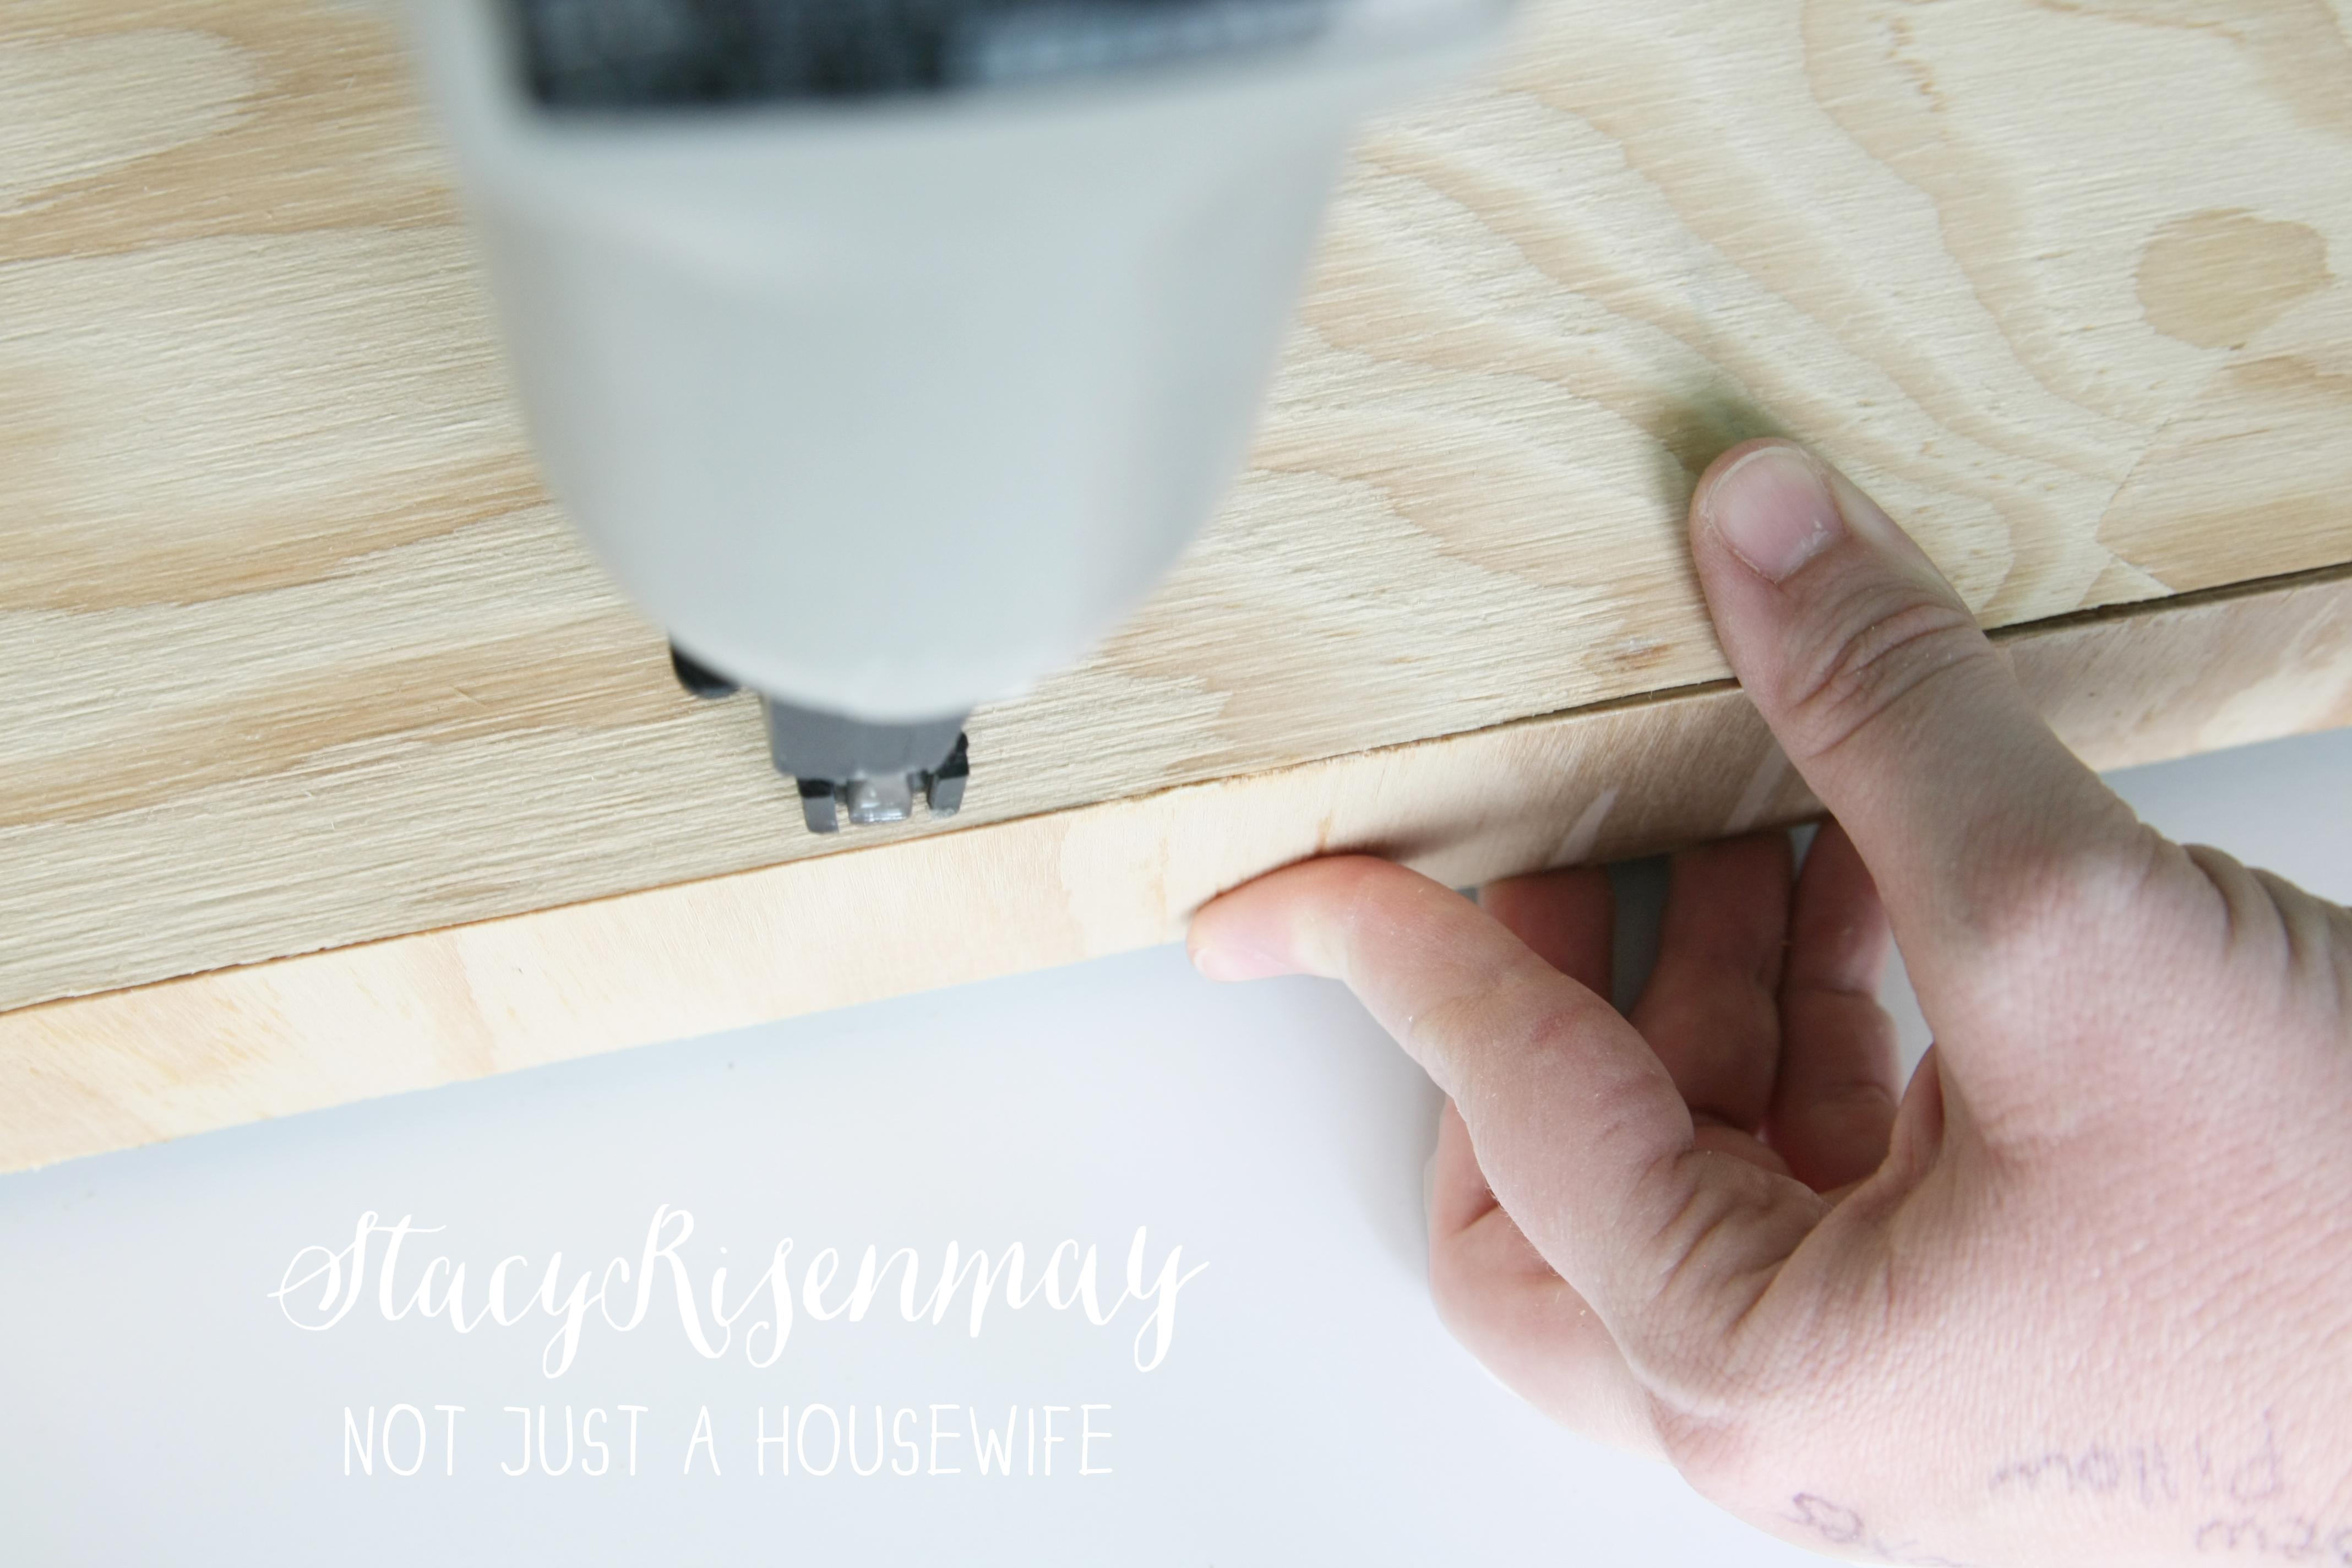
Here you can see that by cutting the edges on an angle, they meet up with the seam along the edge.

Using a brad nailer, nail them together.
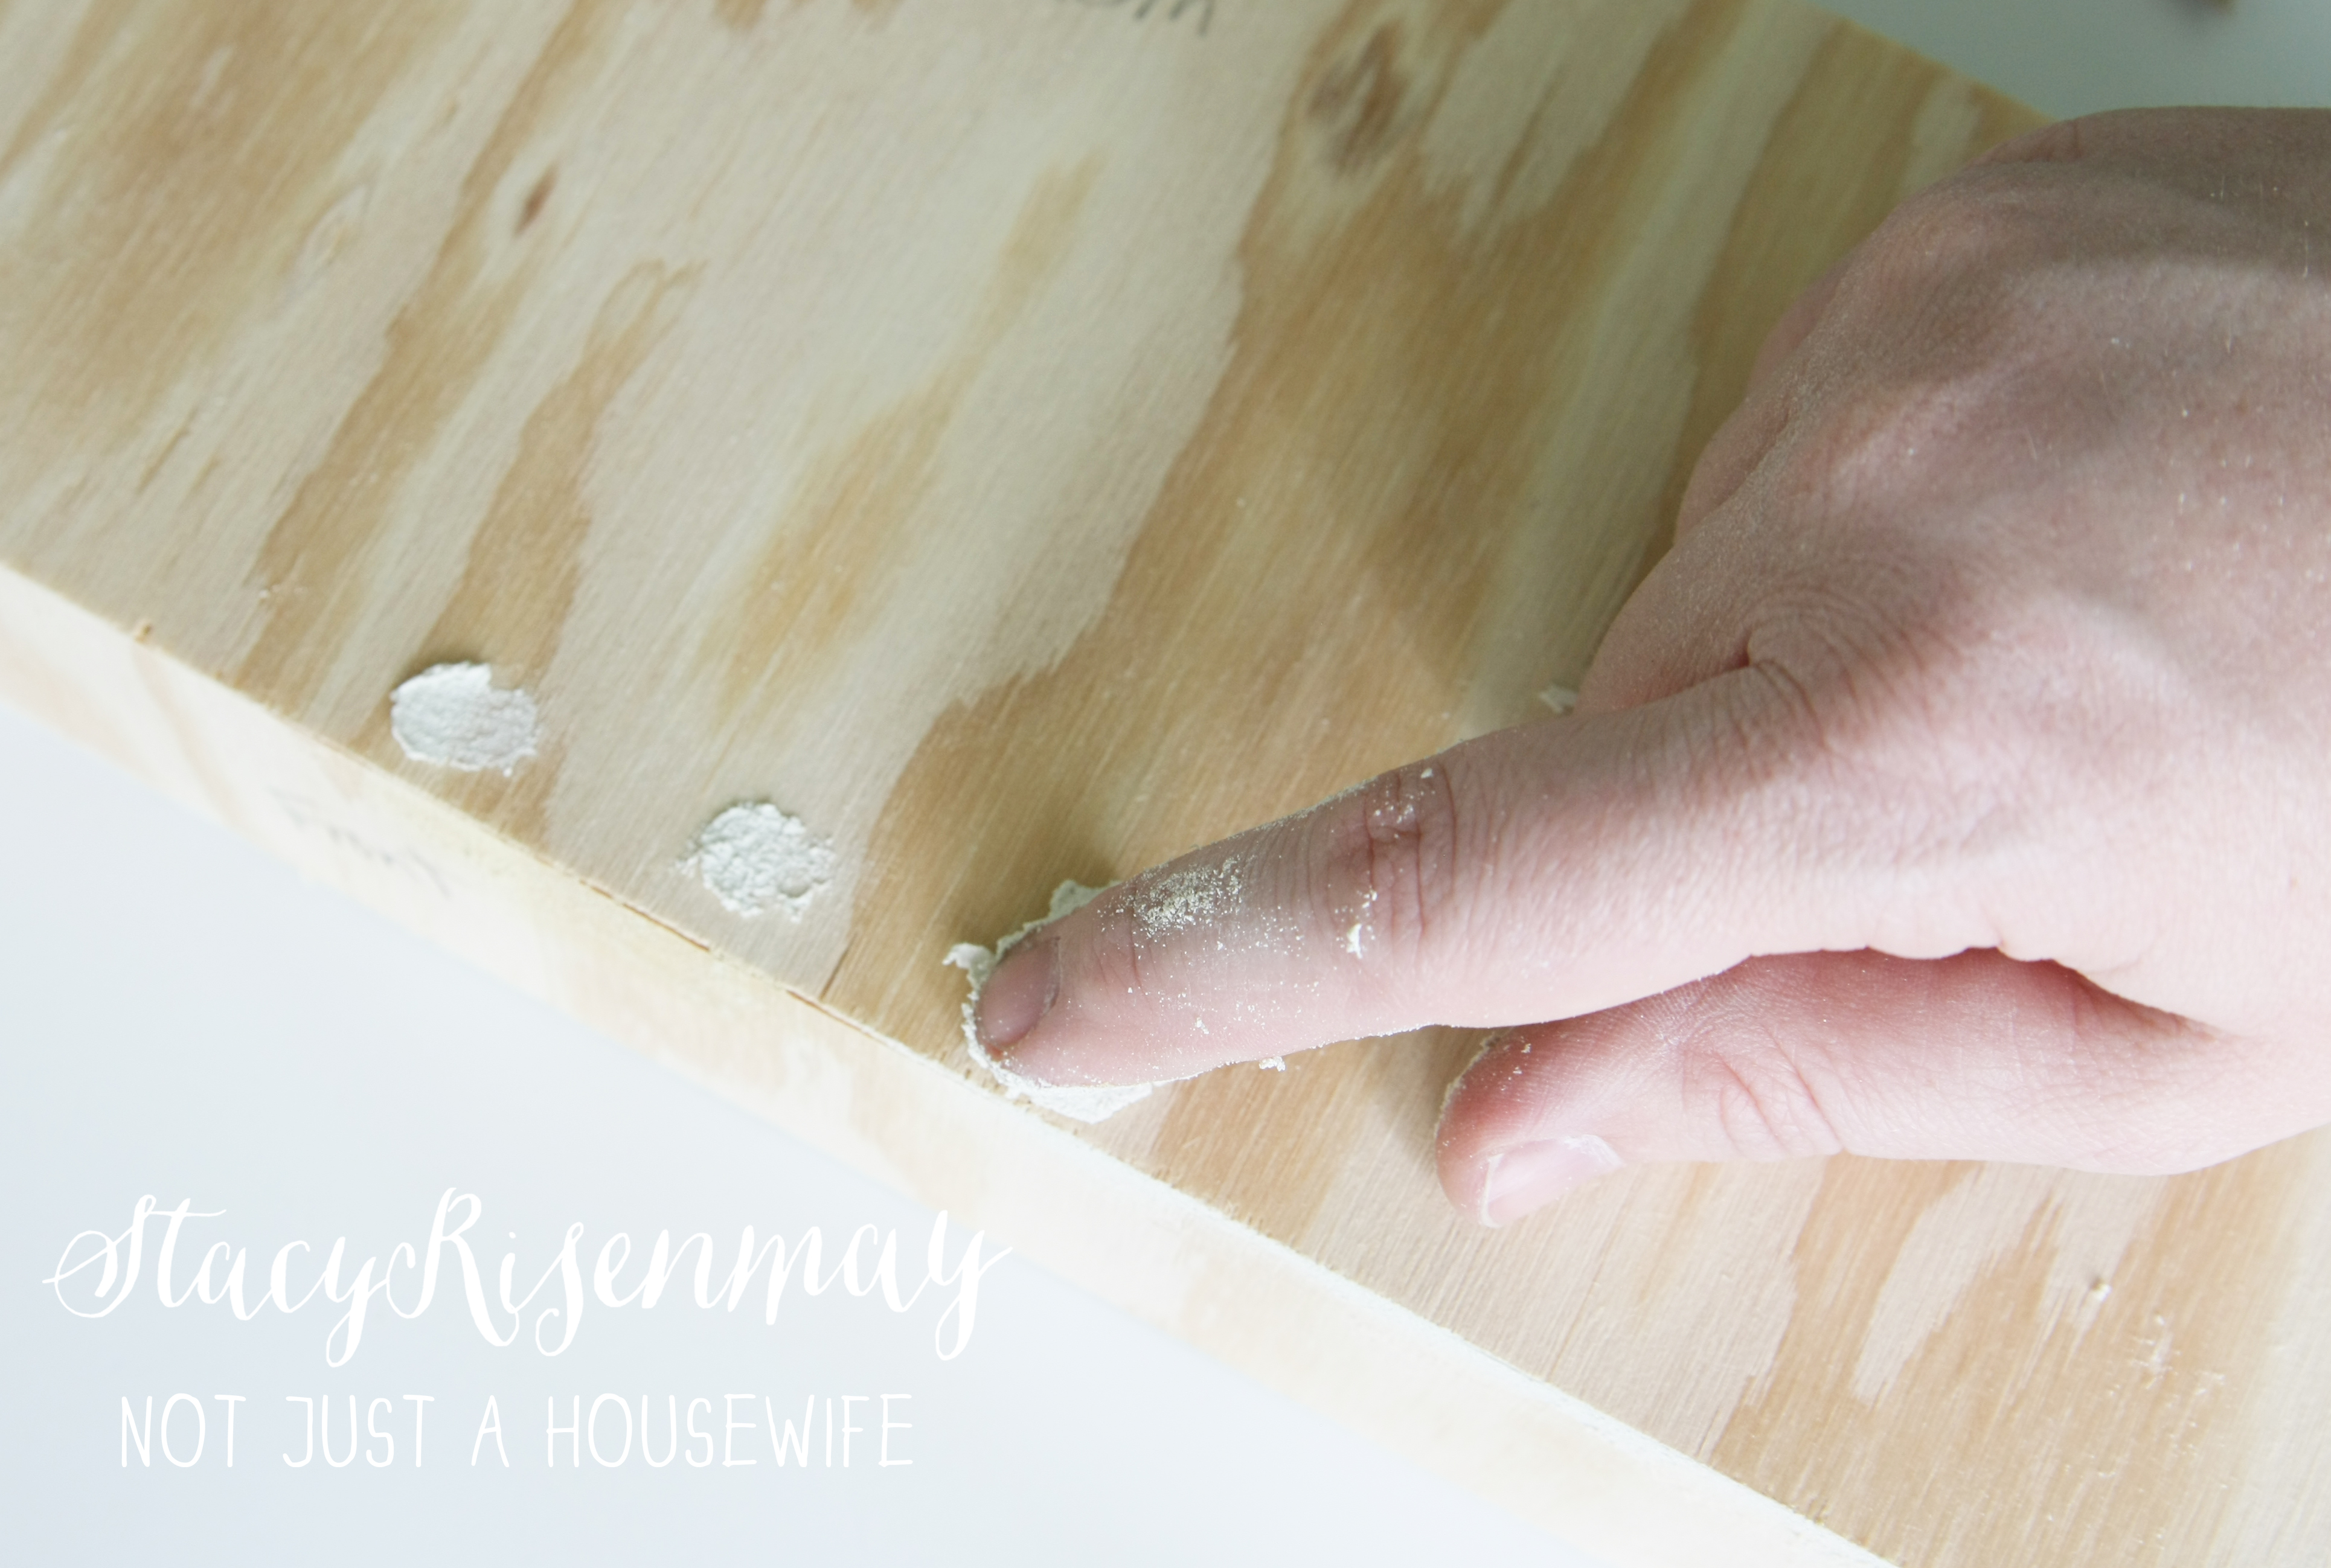
Then use a wood putty to fill the nail holes. Wait for it to dry, then sand the whole shelf smooth. Make sure to use a fine grit sand paper and sand with the grain (along the grain lines).
Once the shelves are built, you will need to create a brace to hang them with. I cut a 2x4 in half length wise and then cut them into 8" pieces. Your braces should fit snuggly inside the shelf.
I then drilled pilot holes so the wood wouldn't split when I screwed them into the wall.

I used 4" wood screws to attach them to the wall. I have lathe and plaster walls and the spacing of the studs are a little different, but make sure that you find a stud to screw the brace into so the shelf will be more secure.
Make sure they are level.
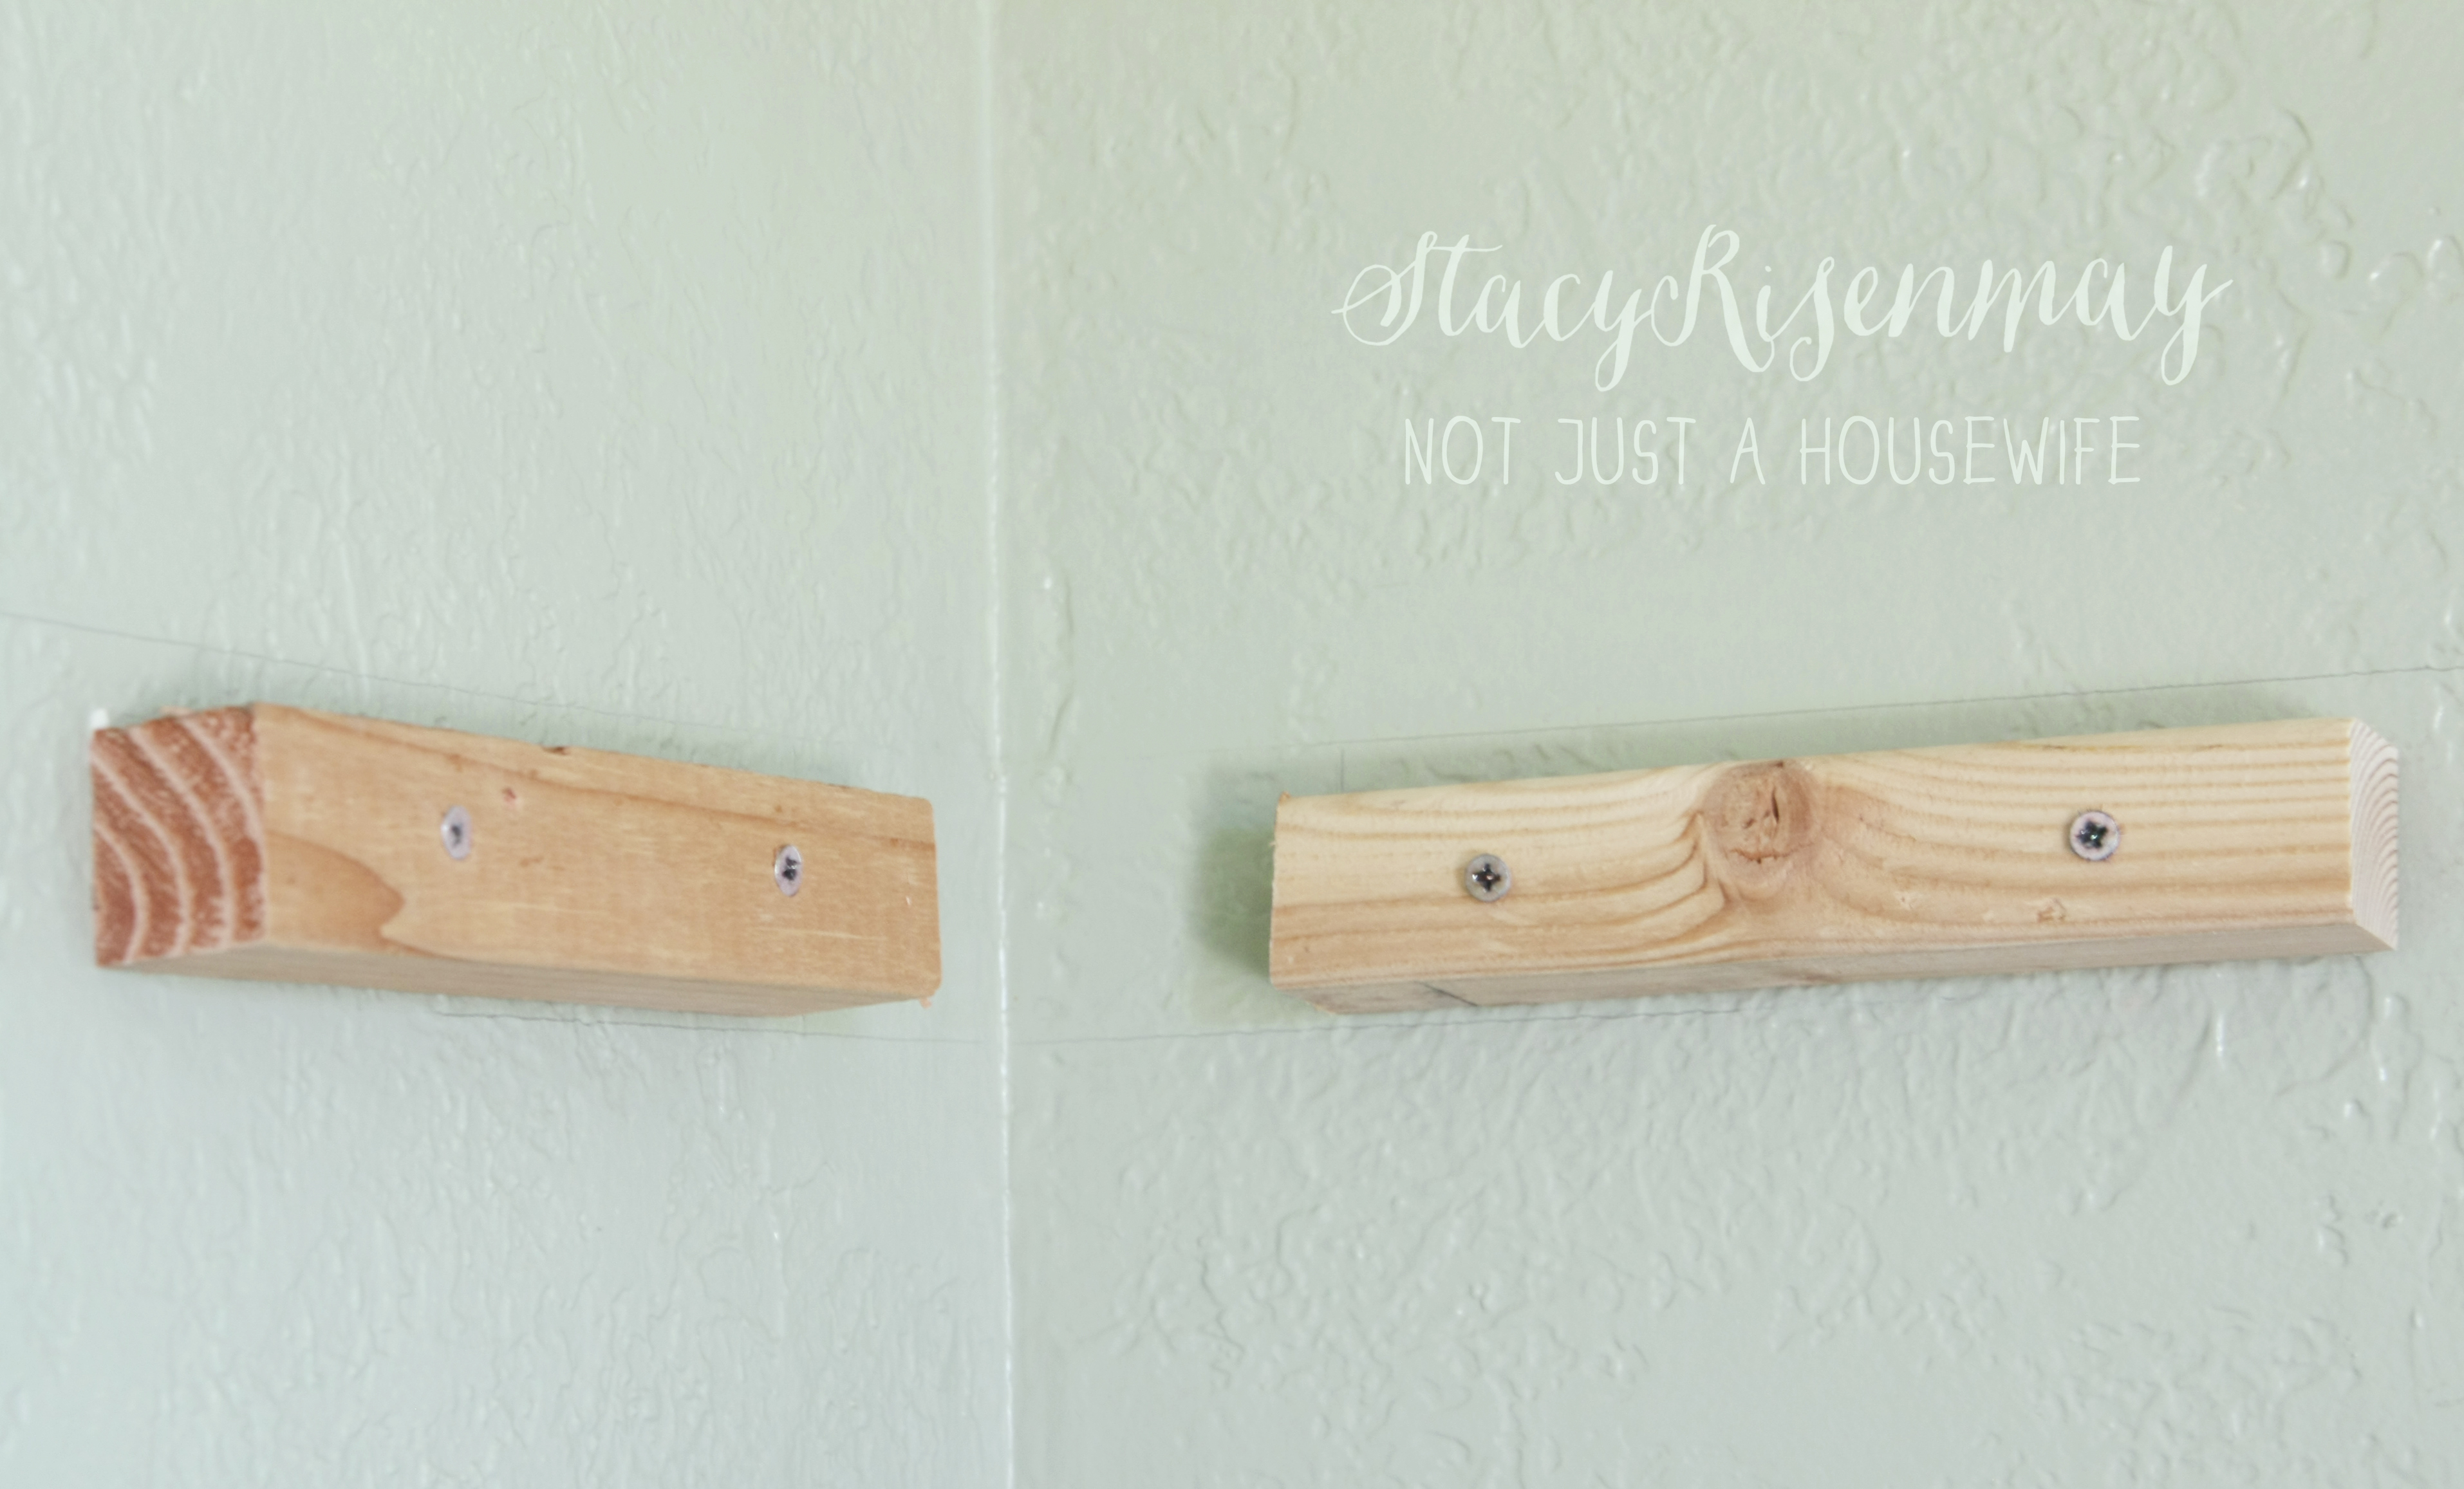
The shelves should just slide right on!
When I hung the one shelf years ago I did not caulk. But it was painted almost the same color as the wall, so the slight spaces did not show as much. Walls will not always be 100% square so even if you build the shelf perfectly, you will still have small gaps in places. I decided to caulk the edges this time for a cleaner look. If I ever want to remove them, all I have to do is use a razor blade along the caulk line.
I can't wait to show you the whole space! I am hoping to get it done this week.


Love them! Might have to add some to a few rooms in my house!
Beautiful and practical. Thanks for the how to.
Where did you move your rustic corner unit to?
Also, what are the dimensions of your dining room? I have a really small dining room/breakfast nook that currently has a 42" round glass table and 4 chairs. I've been trying to figure out how we can add more seating to our space for our growing family (currently we have to bring a folding chair from the garage every night, lol. Not to mention if we have any friends or family over!). I love your new bench idea, but am not sure how it'd look with a round table...or if I should change our table to be a rectangle shape.
I am going to put the barn wood shelf in my boys room. As soon as we finish our bedroom in the basement, we are moving 2 of our boys in there. We will have a camping/outdoorsy theme and I thought the shelves would go great in there!
Our dining space is 7 feet by 9 feet. It works for now but I honestly don't know what we will do when our boys grow up and are all tall and lanky :)
Such cute little shelves, Stacy!
Those look great! I want to do this in our front room to display antique board games, etc. Can't wait to see the full reveal!
LOVE this! Great tutorial. I can think of 3 places I need these in my home :) Tweeted!
They look great! Thanks for sharing this tutorial. :)
These are sweet! Great photos step by step ... and of course, I love your checker ceiling!!!
How large do you think these could be and still support some weight? How deep are the ones you just built?
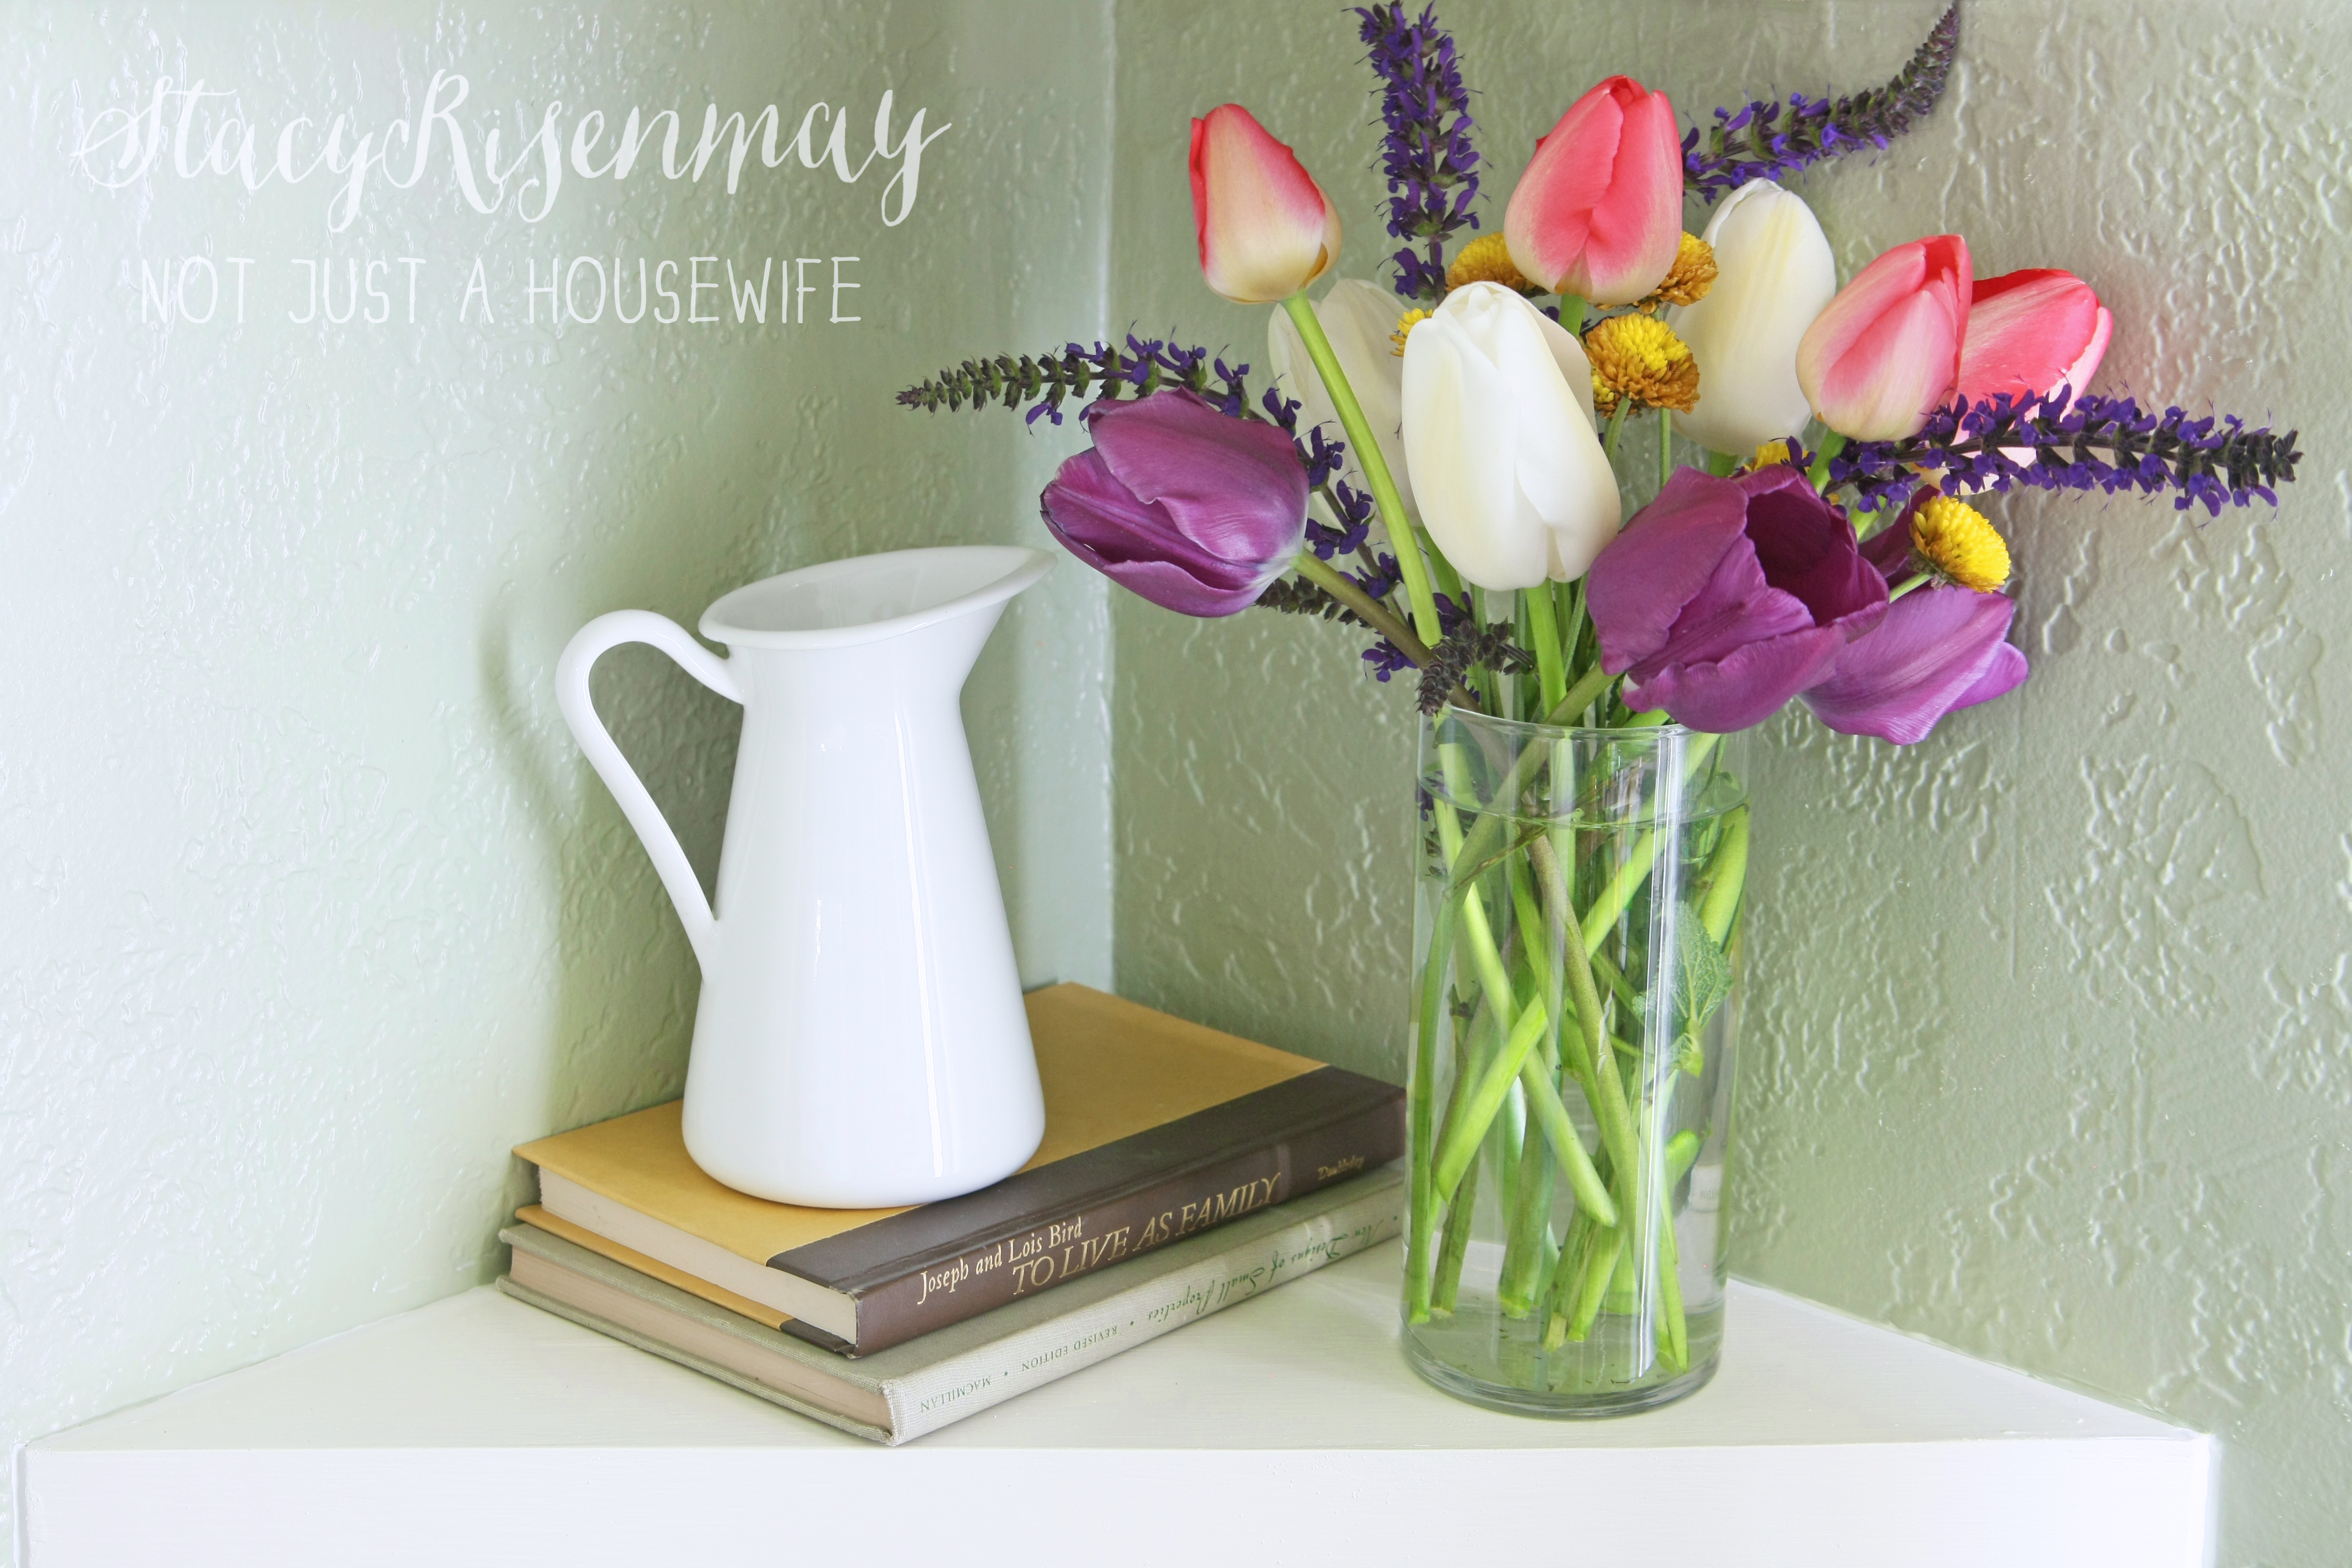
From the corner of the wall to the front is about 11 inches, across the front is about 22 inches, and the sides are about 15 inches. The hold a lot of weight especially since I caulked them. I probably wouldn't go bigger than 14 inches deep.
I love that ceiling also!
Love them have always wanted to do this but didn't know how.
Thank you for sharing this floating corner shelves info, Stacy!
Planning to make the same project.