
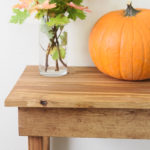
This post is sponsored by Minwax :)
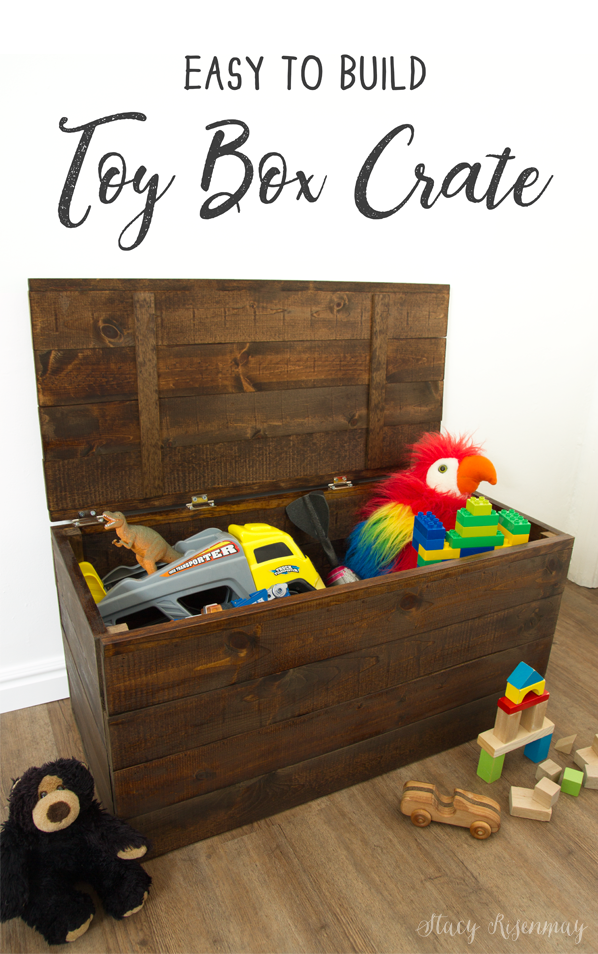
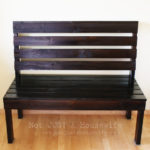
Even though I blogged about it 6 years ago, I still get emails all the time asking if I have a tutorial for the crate I built that was in my living room. It was the first thing I built from scratch and I built it a long time before I started blogging, so I didn't have a tutorial. Now that I am splitting up the boys into two different rooms, I need more storage. The crate I built years ago is going in one room and so I thought I would build another toy box crate for the other room. They are easy to build and you can customize it to be the size you want!
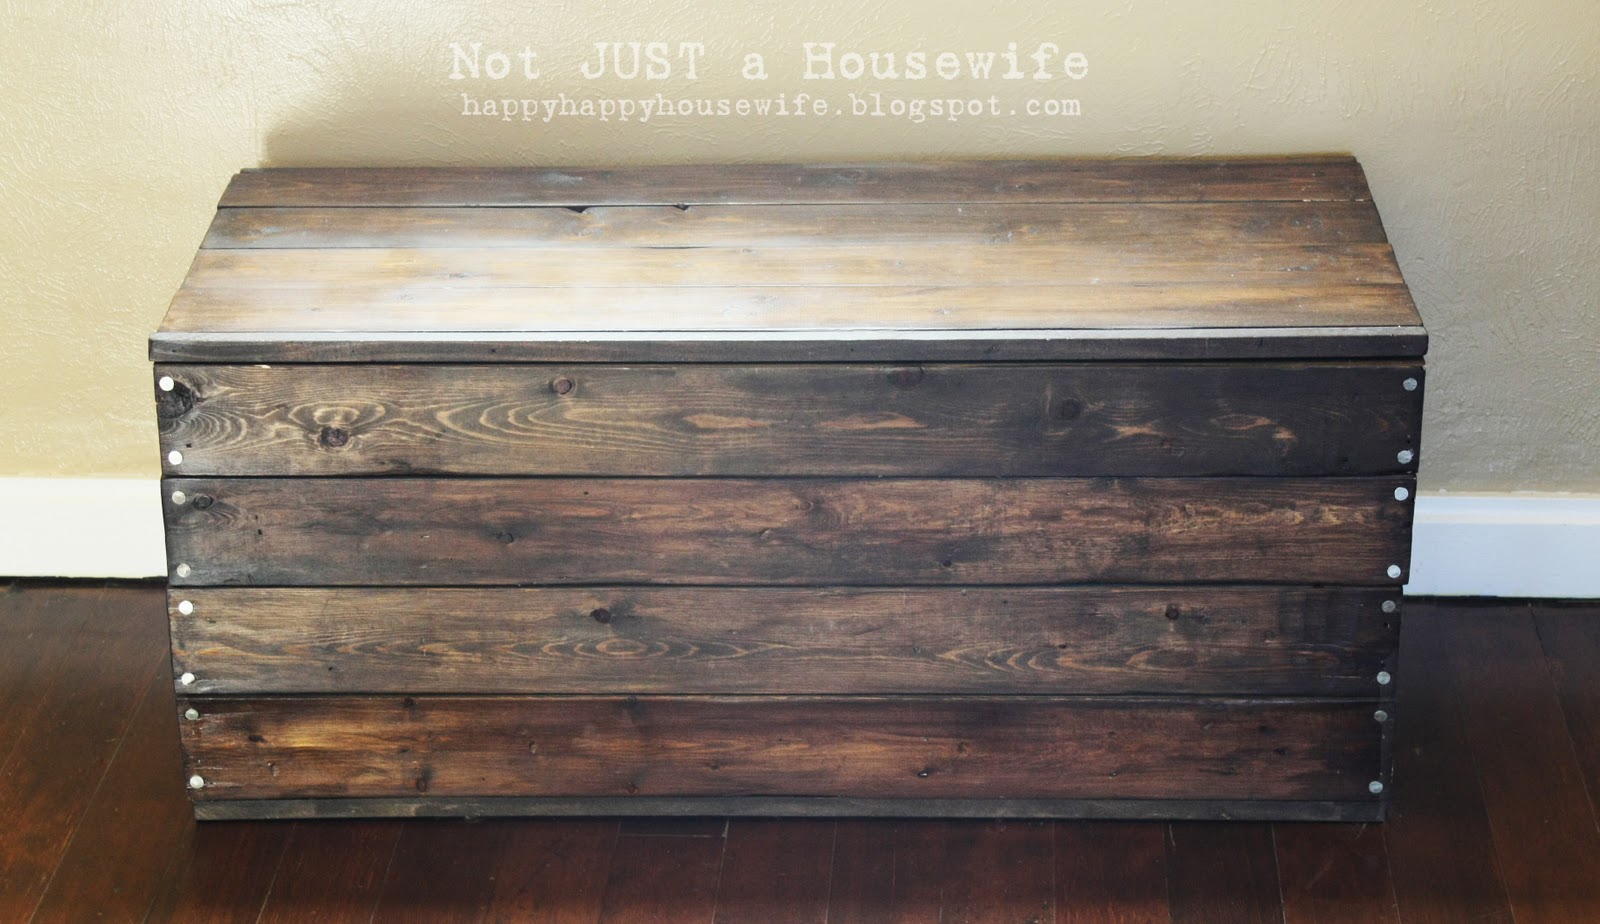
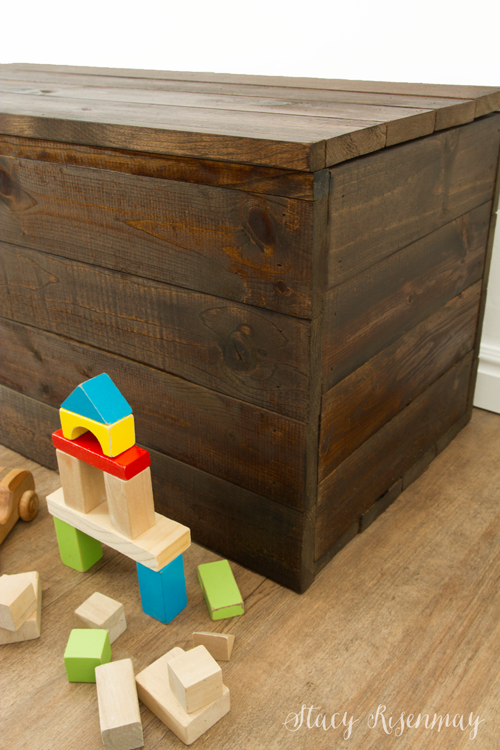
Just like the original, I was going for a bit of a rustic look. I didn't worry if the boards had dents or if they didn't align perfectly. In fact, with the original crate, I purposely cut the boards slightly different lengths to achieve that look.
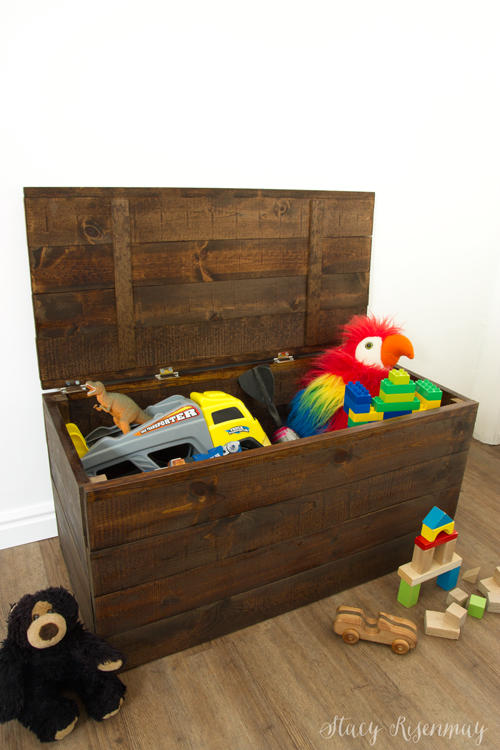
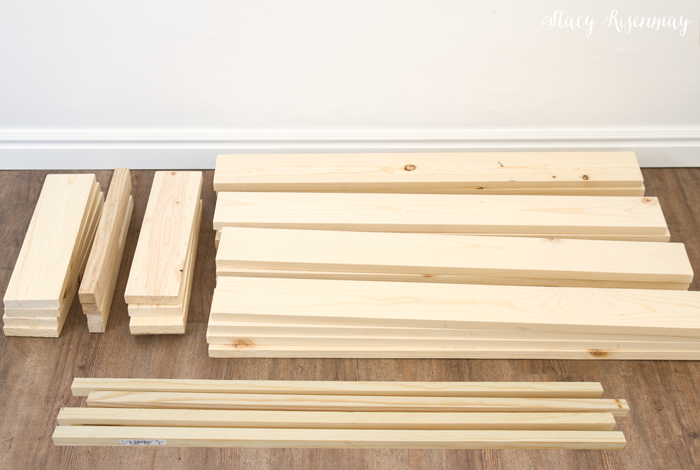
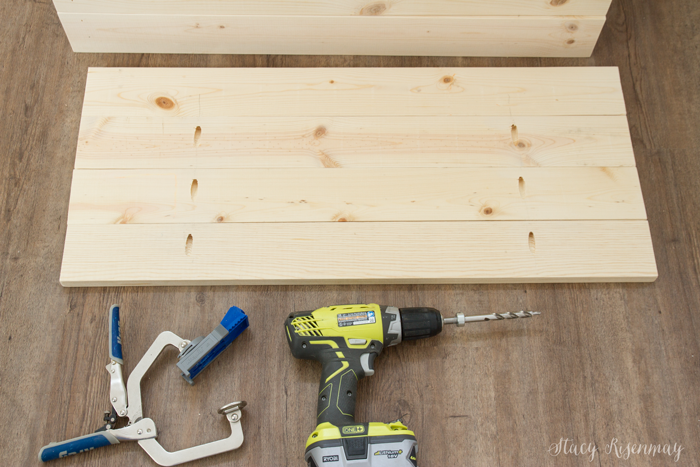
The crate is made up primarily of 1x4s. There are no fany cuts so you can use a hand saw, miter saw, or circular saw.
Cut List:
(8) 1x4 boards cut to 13 ¾"
(16) 1x4 boards cut to 31 ¾" (so I could get 3 per 8 foot board)
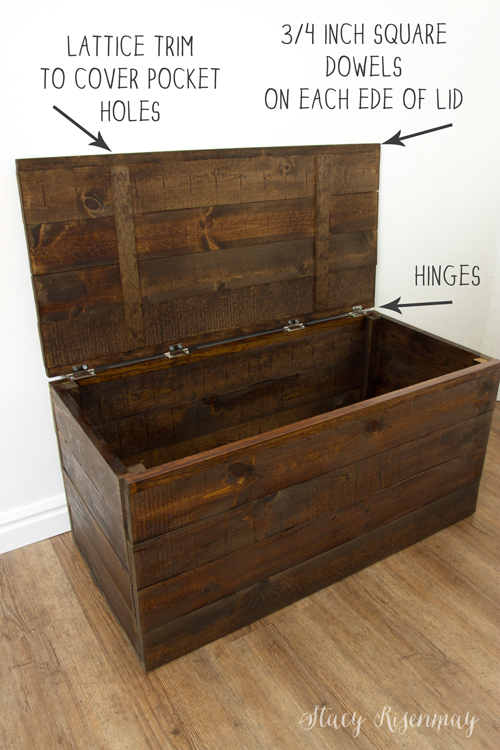
(4) 1" square dowel pieces cut to 14"
(4) ¾" square dowel pieces cut to 31 ¾"
After sanding each board, I got to work building the crate. I used a brad nailer and wood glue for most of the assembly. The 1" square dowels are for each corner.
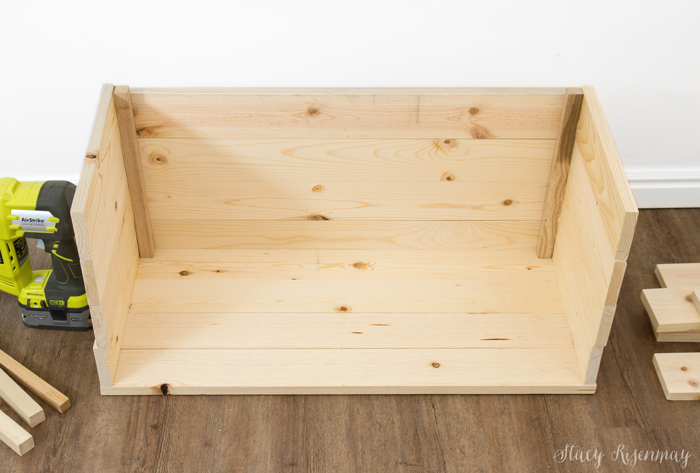
Another method to build crates is to use pocket holes. I have done that for planter boxes but chose not to do that for this box since they would be visible (since I am not filling it up with dirt).
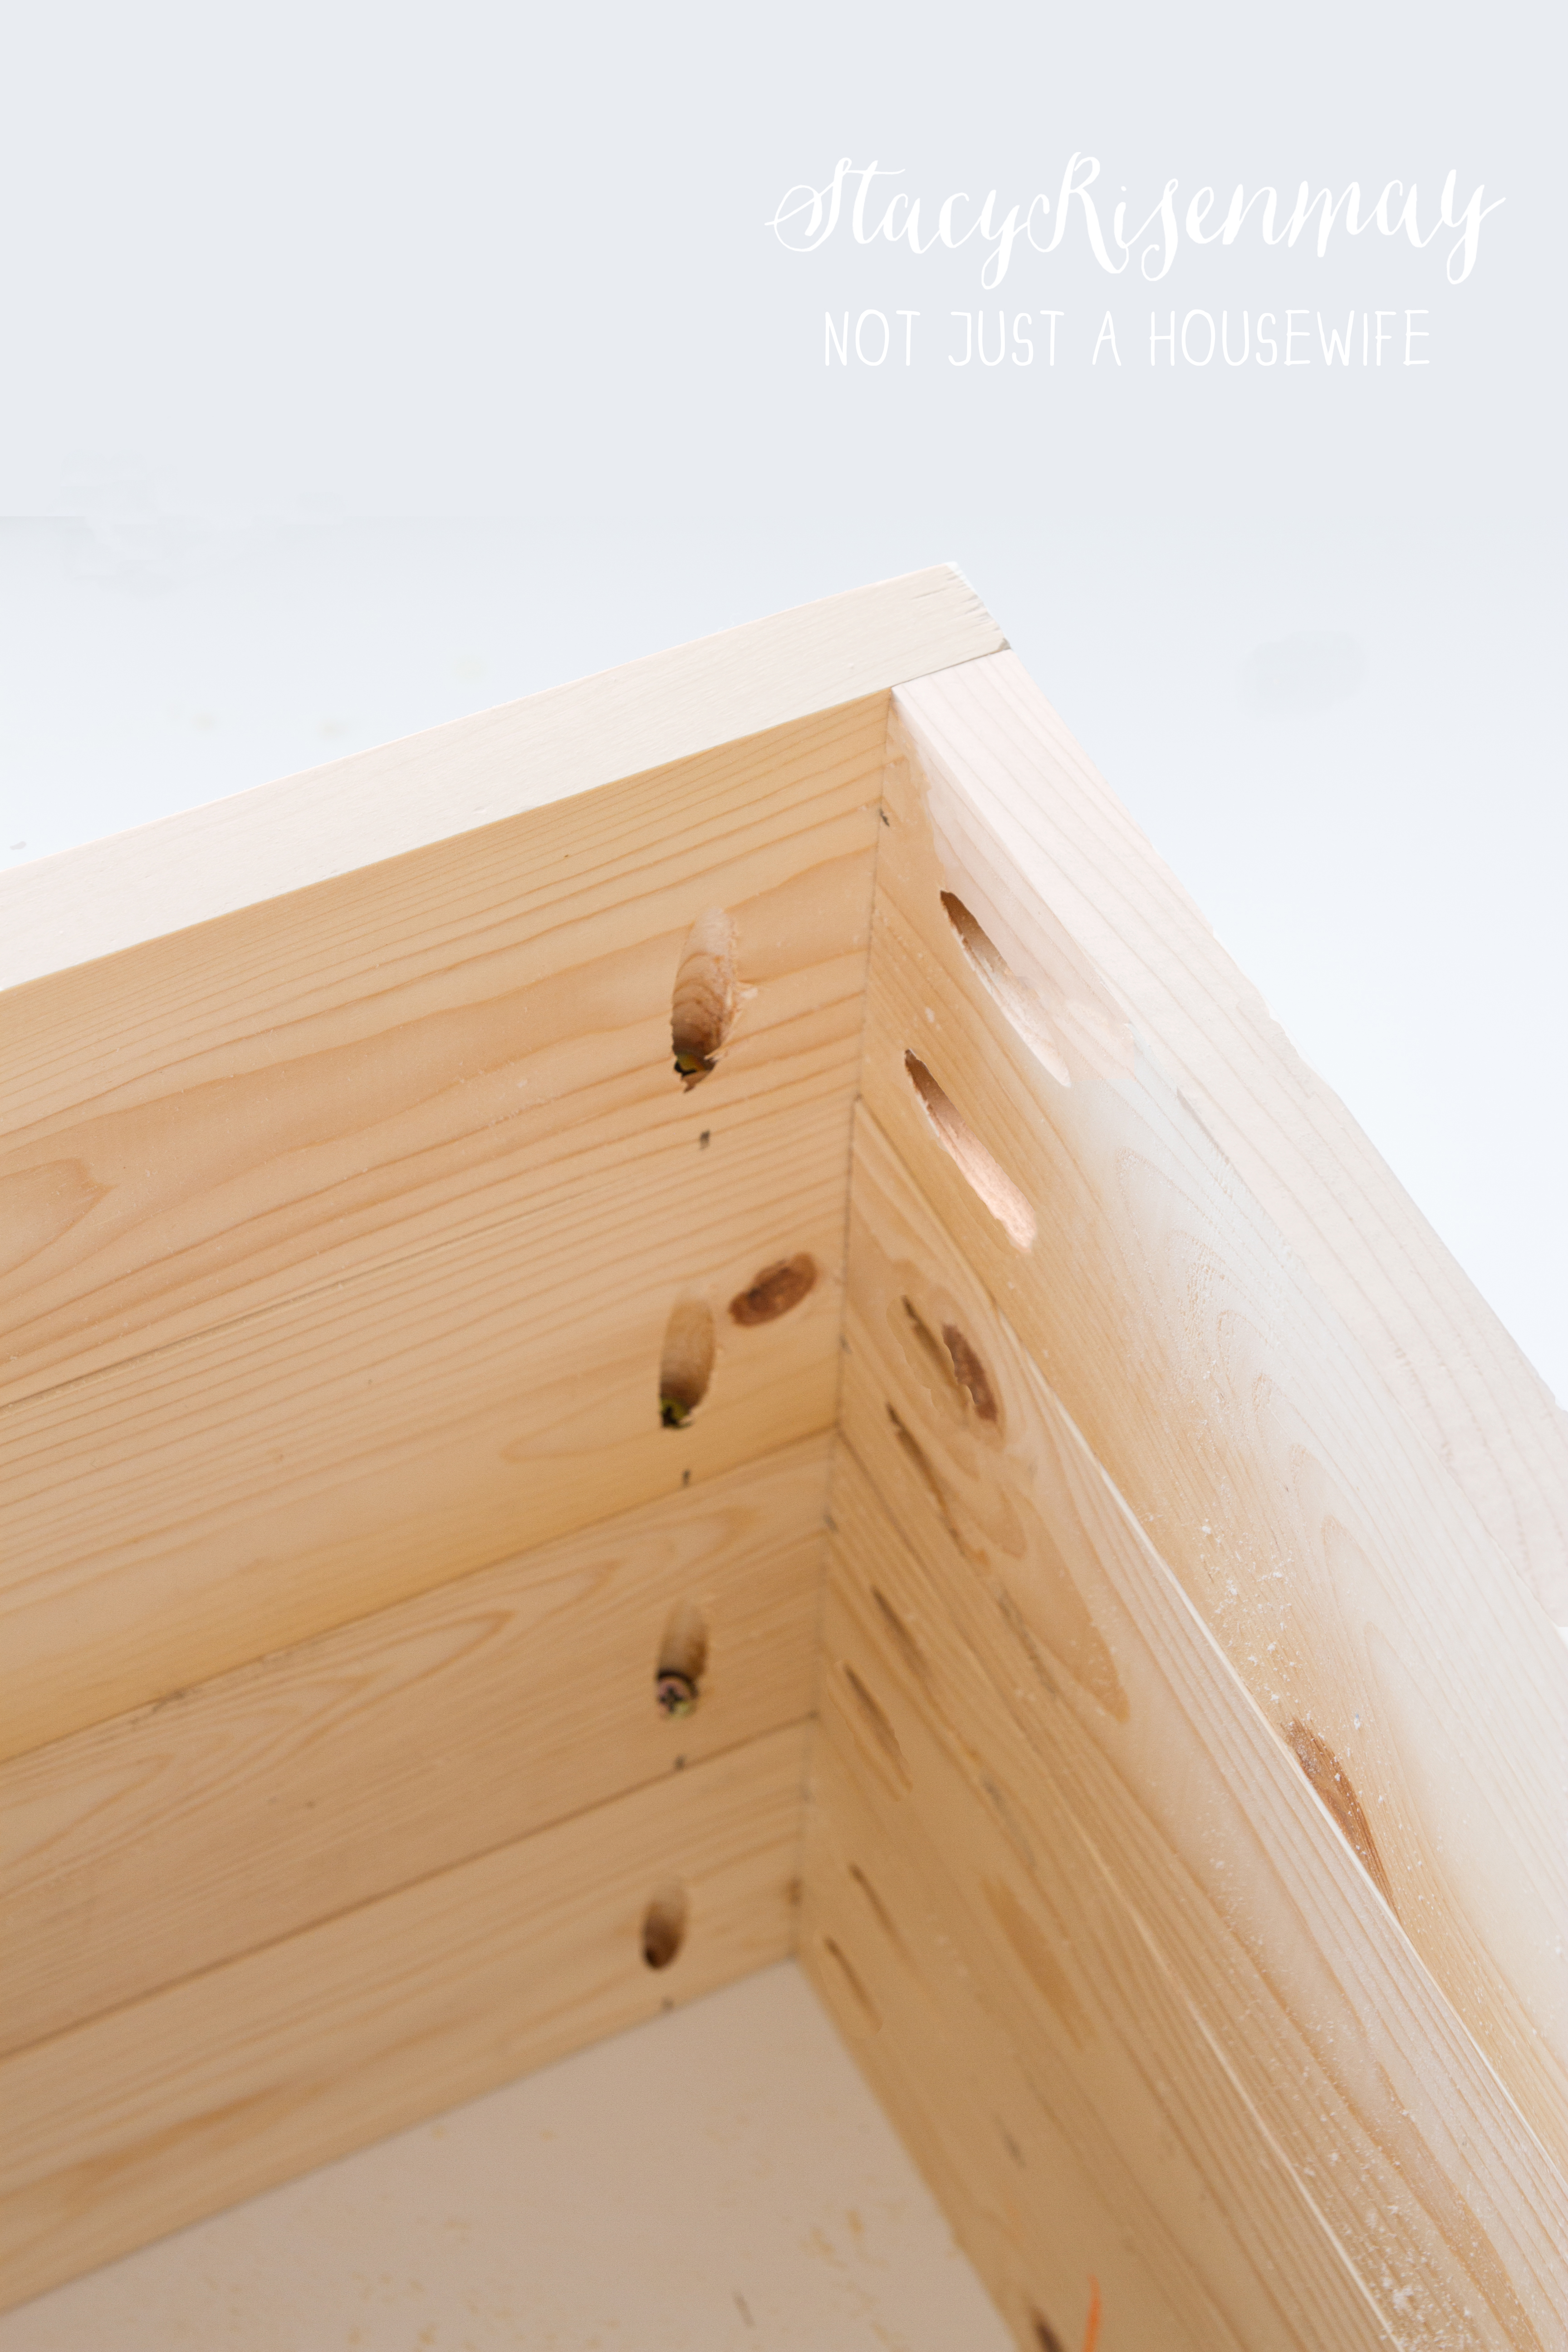
I did use pocket holes for the lid however. You won't be able to see them though. You'll see why in just a bit.
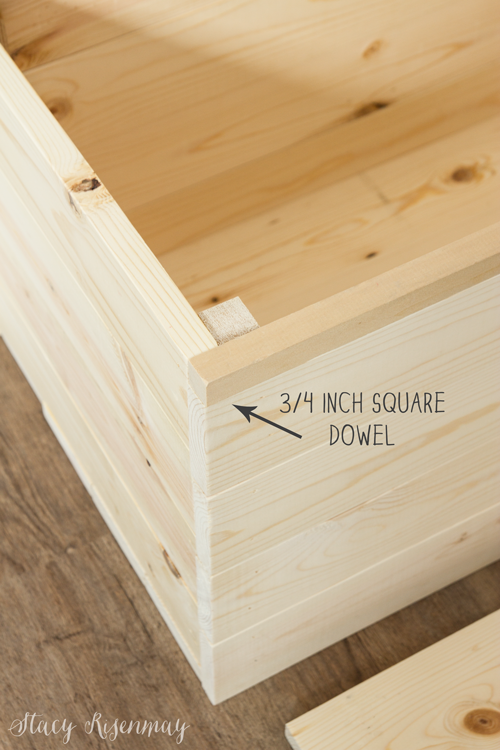
Because the shorter side pieces sit on top of the bottom slats, that makes them a little higher that the front and back. No problem! A ¾" dowel fits perfectly. Add one to the front and back plus to each side of the lid.
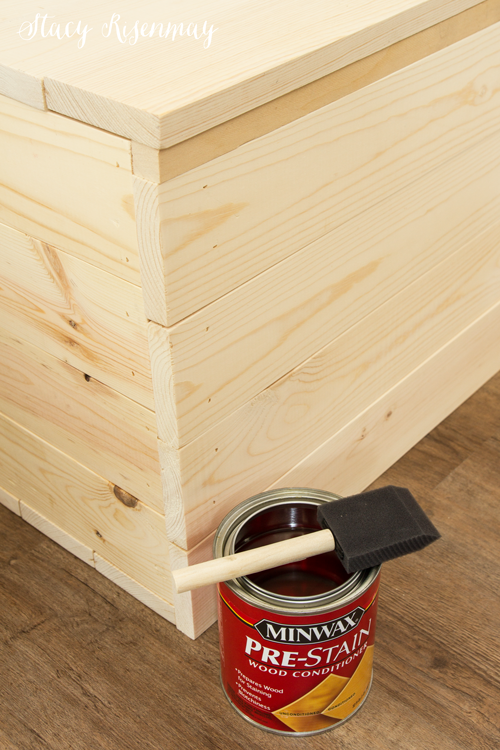
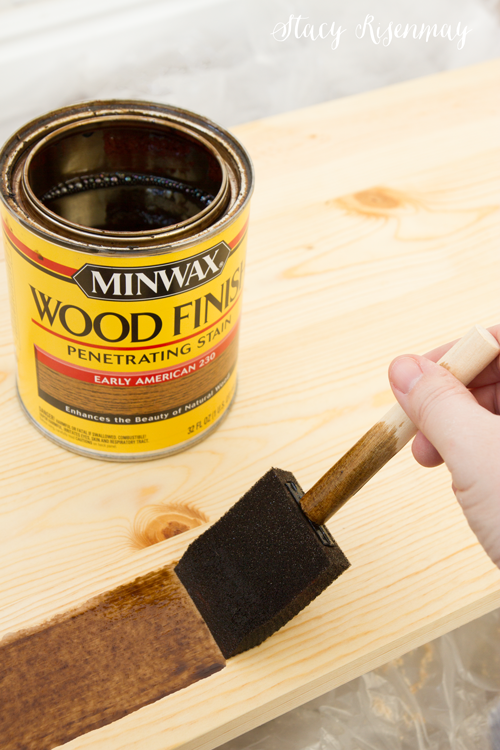
Pine is soft and very porous. In order to get even coverage and avoid blotchiness, use a wood conditioner before staining. If you are using an oil based stain, use and oil based conditioner. If you are using water based stain, there is a water based conditioner.
Use your choice if stain color. My favorite colors are Provincial, Early American, Dark Walnut, and Weathered Oak. But really you can go wrong with any of Minwax's stain colors.
The more coats you add, the darker it will be. Make sure to follow the instructions on the can and wait the appropriate amount of time between coats.
I started out using Early American but after one coat decided I wanted it darker and used Provincial for the second coat.
I added some hinges. I happened to have some non mortise hinges but you can use butt hinges or a continuous hinge as well.
I used some lattice trim to cover the pocket holes. You can also see the ¾" dowels on the lid. I attached them with a little glue and a few brad nails.
My favorite products to seal and protect a wood project are the Fast Drying Polyurethane and the Wipe-On Poly. I like the satin finish but it also comes in gloss.
This crate could be used to store so many things other than toys. When the original crate was in our family room it help blankets at one point, then board games The possibilities are endless!
I will be doing the photo shoot for kid bedroom #1 today! I am DYING to share it with you. I love it when all the stars align and a project turns out better than you even hoped it would. Now finger's crossed room #2 works out just as well :)
PIN For Later:
This post was sponsored by Minwax but all project ideas and opinions are all my own.


You really know your way around tools, wood and stain!!! Such an amazing project! Thanks for sharing this with us who need some serious hand holding! We know we are in the most capable hands possible! The proof is in the box!!!
Take care!
Thanks for the tip on wood conditioner. I always forget it and always regret it later
So cute!! I would have loved something like this in my Austin's room when he was still little.
Okay... he could still fill it up. lol ;)
This is awesome! Most store bought toy boxes are not big enough or this sturdy. Totally gonna try this but to hold pillows in my master bedroom ;)
Such a great little crate! Perfect for storing toys but would also be great for storing extra quilts, pillows, etc. Love it!
I can't beleve how simple you made it look, I might have to try this :D
Oh, i love that! When my boys were younger, we did baskets but I would have used this instead. Much more durable!!
Love this tutorial! We just bought a color very similar to this in Minwax to do our neighbor's coffee table for them. I'll have to share the results!
I wanted to let you know I am featuring this great project at #merrymonday this week. I hope you will check it out when you have a chance! Hope you will link up with us again! https://ourcraftymom.com/15-quick-and-easy-diy-projects-to-refresh-your-home/
We measured and remeasured this quite a few times and the '(8) 1x4 boards cut to 13 3/4"' need to actually be 14". Got everything all cut and sanded, went to assemble and we had a 1/4" gap. (4) 1x4 boards measure 14" across. We fixed it by ripping two of the 31 3/4" down 1/4" and it assembled just fine. Just a heads up for anyone else.
What size of boards did you pick up 8ft long or 4ft long? 1x4. And how many full board where bought?
I love toy box you built also lovd notjustahousewife.net so cool title.
I look foreword to reading your blog and looking at all the projects you have made and will make in the future.
Thanks james Ontario, Canada
Do u have designs for a closet for my 12 month old granddaughters my son want it 6 ft high x 6 ft wide not sure of depth debating 15" -24" deep wants it moveable so if they sell house he can take apart to next house do you have any design area's
Thanks James