
Sorry for the radio silence this past week or so. February is kind of a crazy month for us because we have a lot of birthdays. My Saturdays have been spent doing other things rather than DIYing. But here and there I have been working on a project that I have been putting off for a year. I decided it was high time to get my office closet made over to match my new home office!
This is also my first Minwax post of 2017. I am so excited to be teaming up with them again to bring you tons of projects this year.
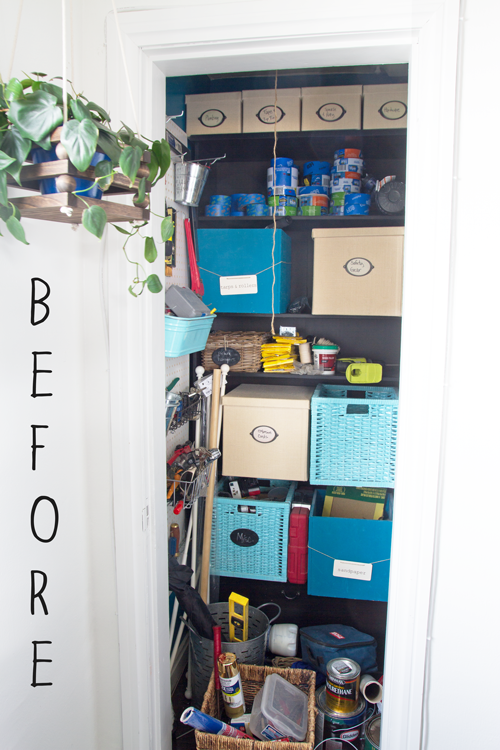
If you want to see how my office closet was suppose to look like when people actually put things away when they were finished, you can see my original office closet post HERE.
This is what it looked like after 4 years of use. Pretty close to the same, but we did get lazy over time.
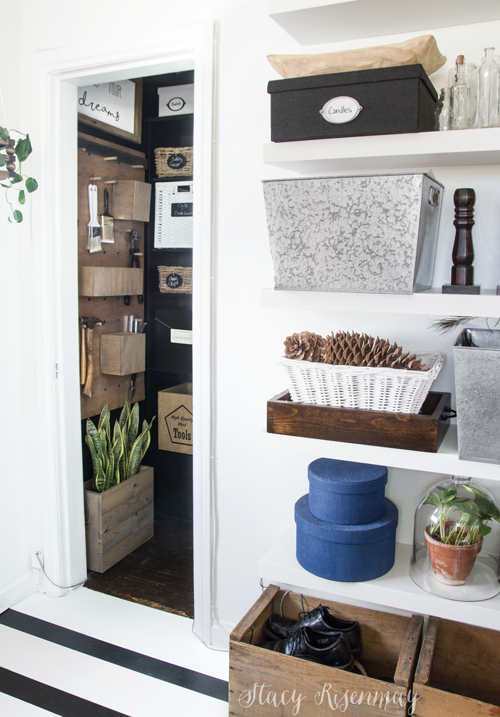
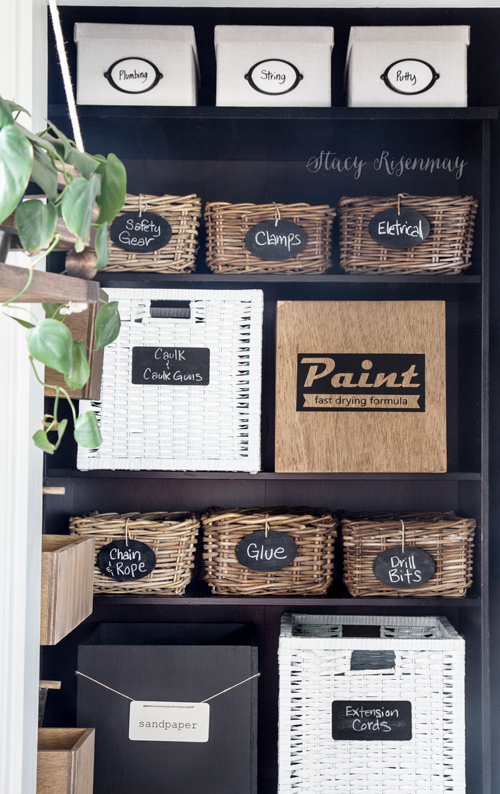
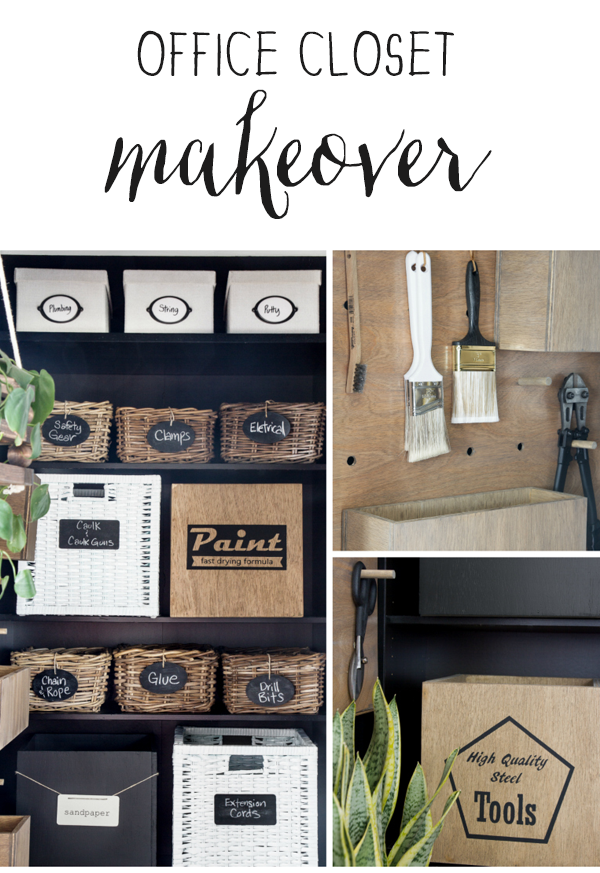
Here is what it looks like now!
The peacock blue walls were pretty but didn't match my new office so I painted the walls and shelves black. I kept the trim and ceiling white.

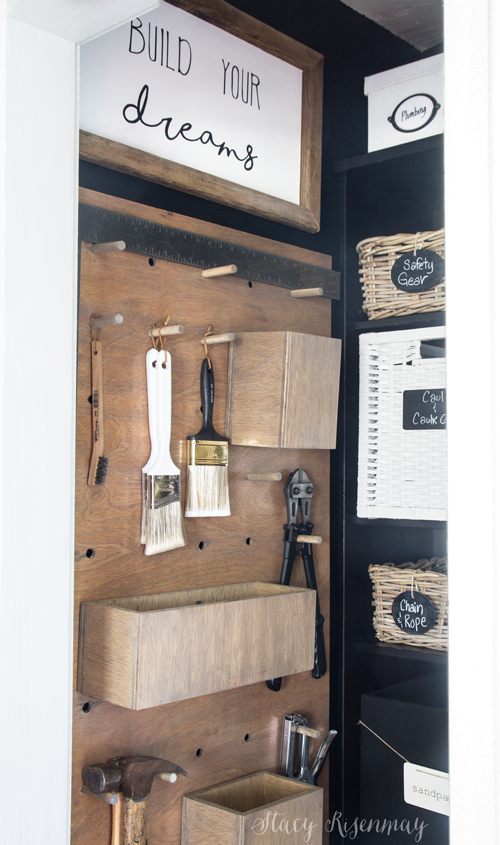
I think my favorite thing is the new pegboard with actual pegs instead of metal hooks. I'm going to show you how I made it today :)
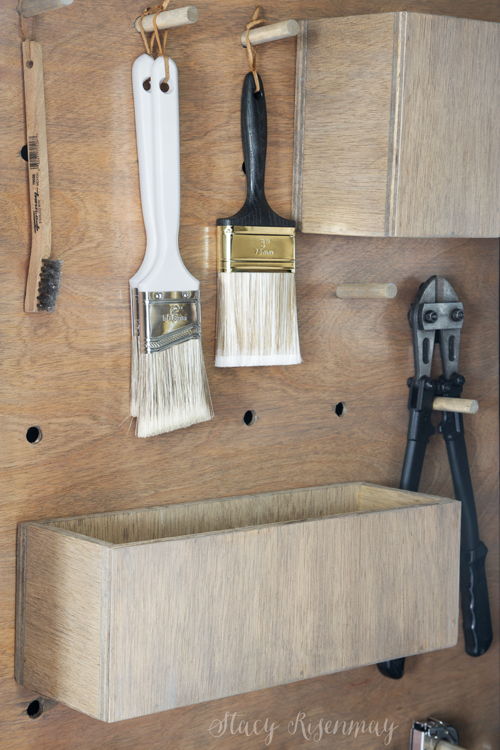
I didn't change a lot of the functionality of the office because it has worked for 4 years and if it ain't broke, don't fix it. The one thing that didn't work for us was having every single little thing hanging on the pegboard. My boys (and even me sometimes!) didn't take the time to carefully hang up the screwdrivers and pliers after each use. They would get tossed in a random box instead. I decided to hang things that were too big for the pegboard boxes and things like paint brushes that would get their bristles messed up if tossed in a box.
There is a box for tape measures, a box for box cutters and other sharp tools (the highest one), and one for screwdrivers, pliers, allen wrenches, and other small hand tools.
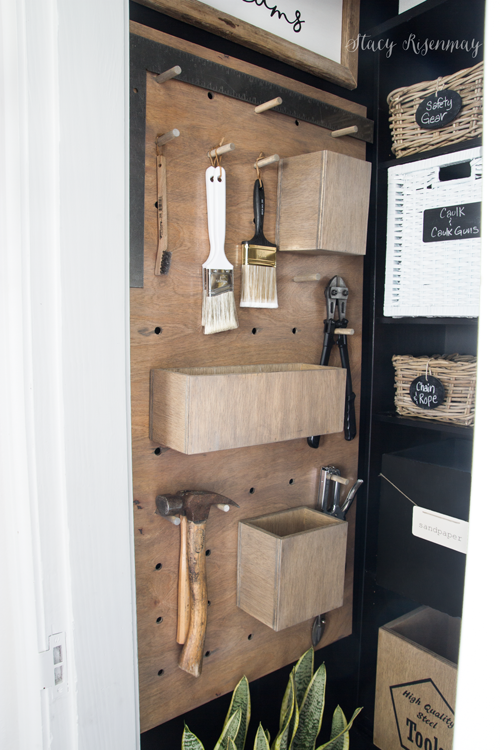
I added pegs to the baskets so they can be moved around too.
Since the closet is in the corner of a tiny room, we opted to keep the door off so it would be less awkward. Because of that, the closet needs to not only match but needs to be organized and nice to look at. I even added a couple of snake plants :)
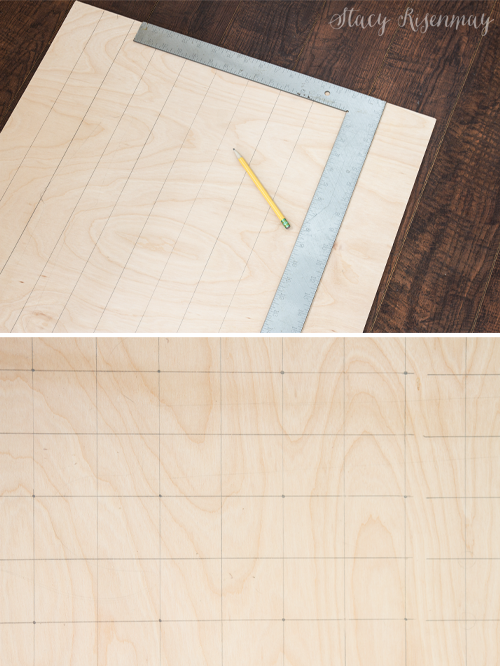
To make the pegboard, I bought a 2 foot by 4 foot piece of ¼" plywood. I originally was going to make the holes 2 inches apart so I measured it and marked it off that way. After looking at how close together they would be, I opted to only mark every other corner to make them 4 inches apart. If I ever decide I need more holes, it will be easy to add them :)
I used a ½" drill bit to drill out the holes.
TIPS:
Choose a bit that has a point so it won't slip.
Go slowly so it doesn't rip the plywood and splinter around the hole.
If you do have some that splinter, don't panic. Use a stainable wood putty that closely matches the stain you are going to use to patch it up.
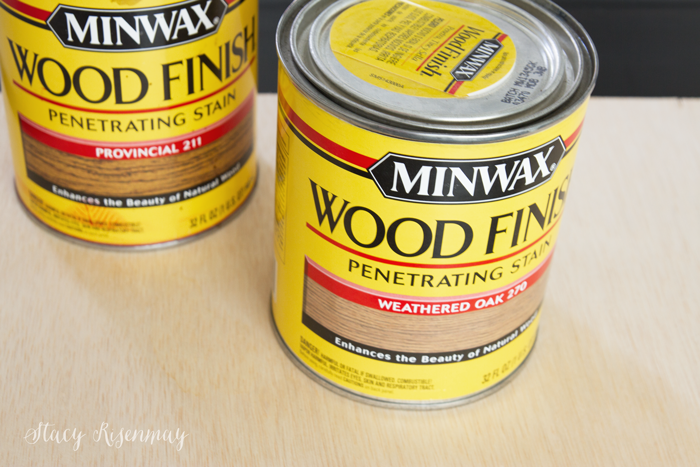
I wanted the pegboard, the small boxes for the pegboard, and the larger storages boxes to all be the same color as the IKEA baskets. The baskets have a weathered wood tone that I love. I have used Minwax's Weathered Oak many times (I love it!) and knew it was more on the grey side. You can see my bench I made a few months ago to see the stain color. I decided to add a little bit of another stain to brown it up a bit. I chose Provincial but Early American would also work. I added one tablespoon to one quart of Weather Oak.
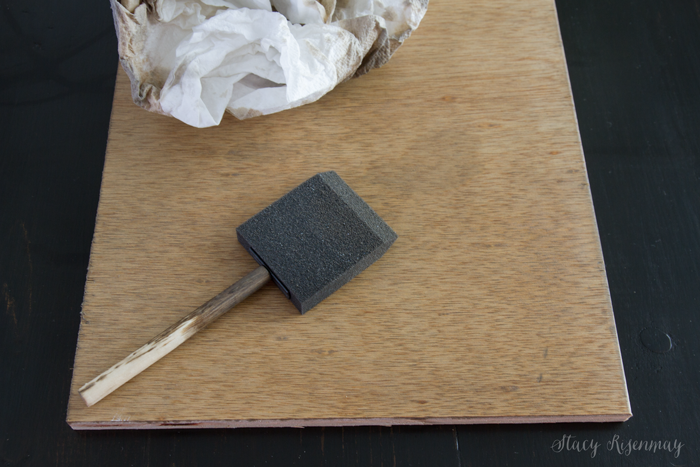
Make sure to test out any stain on a scrap piece of wood (the same type of wood you will be using for your project) to make sure it is the color you want. This goes for any color, not just custom mixes.
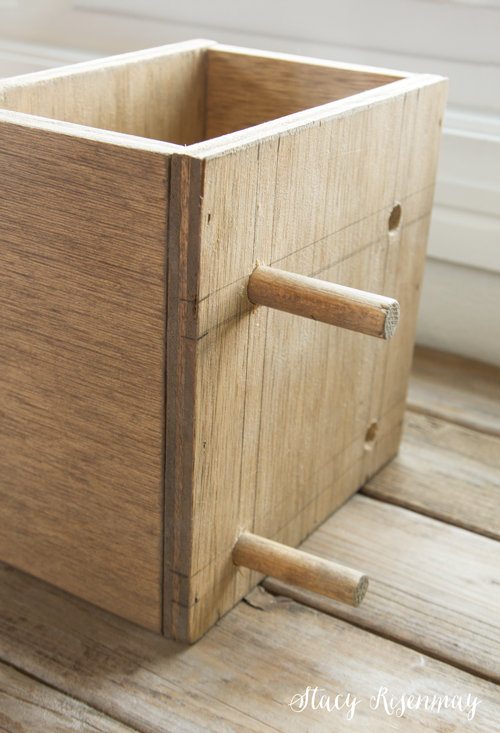
Once the pegboard was done and stained and I had built simple boxes, I needed to measure and mark where the holes needed to go for the pegs. Do not drill all the way through. Drill slowly and keep checking as you go. Use wood glue to secure the pegs to the back of the boxes.
Just like my crate I made for my corner shelves, I cut out vinyl to make a custom stencil for the bigger storage boxes. The one that says "Tools" will hold all of the smaller miscellaneous tools like laser levels and pipe cutters.
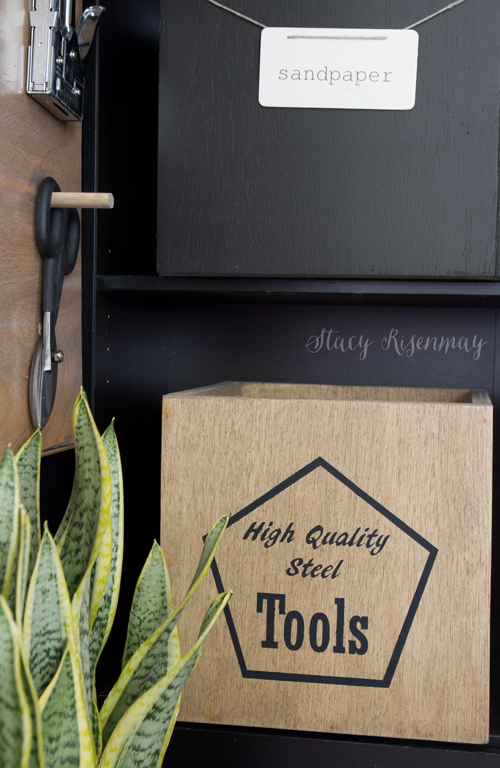
With crafting or DIY, there are so many little items. It is so nice to have so many bins and baskets to hold them all and keep them from being a jumbled mess. Now I just need to hope the boys put things back where they go after they use them!
I wanted to add a sign to the top of the pegboard and thought this quote seemed appropriate. I just used scrap wood from the garage, a little paint, and another custom stencil.

The part of the closet that you can't see from straight on is actually the biggest part. This closet is over the stairs so it is angled. The top shelf is almost 5 feet deep. The second shelf is over 3 feet deep and the bottom shelf is about 2 feet deep. I keep the things I use frequently towards the front and things I rarely use get put in labeled boxes in the back so it is easier to pull and slide them out when needed.
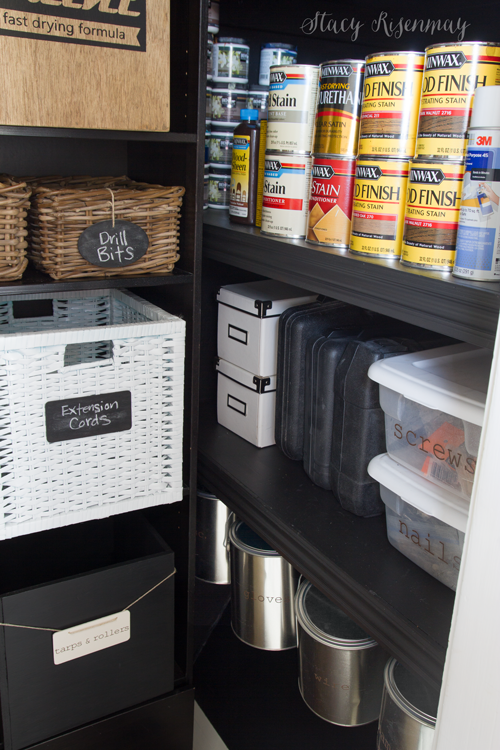
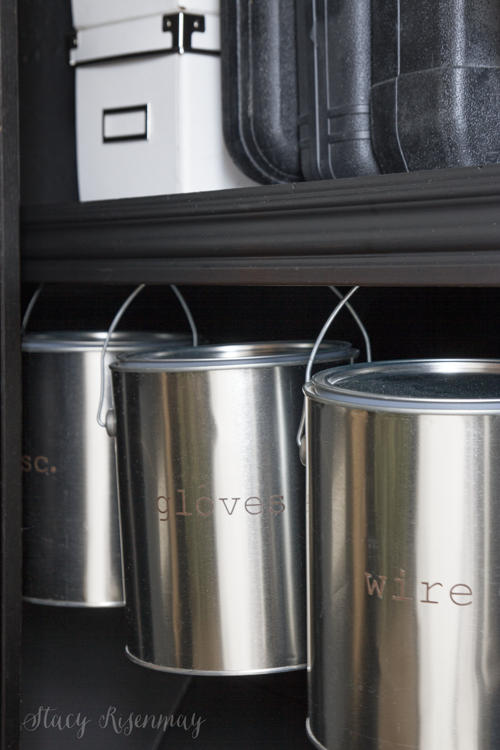
I didn't want the slanted space under the bottom shelf to be wasted so I got some empty paint cans (you can buy new empty ones at Home Depot) and used small hooks to hang them from the underside of the shelf.
I am really happy with how it turned out! It was quite the chore to empty, paint, build, and fill it back up but it was worth it!
PIN for later:
This was a sponsored post on behalf of Minwax. All ideas, projects, and opinions are all my own :)


I just wish all our stuff could fit in one closet... I resorted to a metal tool box and that seemed to work best. Love what you've done here. This is a fantastic DIY Closet.
This is a fabulous makeover, I need to do this in our entry closet!
amazing.!!!!!!!!!!!!!!!
Isn't this just the best little tool closet ever?! Love the stained touch!
Your closet is so attractive and organized. It must inspire you to do more DIY projects every time you open the door and look at this fabulously organized space. I love the wooden boxes, the baskets, the little dowel hooks, and your chalkboard labels. It all goes together so nicely. Pinning.
It look so good! What an inspiration!
I am so jealous! WOW, wish my closet looked like that!
OMG! I need an office closet and then I need it to be this cute and this organized. Perfection!
Beautiful craft closet makeover! It is so organized and pretty! Nice job.
What a makeover I've never seen such a stylish closer before! Love the wood elements as well :)
Wow! This turned out beautifully Stacy! And I love that color of stain you chose!!
Connecting here from Remodelaholic page. What an outstanding job you did! my utility closet is in my list of things to do. Thanks for the inspiration!
Your closet looks fantastic! And that pegboard is so cool, too. Thanks for linking up with Merry Monday last week.
Sooo awesome! I love a pretty closet, and that peg board system is perfect! Great job Stacy! I will be featuring you this Thursday at our Creativity Unleashed party, you are a rock star! ;)