
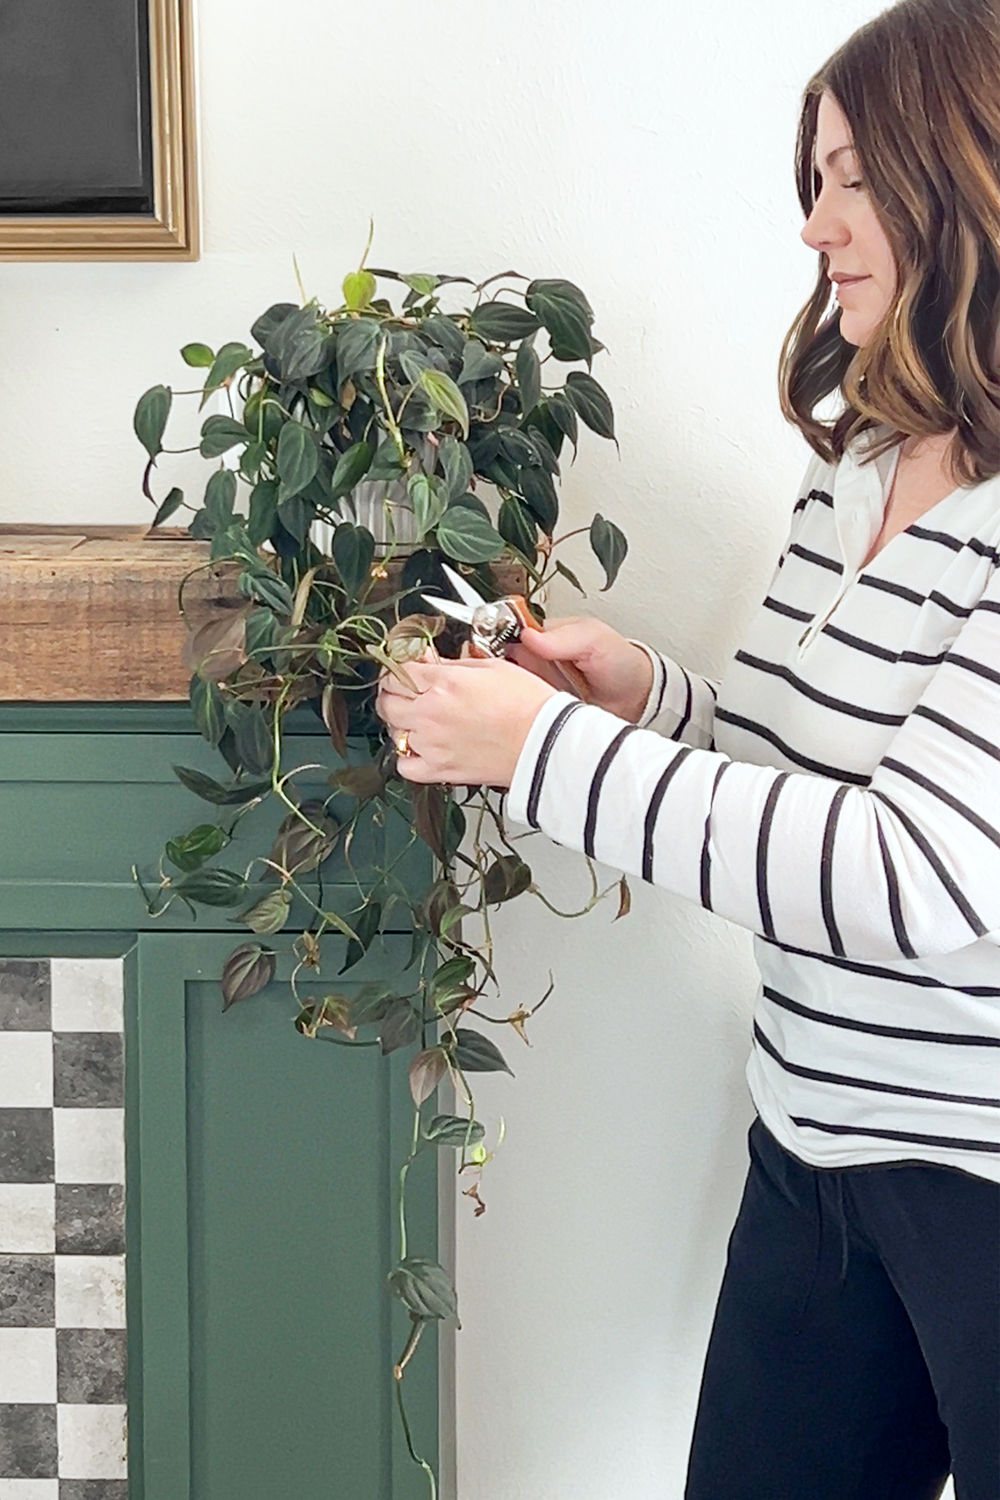
During the warmer months I spend so much of my time outside that I tend to neglect my houseplants a bit. Sure, they get watered, but things like trimming and repotting go largely undone. The winter is when I turn my attention to these tasks. Some of my vining houseplants are in need of some attention so I thought this would be a good time to chat about trimming indoor plants. Here's why you should prune and propagate your houseplants!
This post is sponsored by Digz Gardening but all ideas and opinions are 100% my own.
Why You Should Prune Your Indoor Houseplants
Pruning isn't just for when your plant has outgrown its space and to keep it a more manageable size. Although sometimes I forget to prune them until I see they are touching the floor! Pruning your houseplants helps the overall health of the plant too. Regular pruning should be a part of your plant care routine. Just like with outdoor plants, when you prune house plants, it signals the plant to put on new healthy growth. If you don't ever trim up your plant, it will eventually get leggy.
You don't need to prune a lot of length off. If you want to maintain the long trailing length, then just cut a little off the ends. Think of it like a haircut. You don't have to get the bob. You can just get a trim to keep it healthy.
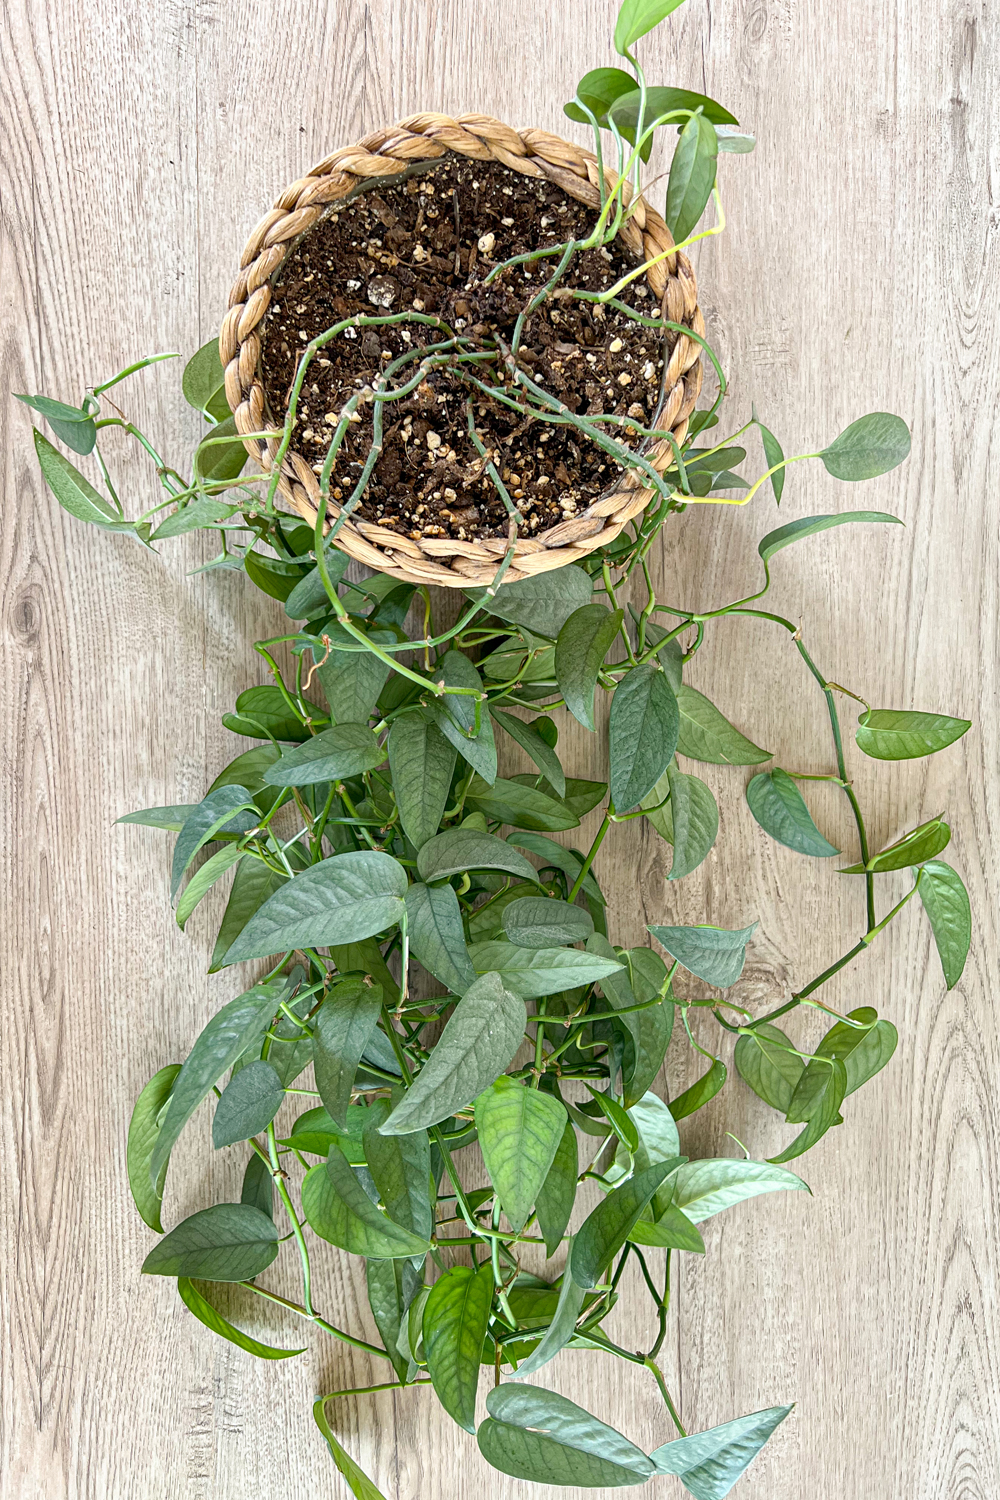
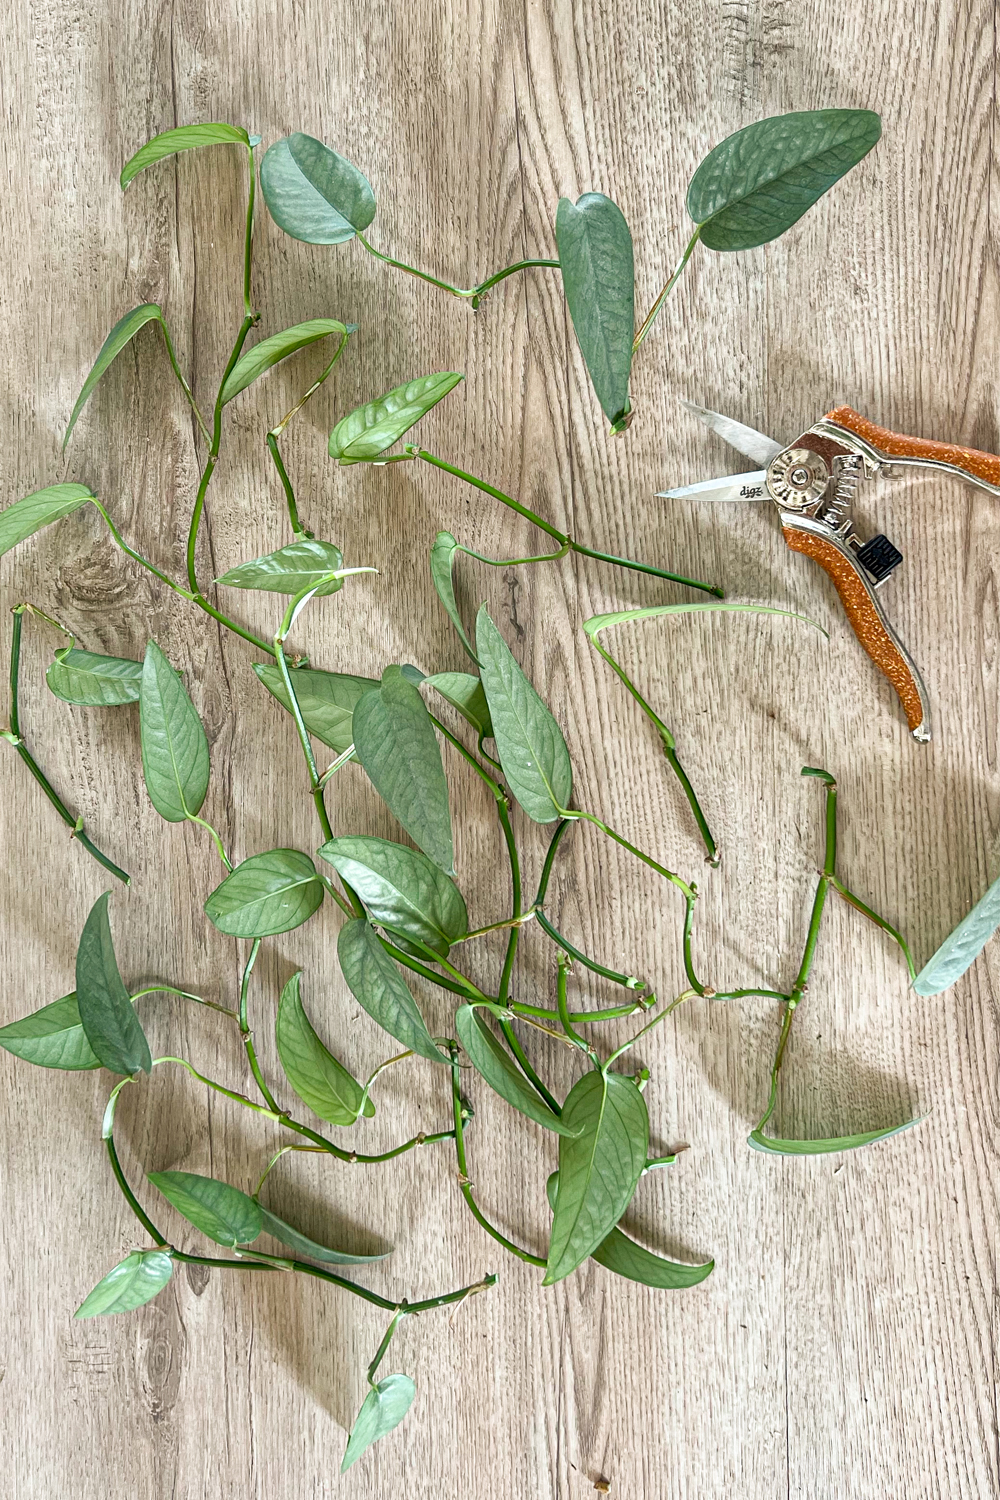
Take my cebu blue pothos as an example. I have had it for a couple of years but have never pruned it. It was a tiny plant when I bought it but now is trailing down a couple of feet. When it is hanging from the ceiling it looks okay, but a closer look reveals that it is bald on the top. It would look much better (and much healthier) if it had fuller growth at the top. I will share how to fix this super common problem in just a bit. First let's talk about propagation.
What Is Propagation?
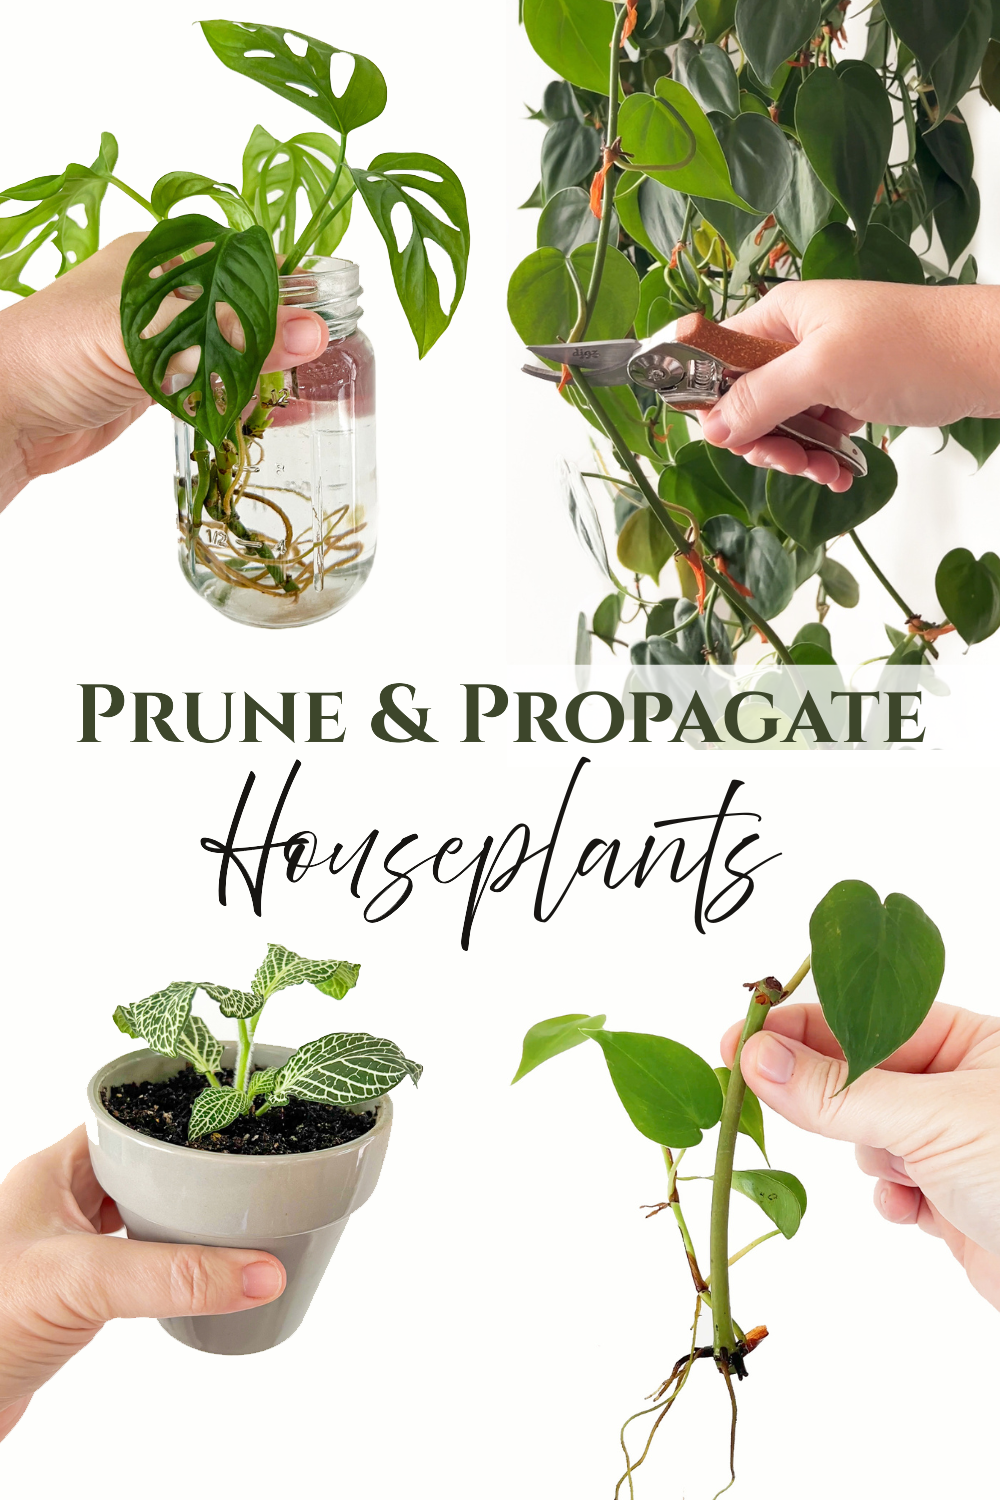
You can propagate a new plant from the parent plant (original plant) by either taking a cutting, or by dividing the roots and rhizomes. For today's post we will focus on taking cuttings, but in my post about snake plants, I show how to divide the other way.
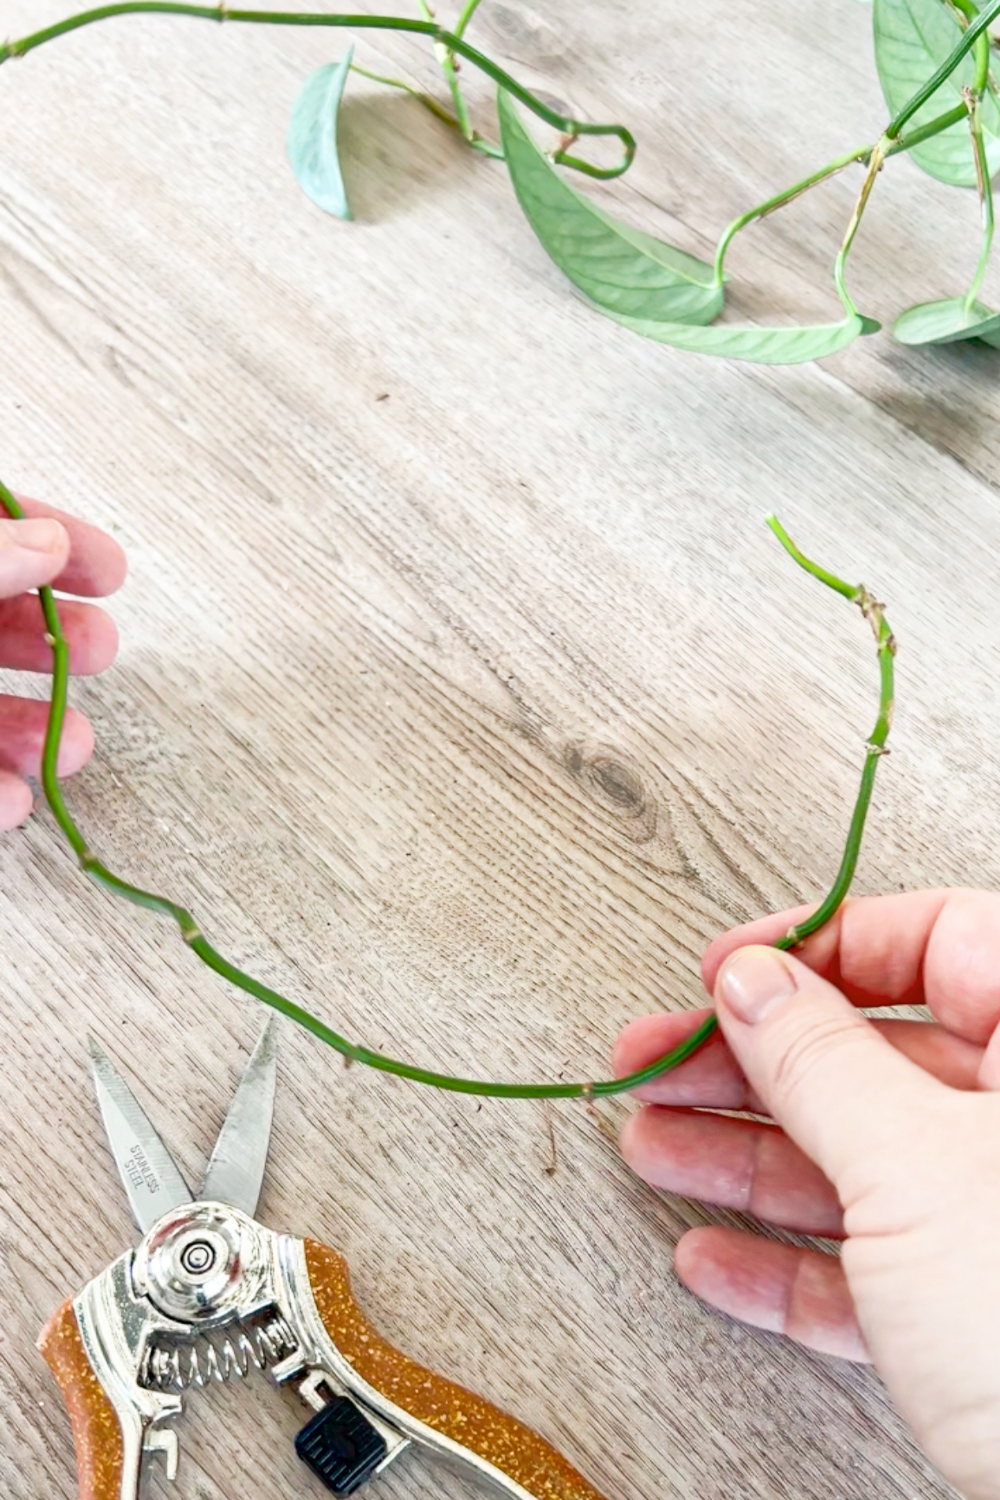
You can use pruners or snips. Either way, make sure they are sharp. You want to make nice, clean cuts. Sanitize before use and if you are cutting multiple plants, make sure to clean the snips in between each plant so you don't spread any possible fungus or diseases.
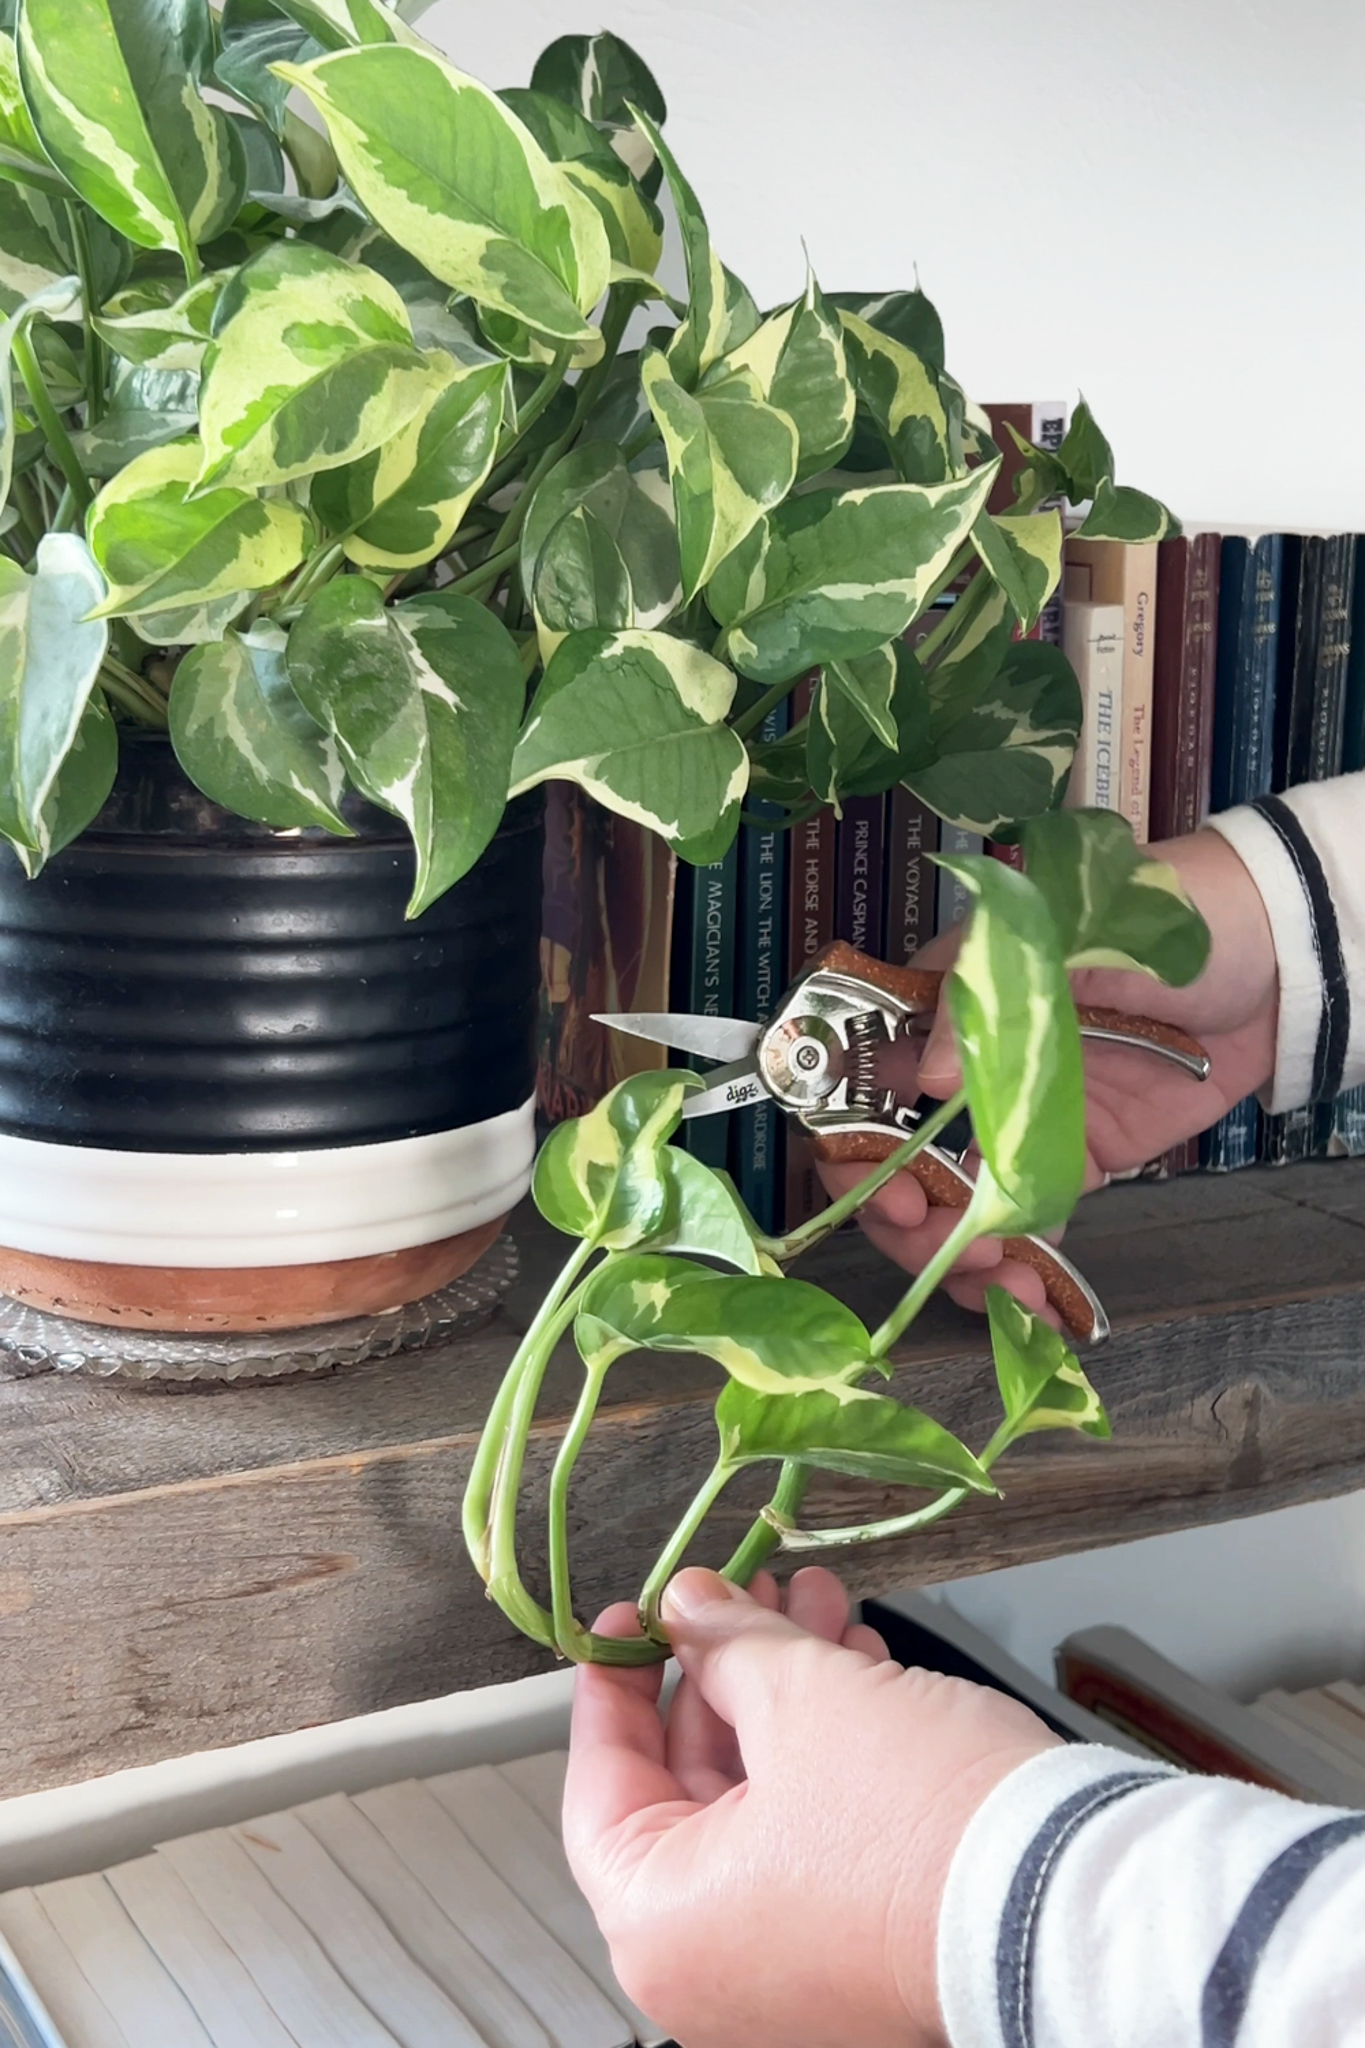
I love these snips from Digz! They are comfortable to hold and easy to lock and unlock.
Ways To Propagate From Cuttings
You can propagate in water, and in soil (or your growing medium of choice). I prefer to use water since I think it is the easiest way and I get the best results.
Water
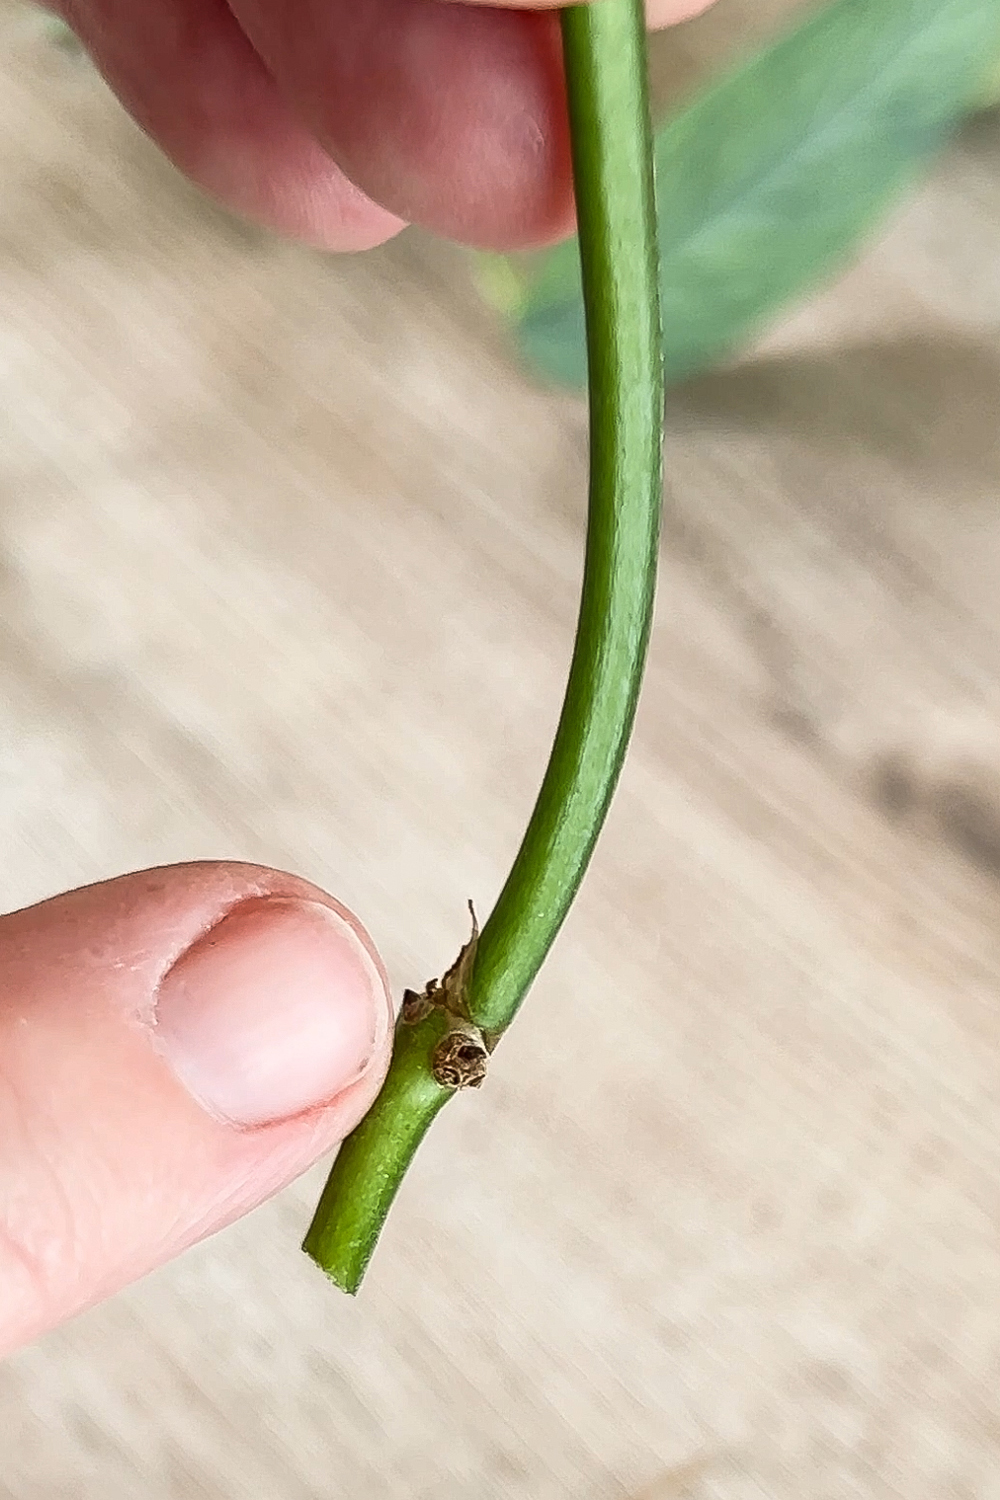
If your cutting is small, simply add the end of it to the water. If you remove a long section of a vine, you will need to cut it into smaller pieces. The sections you cut should have 2-3 leaves, although 1 leaf will also work. Make sure that each section has at least one node since those are what will become roots.
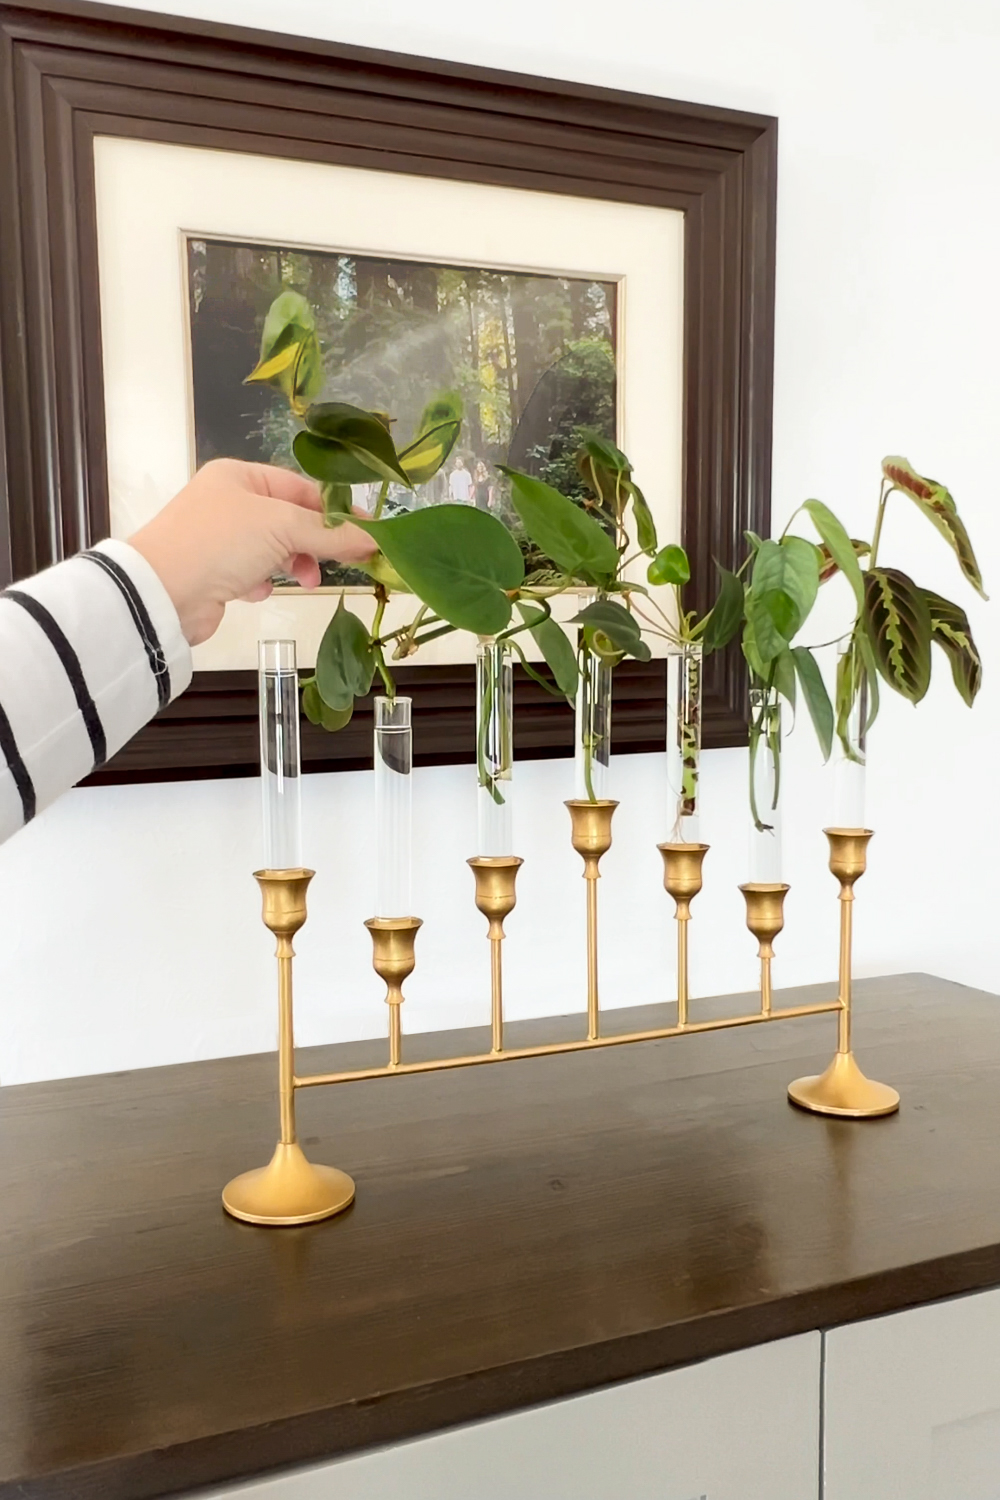
You can use a drinking glass, mason jar or any other glass container you have on hand. If you do a lot of propagating like I do, you can even make pretty propagation stations that blend in with your decor. Either way, you will leave the cuttings in the water until they have grown roots. You may need to change out the water every couple of weeks if you notice it is getting murky. I just use regular tap water. You don't need to use filter water or anything special.
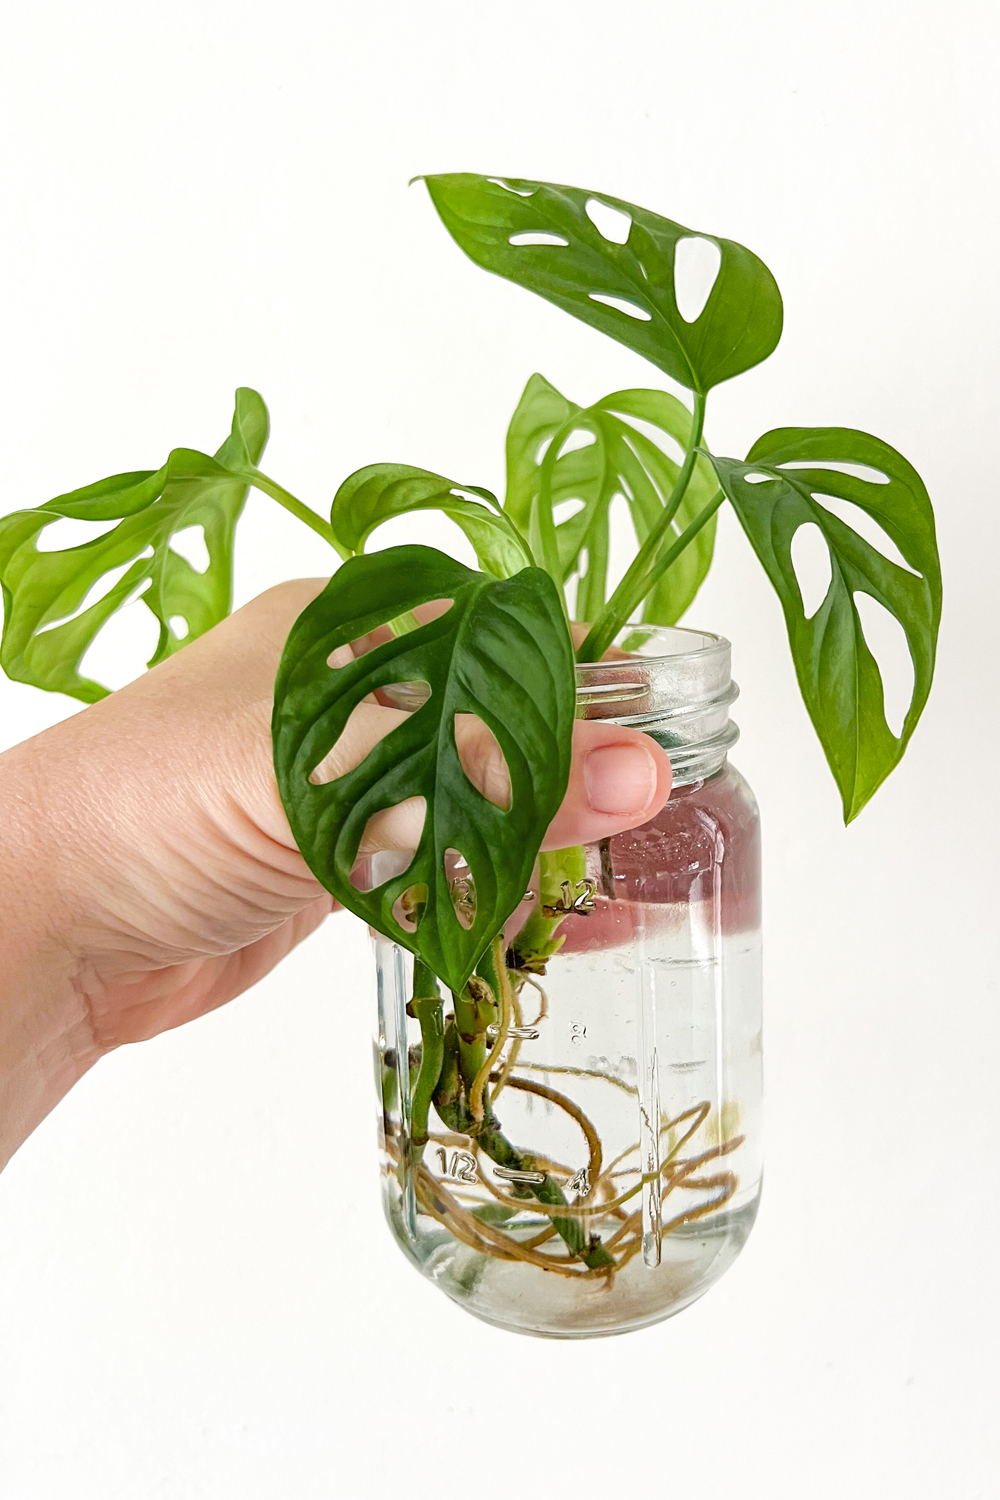
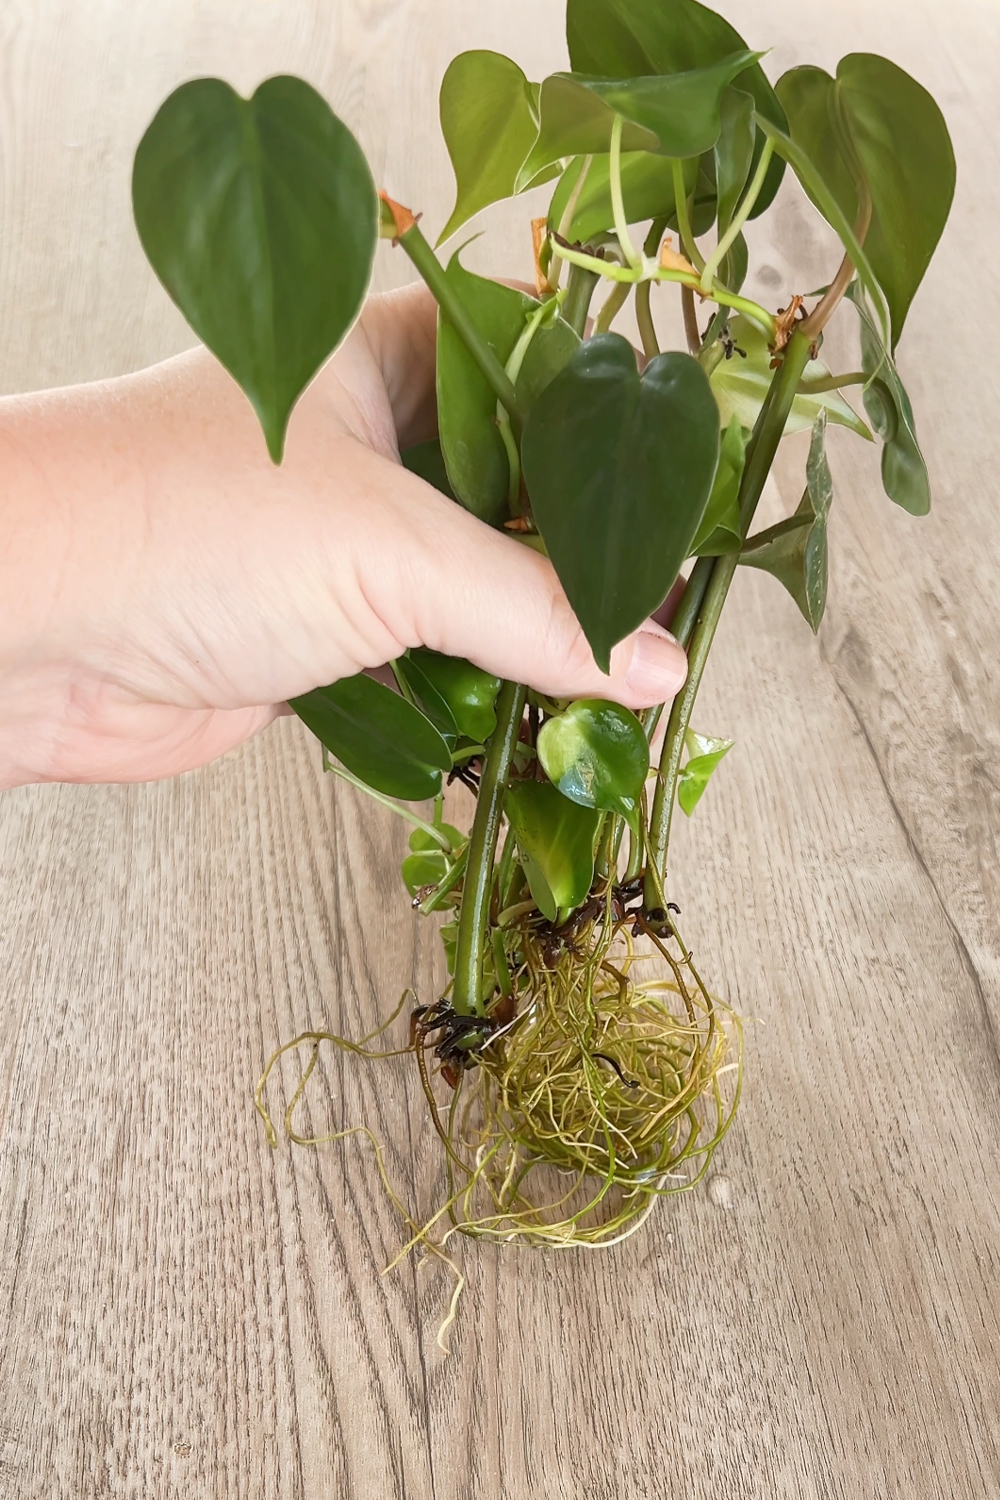
I like to wait until there are not only primary roots but secondary roots before I pot them up. Primary roots are the first, single strand roots to develop. When new roots start to branch off from the primary roots, then it is ready. I will say that I have potted up cuttings with smaller roots and they did okay. I just think it's best to wait until they get a bit more mature. If your cuttings are in the water a long time, you can add a few drops of liquid fertilizer so the leaves color doesn't start to fade.
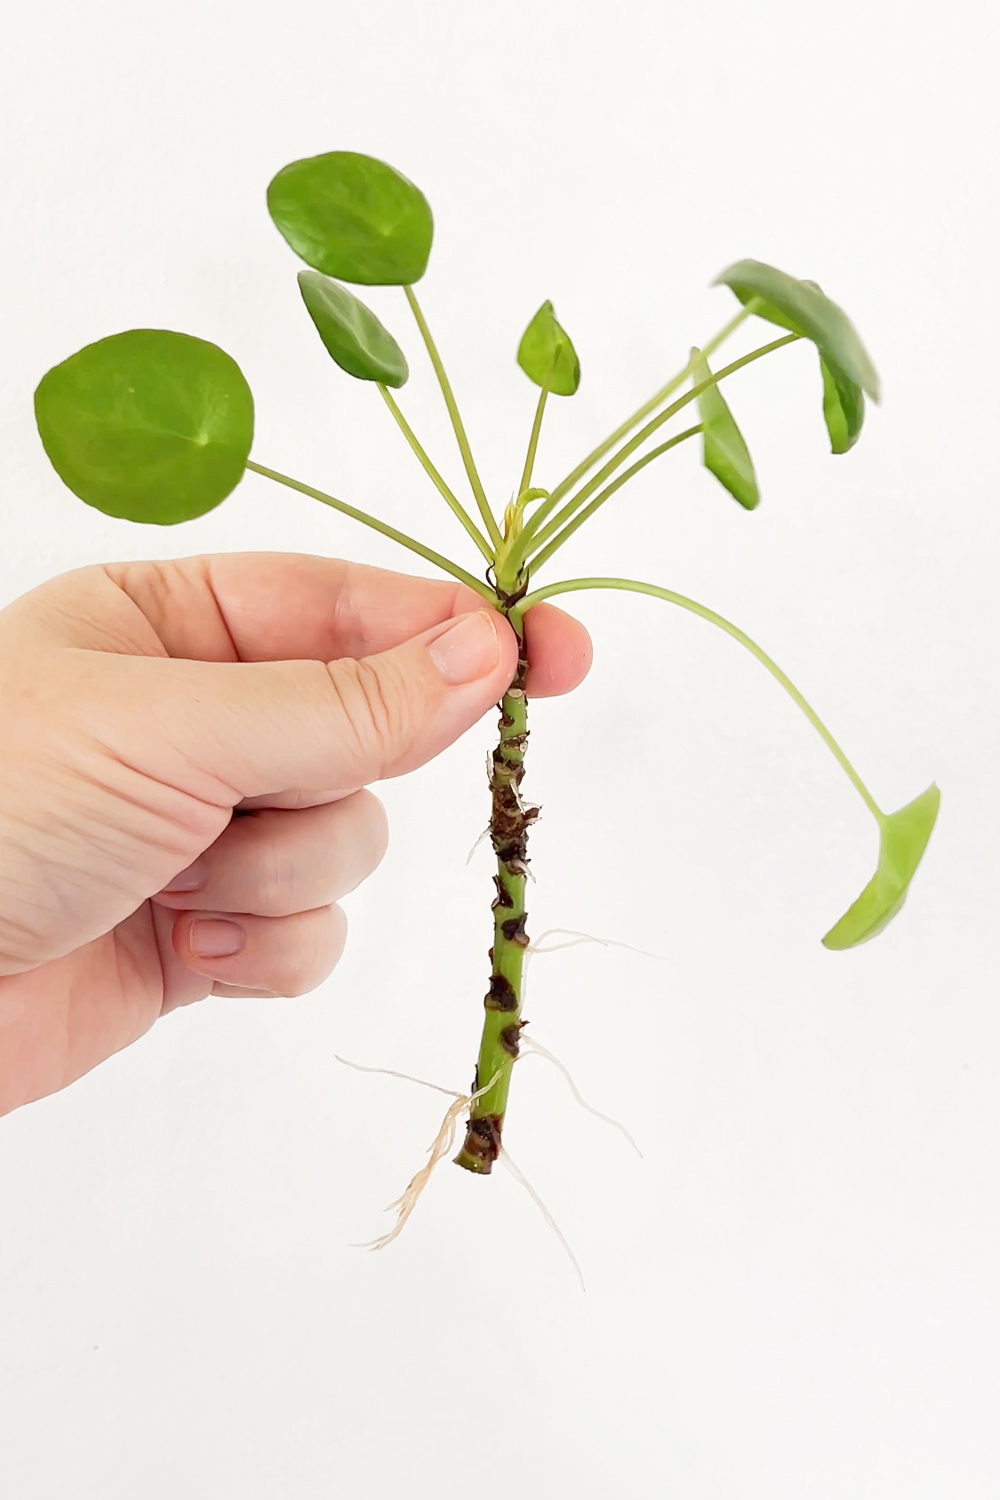

The time it takes for your cutting to grow roots depends on what kind of plant it is. Pothos, philodendron, pilea, and calatheas all root fairly quickly for me and are the easiest plants. But plants in the ficus family (like fiddle leaf fig and rubber trees), snake plant, and zz plant take a long time. I have a whole post about propagating fiddle leaf figs you can read HERE. That is why I like to have a cute propagation station so it can look good while I wait. It just becomes part of the decor.
Soil
To propagate a cutting in soil, there are a few different ways you can go about it. You can simply add the healthy cuttings to some moist soil in a pot. This is a bit tricky because if the soil drys out too much it won't root but if the soil is too wet the cutting will rot. It can be done, but it isn't the most reliable way in my experience. Add rooting hormone powder to the cut tips can increase your chances. And if you have a greenhouse, this method works even better.
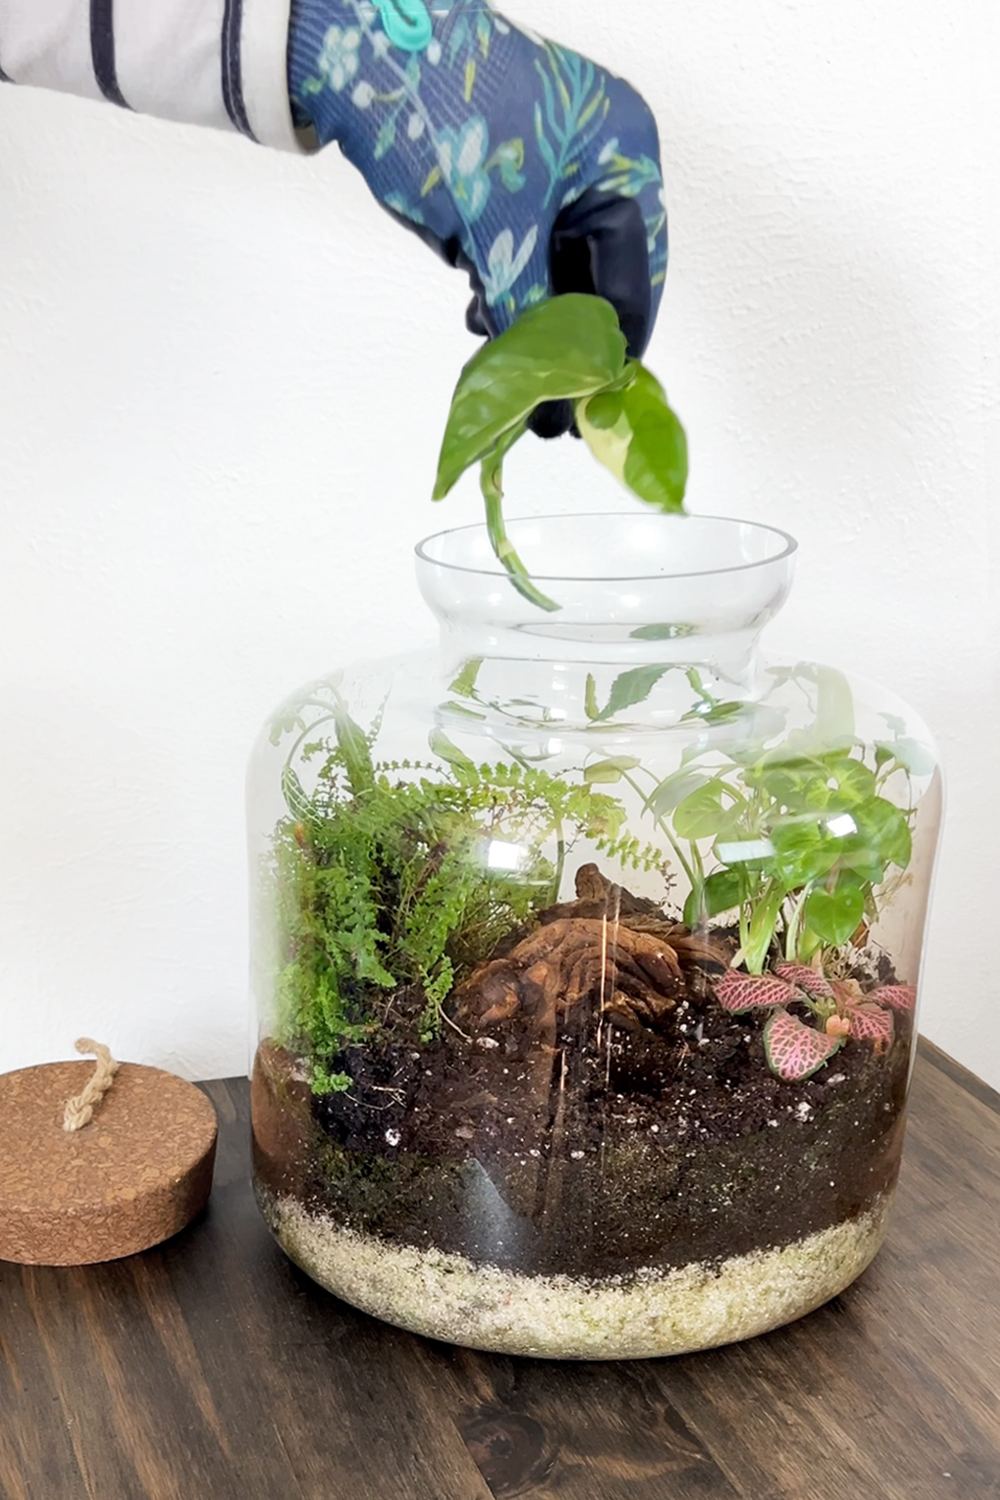
Speaking of greenhouses, the next two ways are kind of like little mini greenhouses, since most of us are not lucky enough to have a full on greenhouse. I sometimes stick plant cuttings in my terrariums. It is a controlled, humid environment that works really well. Sometimes I leave the cuttings in there indefinitely and sometimes I pull them out and pot them up after they have rooted.
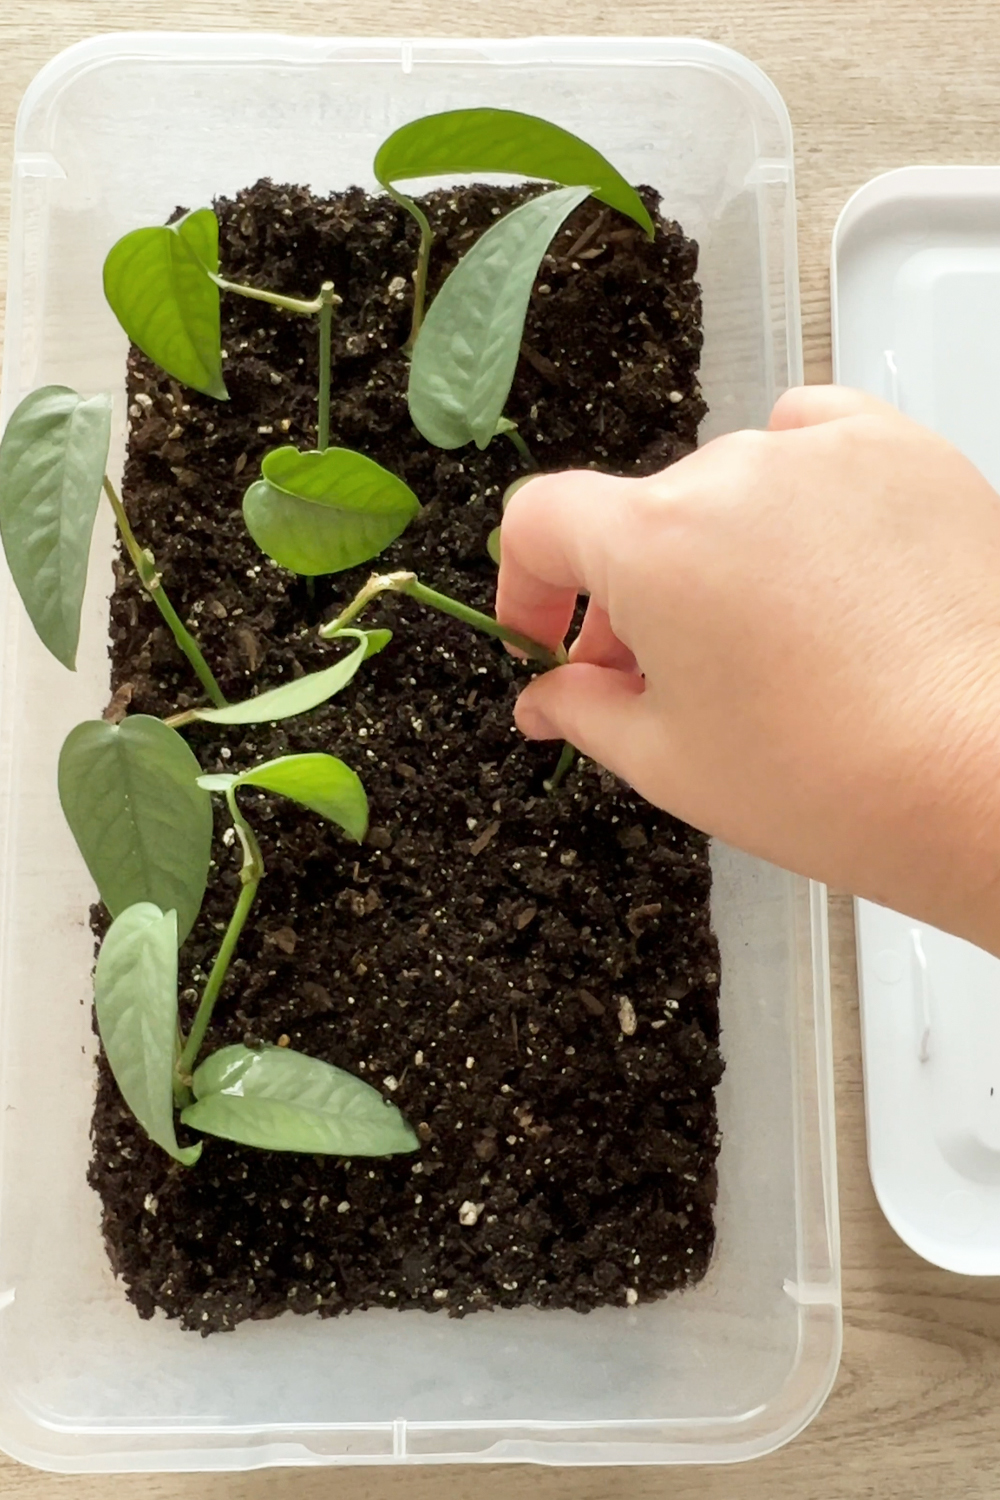
Another way to create a humid environment is to fill a clear tote with the growing medium of your choice (soil, peat moss, coco coir, sand, ect). Add your cuttings to the soil mixture and then place the lid on it. Some people like to poke holes in the lip for some ventilation. Just make sure to put it in a place where you won't forget about it.
With both of these methods, it is important to make sure the soil isn't too wet or the cutting will rot. I like to add enough water that I can squeeze a handful and it makes a loose ball without any water dripping out while I squeeze.
Fixing Bald And Leggy Plants
Remember my poor cebu blue with the bald mullet? Now that we have a basic understanding of propagating, let's talk about how to fix this guy and make it a bushy plant instead of leggy.
First I untangled the vines. Then I trimmed off about ½ of the length of the vines. Maybe even closer to ⅔ of them. Like I stated above, you don't need to take that much length off if you don't want to. You can just trim the ends to maintain the length you want. I never cut them all the same length. I stagger my cuts so it still looks natural. There was one vine that didn't have any leaves on the top half so I removed the whole vine.
Cutting the growth tips off will trigger the plant to add new growth both from the base and on the vines. So even if you didn't propagate what you cut off, the plant would still get better looking and healthier. BUT, we aren't done.
Everything I trimmed off got cut into smaller sections. Once they are rooted, I will add them back in the pot with the original parent plant to help fill in the top. This new cuttings will fill in and start to trail over and the result is a bushier plant!
Create Whole New Plants!
If all your plants are lush and full and you don't need to add cuttings back in, then you can pot up the cutting to create new plants. And who doesn't love FREE plants?
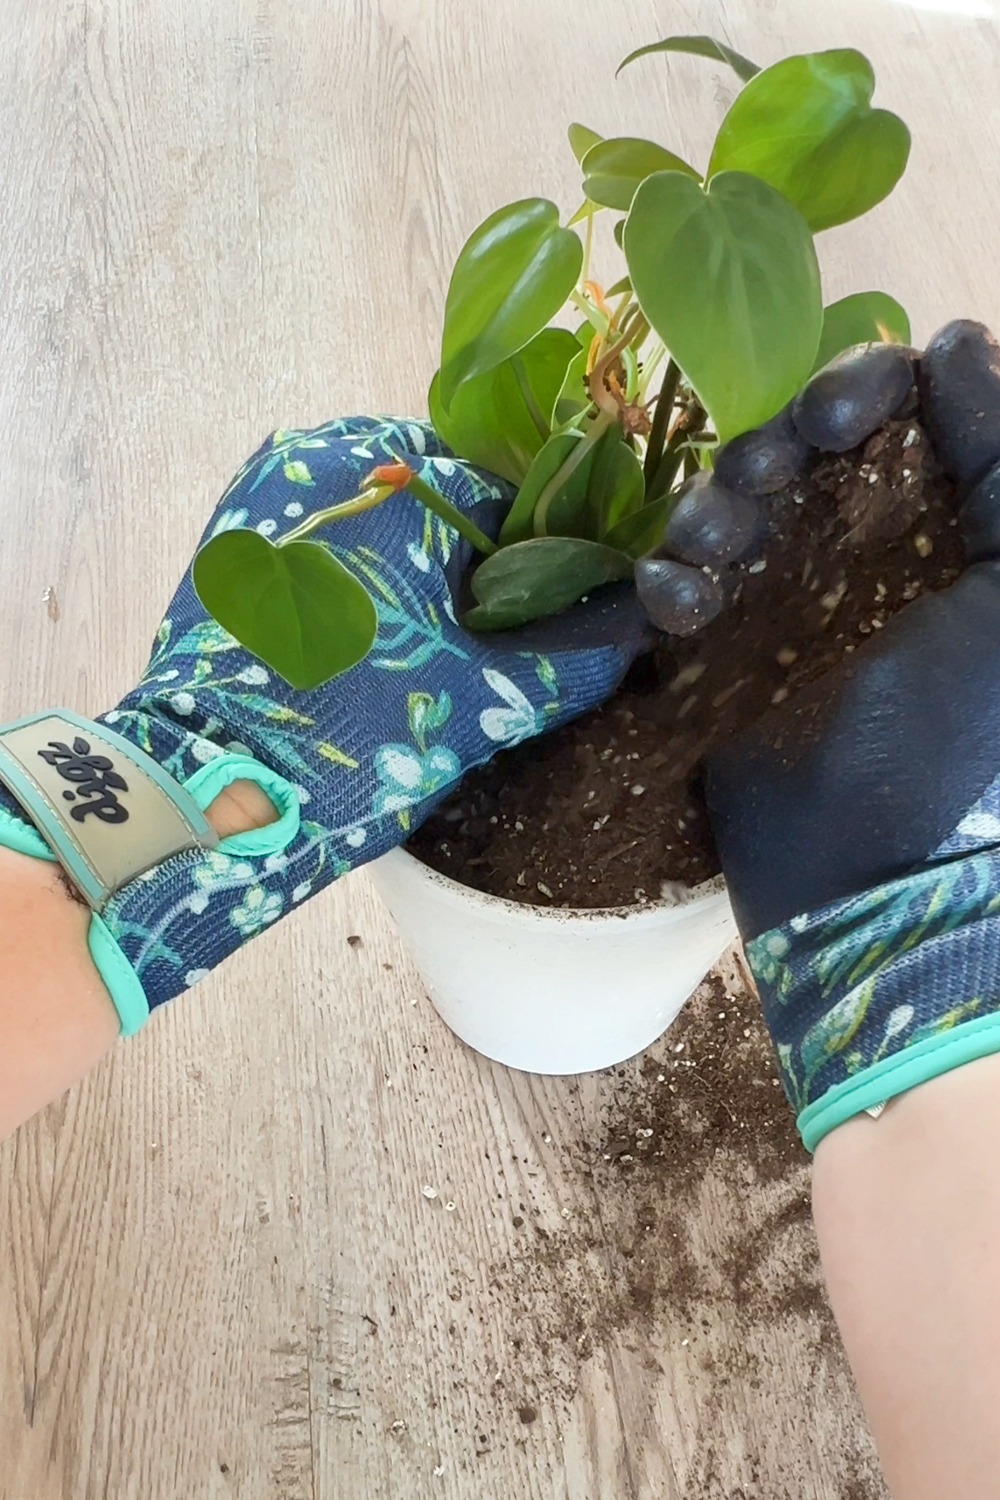
Add a little soil to the bottom of a pot with a drainage holes, and then gather the cuttings all together in one had and add soil with the other hand. Dry potting soil is easier to use because it falls down in between the roots better than moist, clumpy soil.
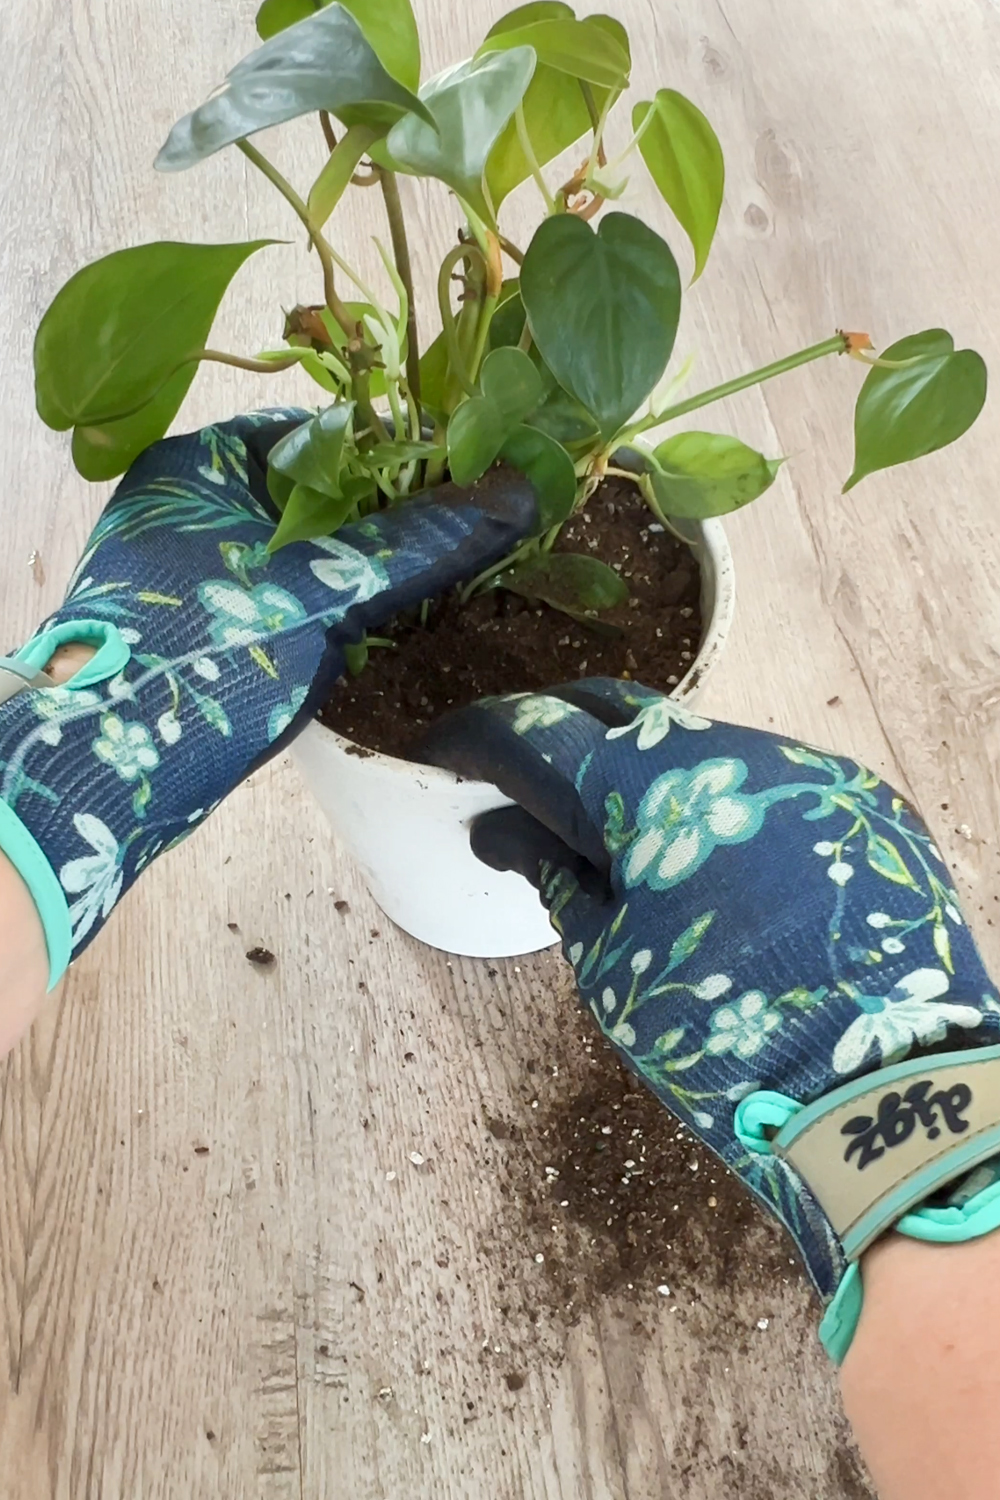
After the pot is filled with dirt, I water it really well. When you pot up new cuttings it is important to keep them damp until they get established. So water a little bit more frequently than you would otherwise. I like to keep newly potted cutting near my kitchen sink since it has great bright indirect light and so I can keep an eye on them.
I move the healthy plant to a new spot when I notice new leaves starting to grow on the plant or when I tug on the plant and it seems firm in the soil. If it is loose when you tug, it hasn't grown a strong root system yet.
I hope this has inspired you to grab your snips and prune your plants! If you have never pruned them, now is the best time to start! Because no one likes a leggy plant. Your plants will thank you by growing healthier and fuller! And you can get even more houseplants (or share with friends) when you propagate the cuttings.


Comment Below!