
I am in the process of refreshing my front room. I love it, and I don't want to change anything major. But you know how after a long winter you just want your space to feel new and springy? So I am switching out a few accessories here and there, adding some flowers, and I gave a few small things makeovers.
One of those things that got a new look was my side table. Remember waaaay back when I first started my blog and I shared a simple side table tutorial? Well the slightly distressed turquoise blue got cha-cha-cha-changed!
3M DIY sent me some products to help get it done. With their help, it went from this, to that:
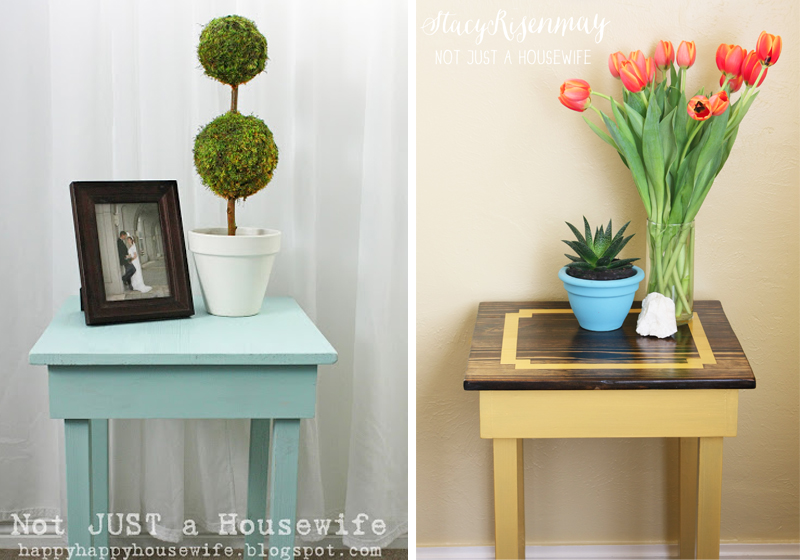
(Before and After)
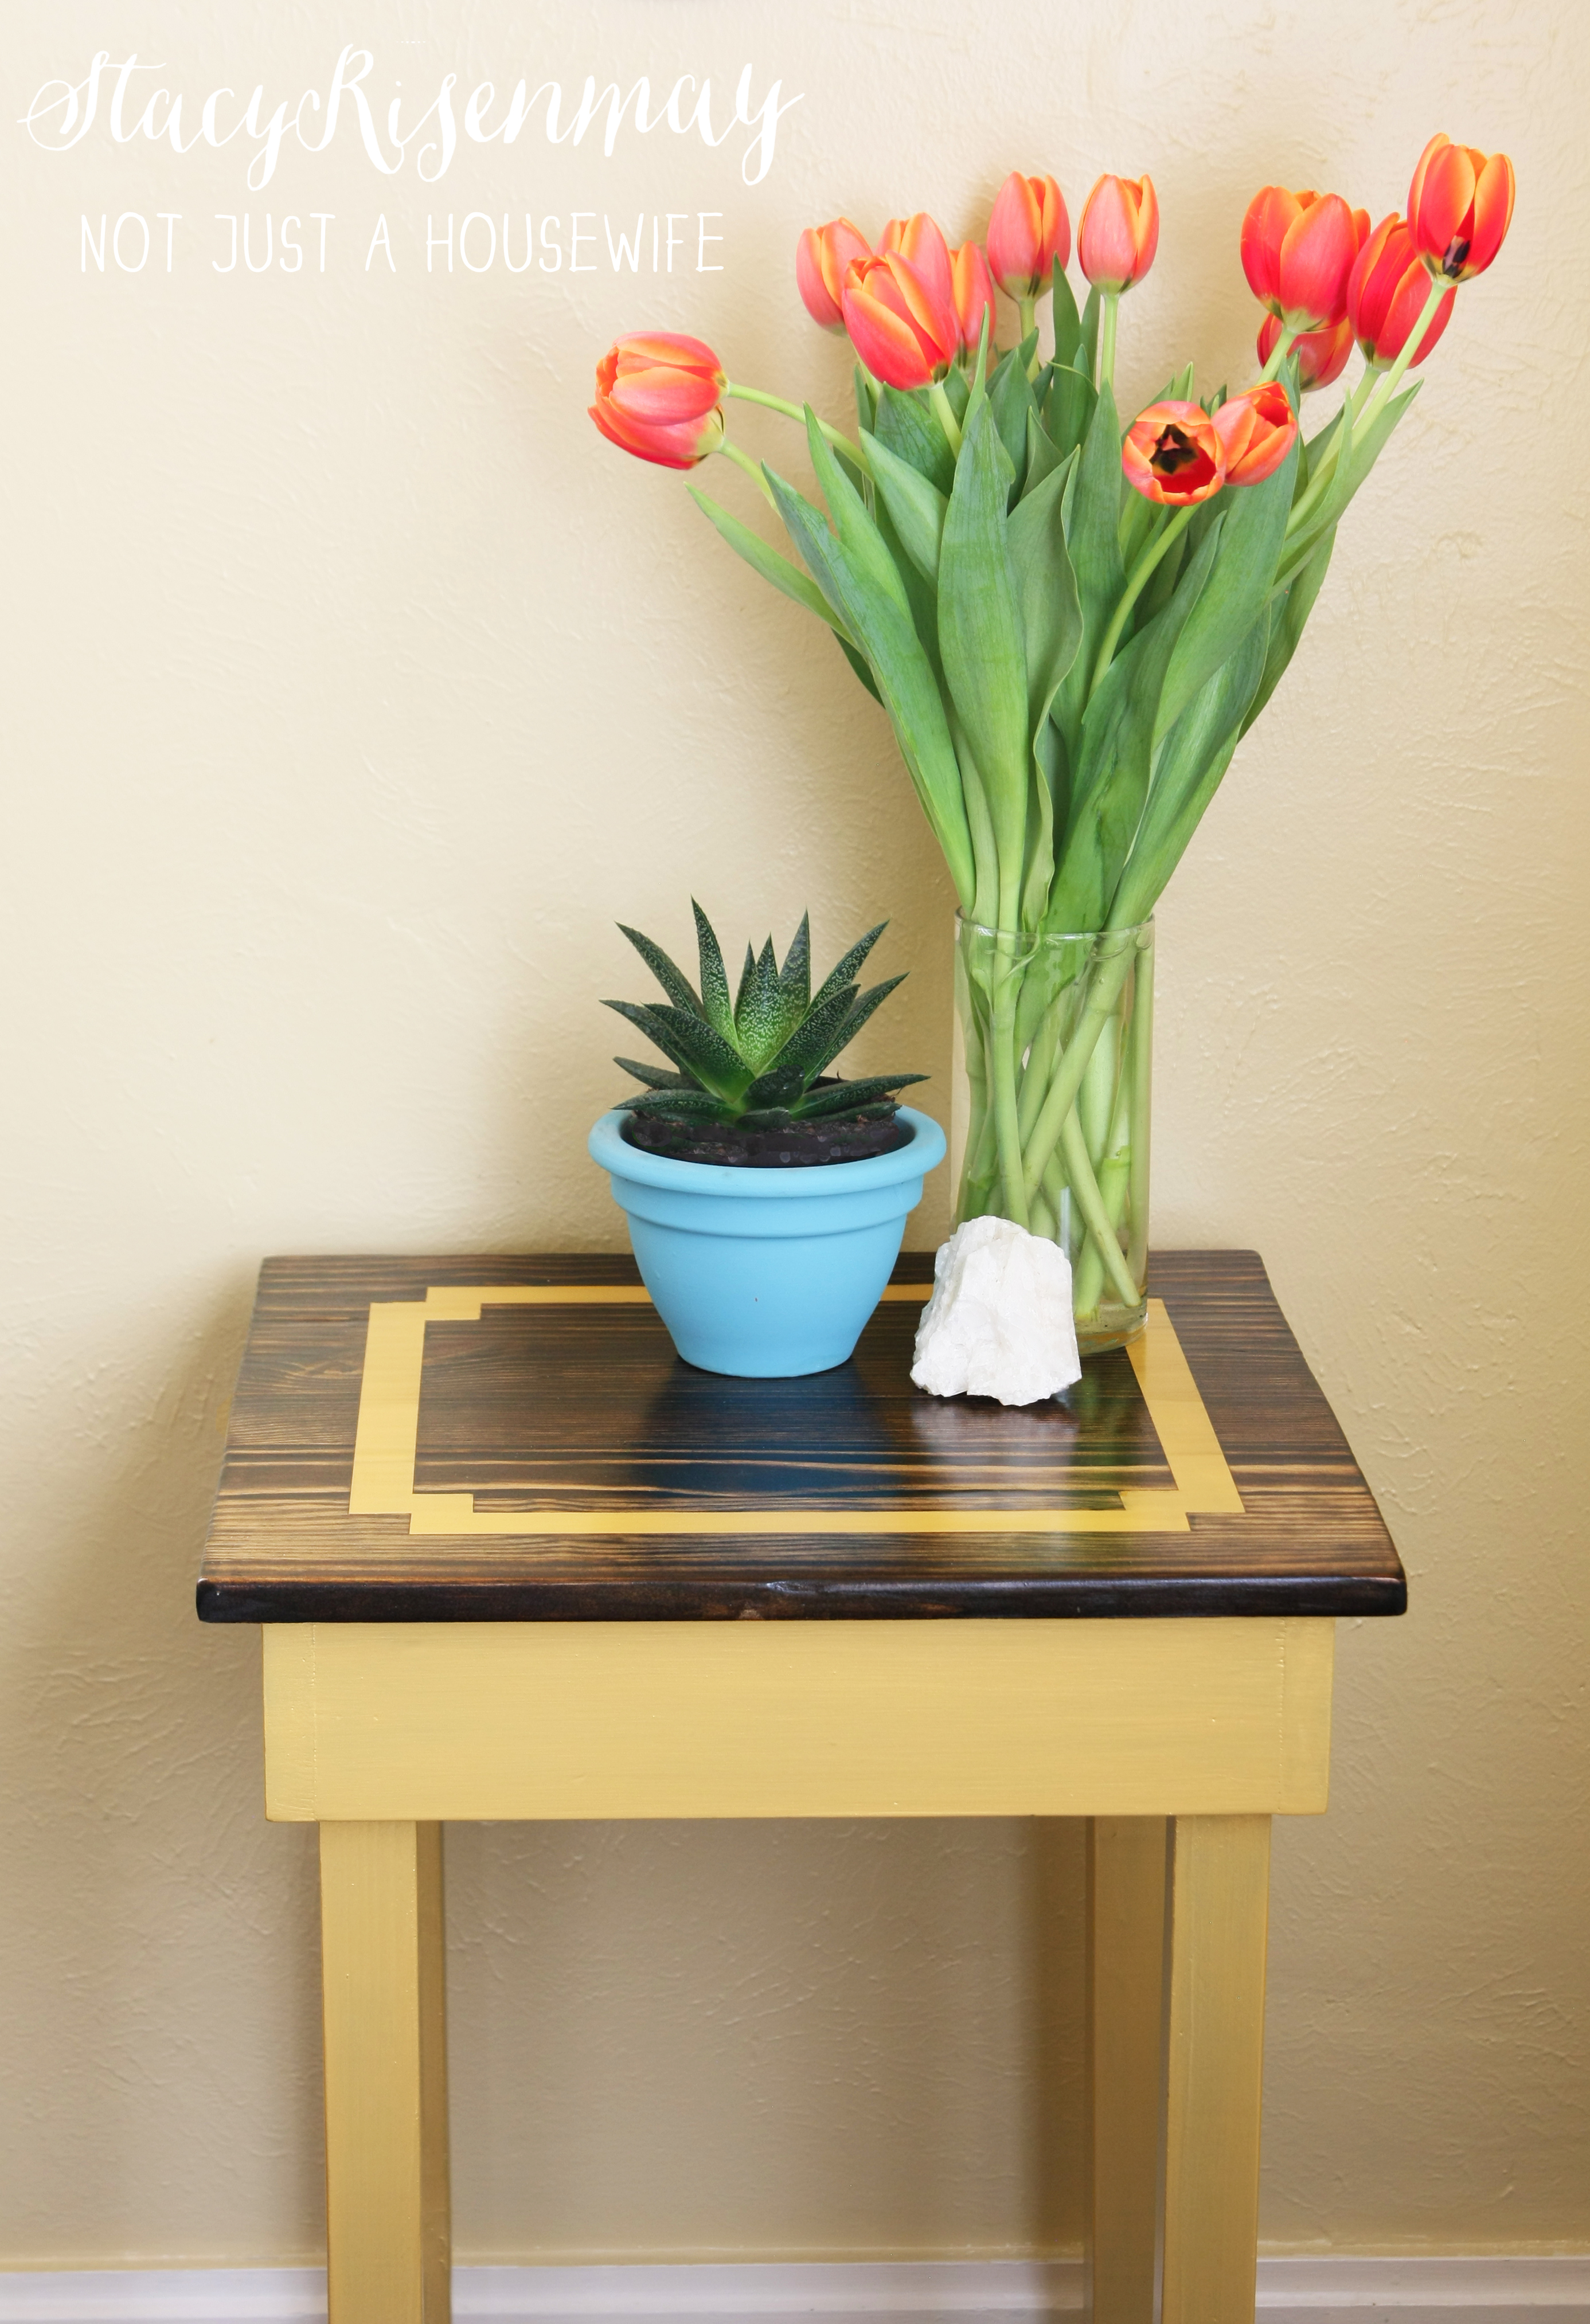
Pictures never do anything justice. In person it looks more metallic. I am loving how it looks all styled!
How to get the look:
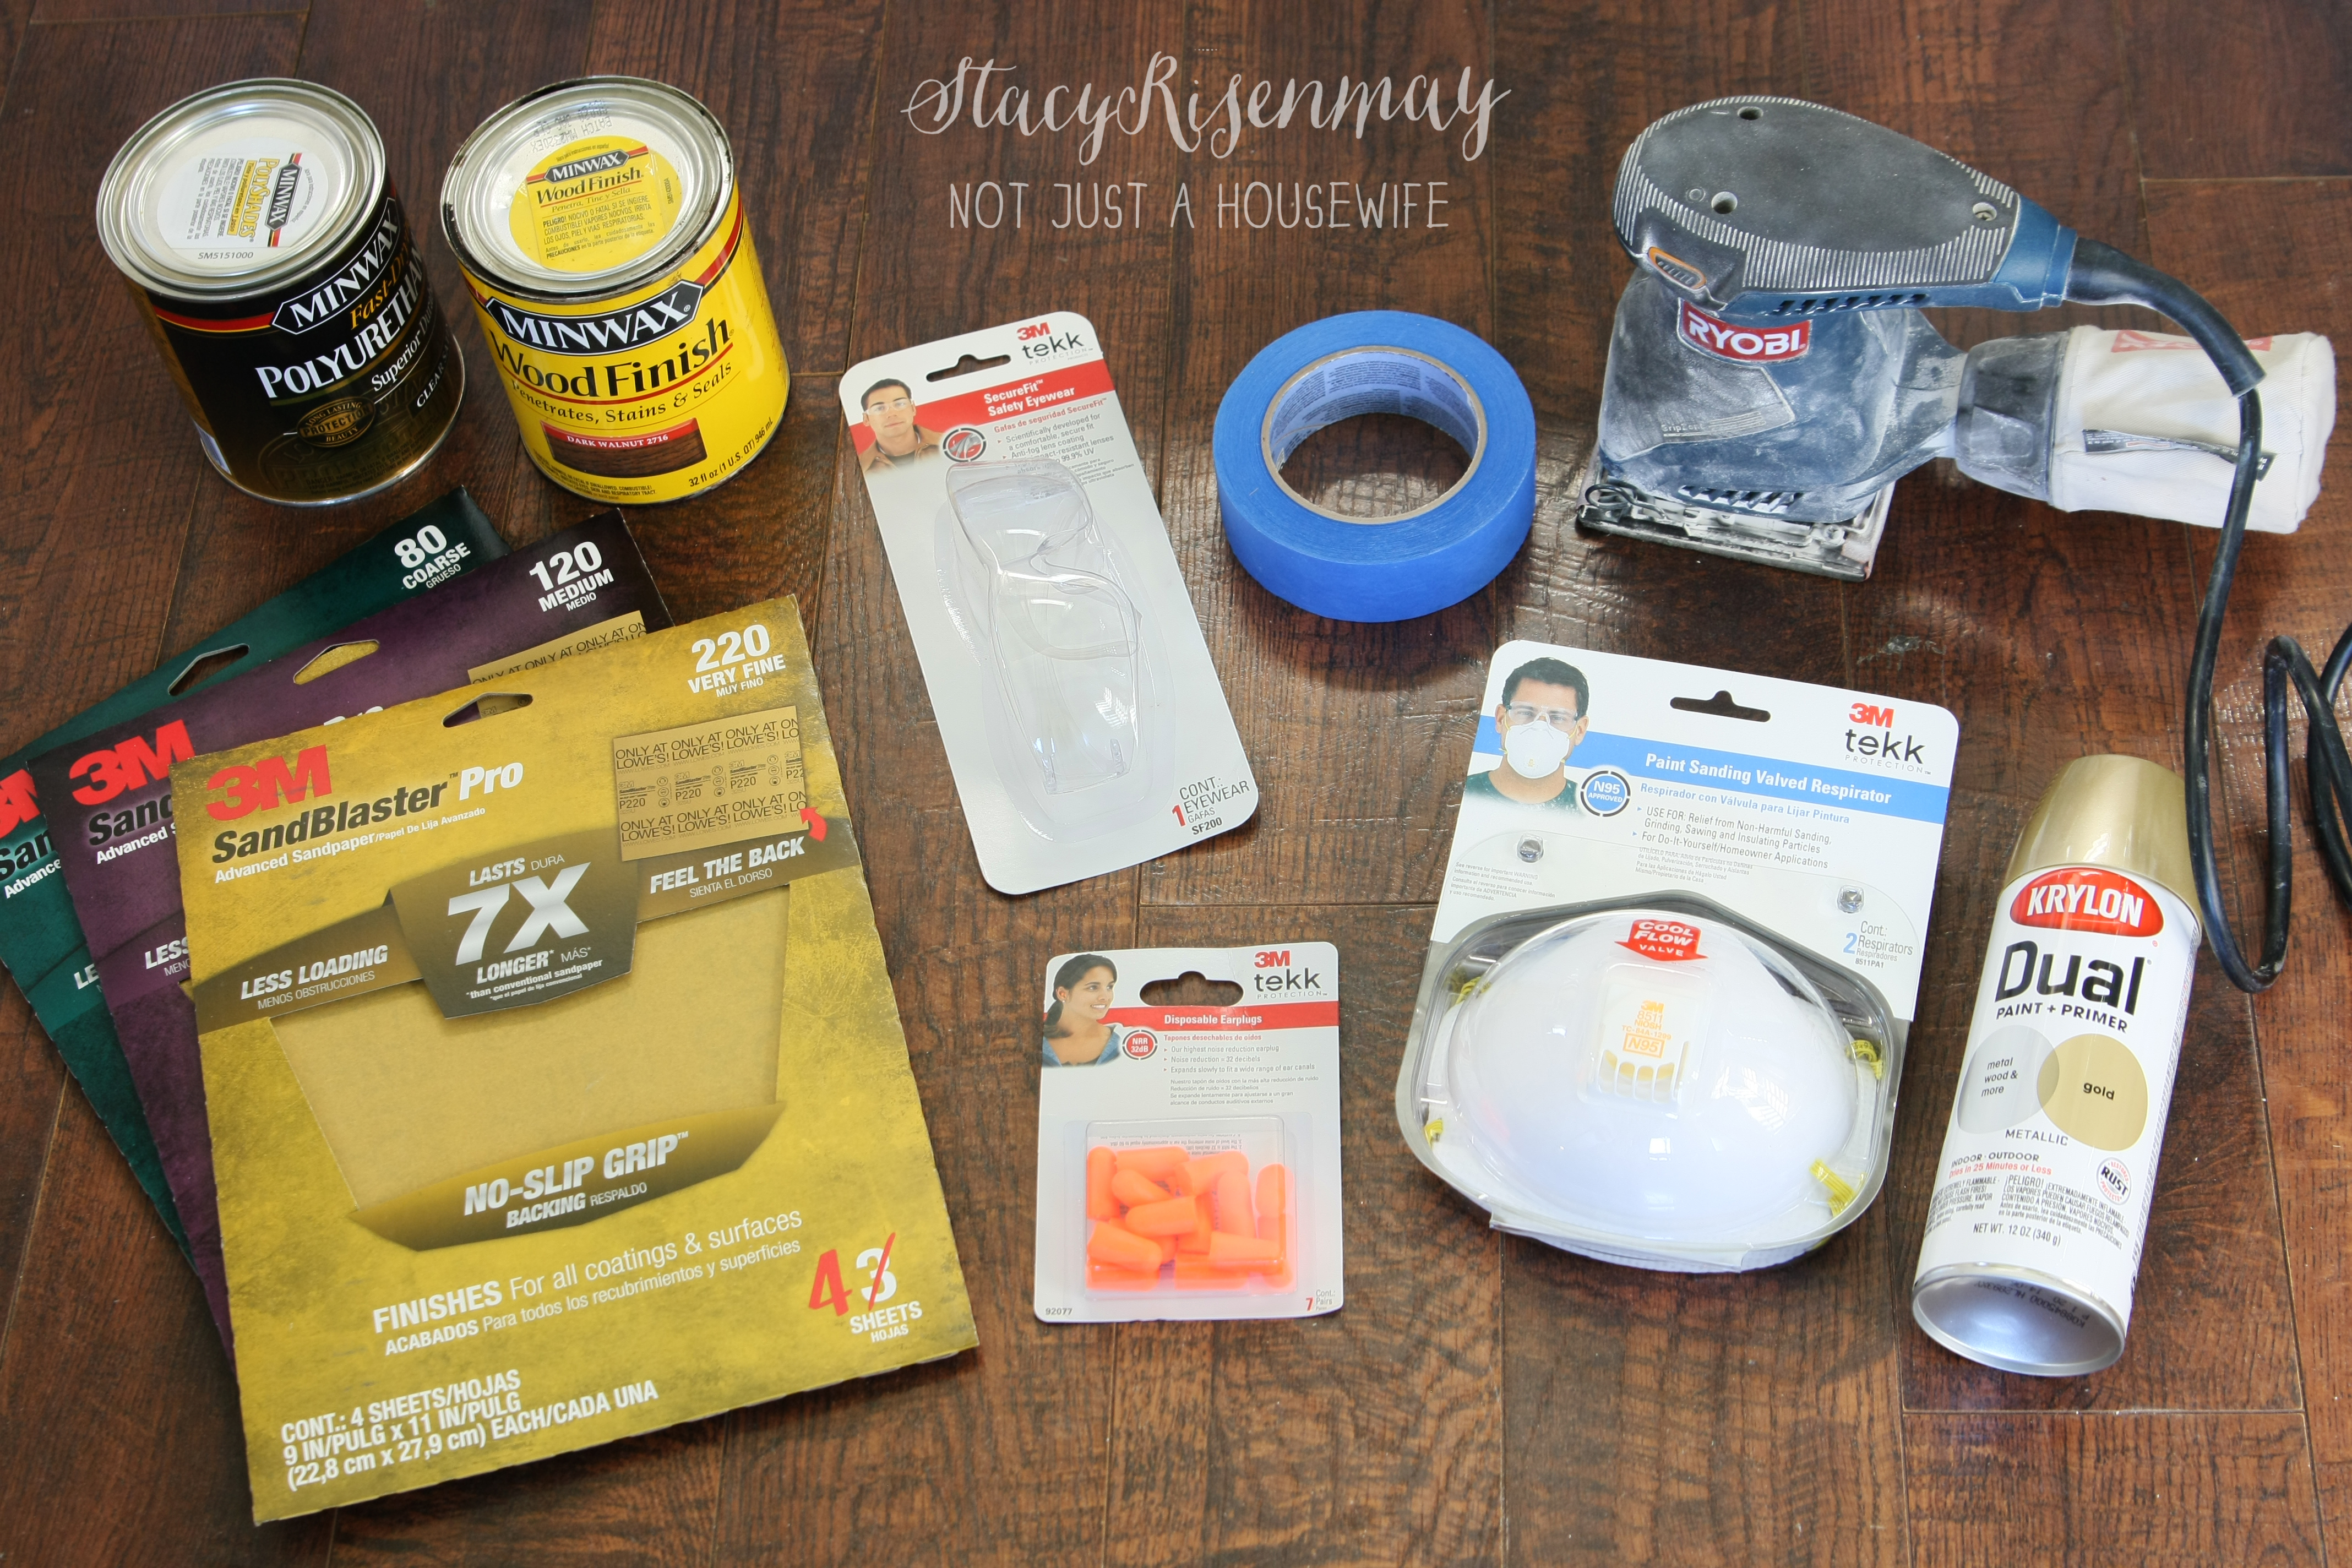
Supplies needed: Advanced Abrasives (80 grit, 120 grit, and 220 grit), ScotchBlue ™ Painter's Tape spray paint, stain, polyurethane, foam brush and paint brush meant for sealers (not shown), and 3M ™ Safety Products (Respirator, ear protection, safety glasses)
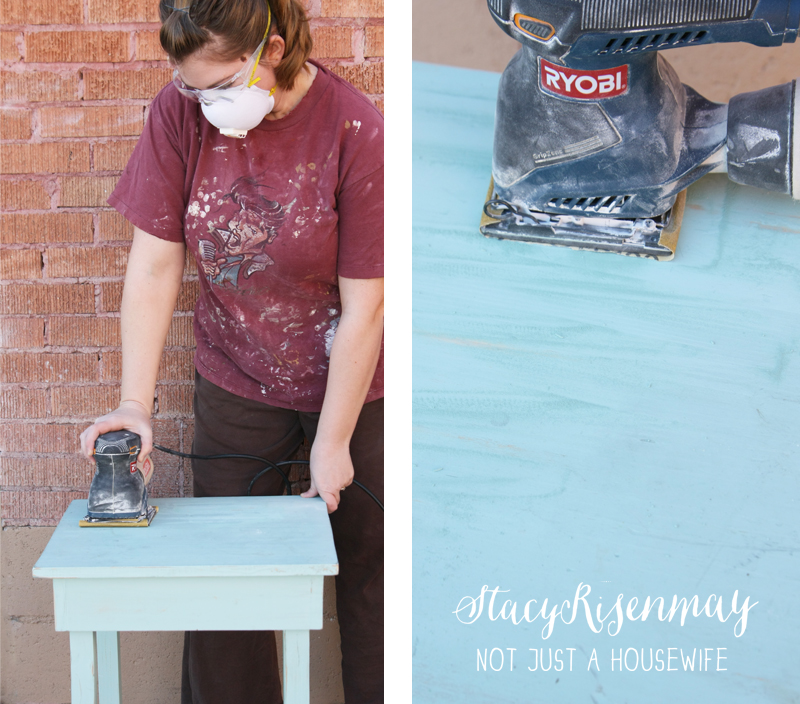
When you are sanding something to get an existing finish off, whether paint or stain, you will want to start out with a heavy grit sandpaper. If you use a fine grit you will be sanding all dang day. The heavier grit will get the existing finish off more quickly and then you can go back over the surface with the finer grit sandpaper to make it super smooth.
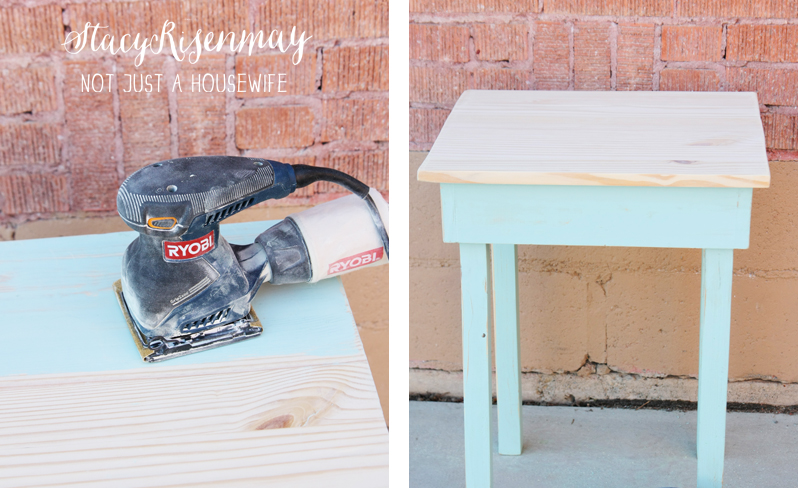
I was just going to be staining the top, so I didn't sand all of the paint off of the base and legs.
Once you are done sanding you will want to use a damp paper towel to wipe off all of the dust. After wiping the table down, I flipped it over so it was upside down. I taped around the edges of the table top with ScotchBlue paper's tape to protect them from the spray paint.
When you spray paint something it is best to hold the can 10-12 inches away from the item you are painting. Several thin coats are much better than a couple of thicker coats. This will help you have an even coat. Also, make sure the temperature outside it at least 55 degrees (warmer is better) so that the paint doesn't crackle.
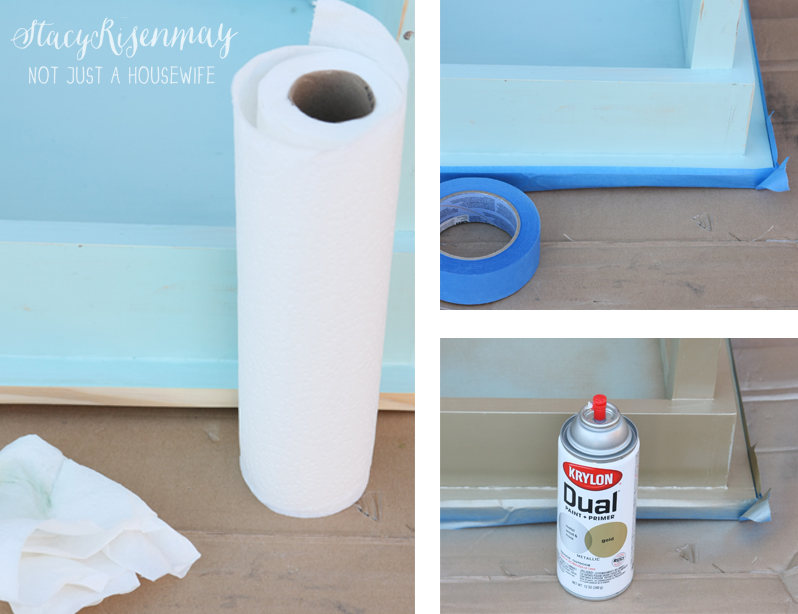
(I ended up not loving this color of gold so I bought gold craft paint and painted over it. It looked more tan than gold as you can see in the picture below here. I am still glad I spray painted it though because it would have been hard to paint over the blue with the thin craft paint.)
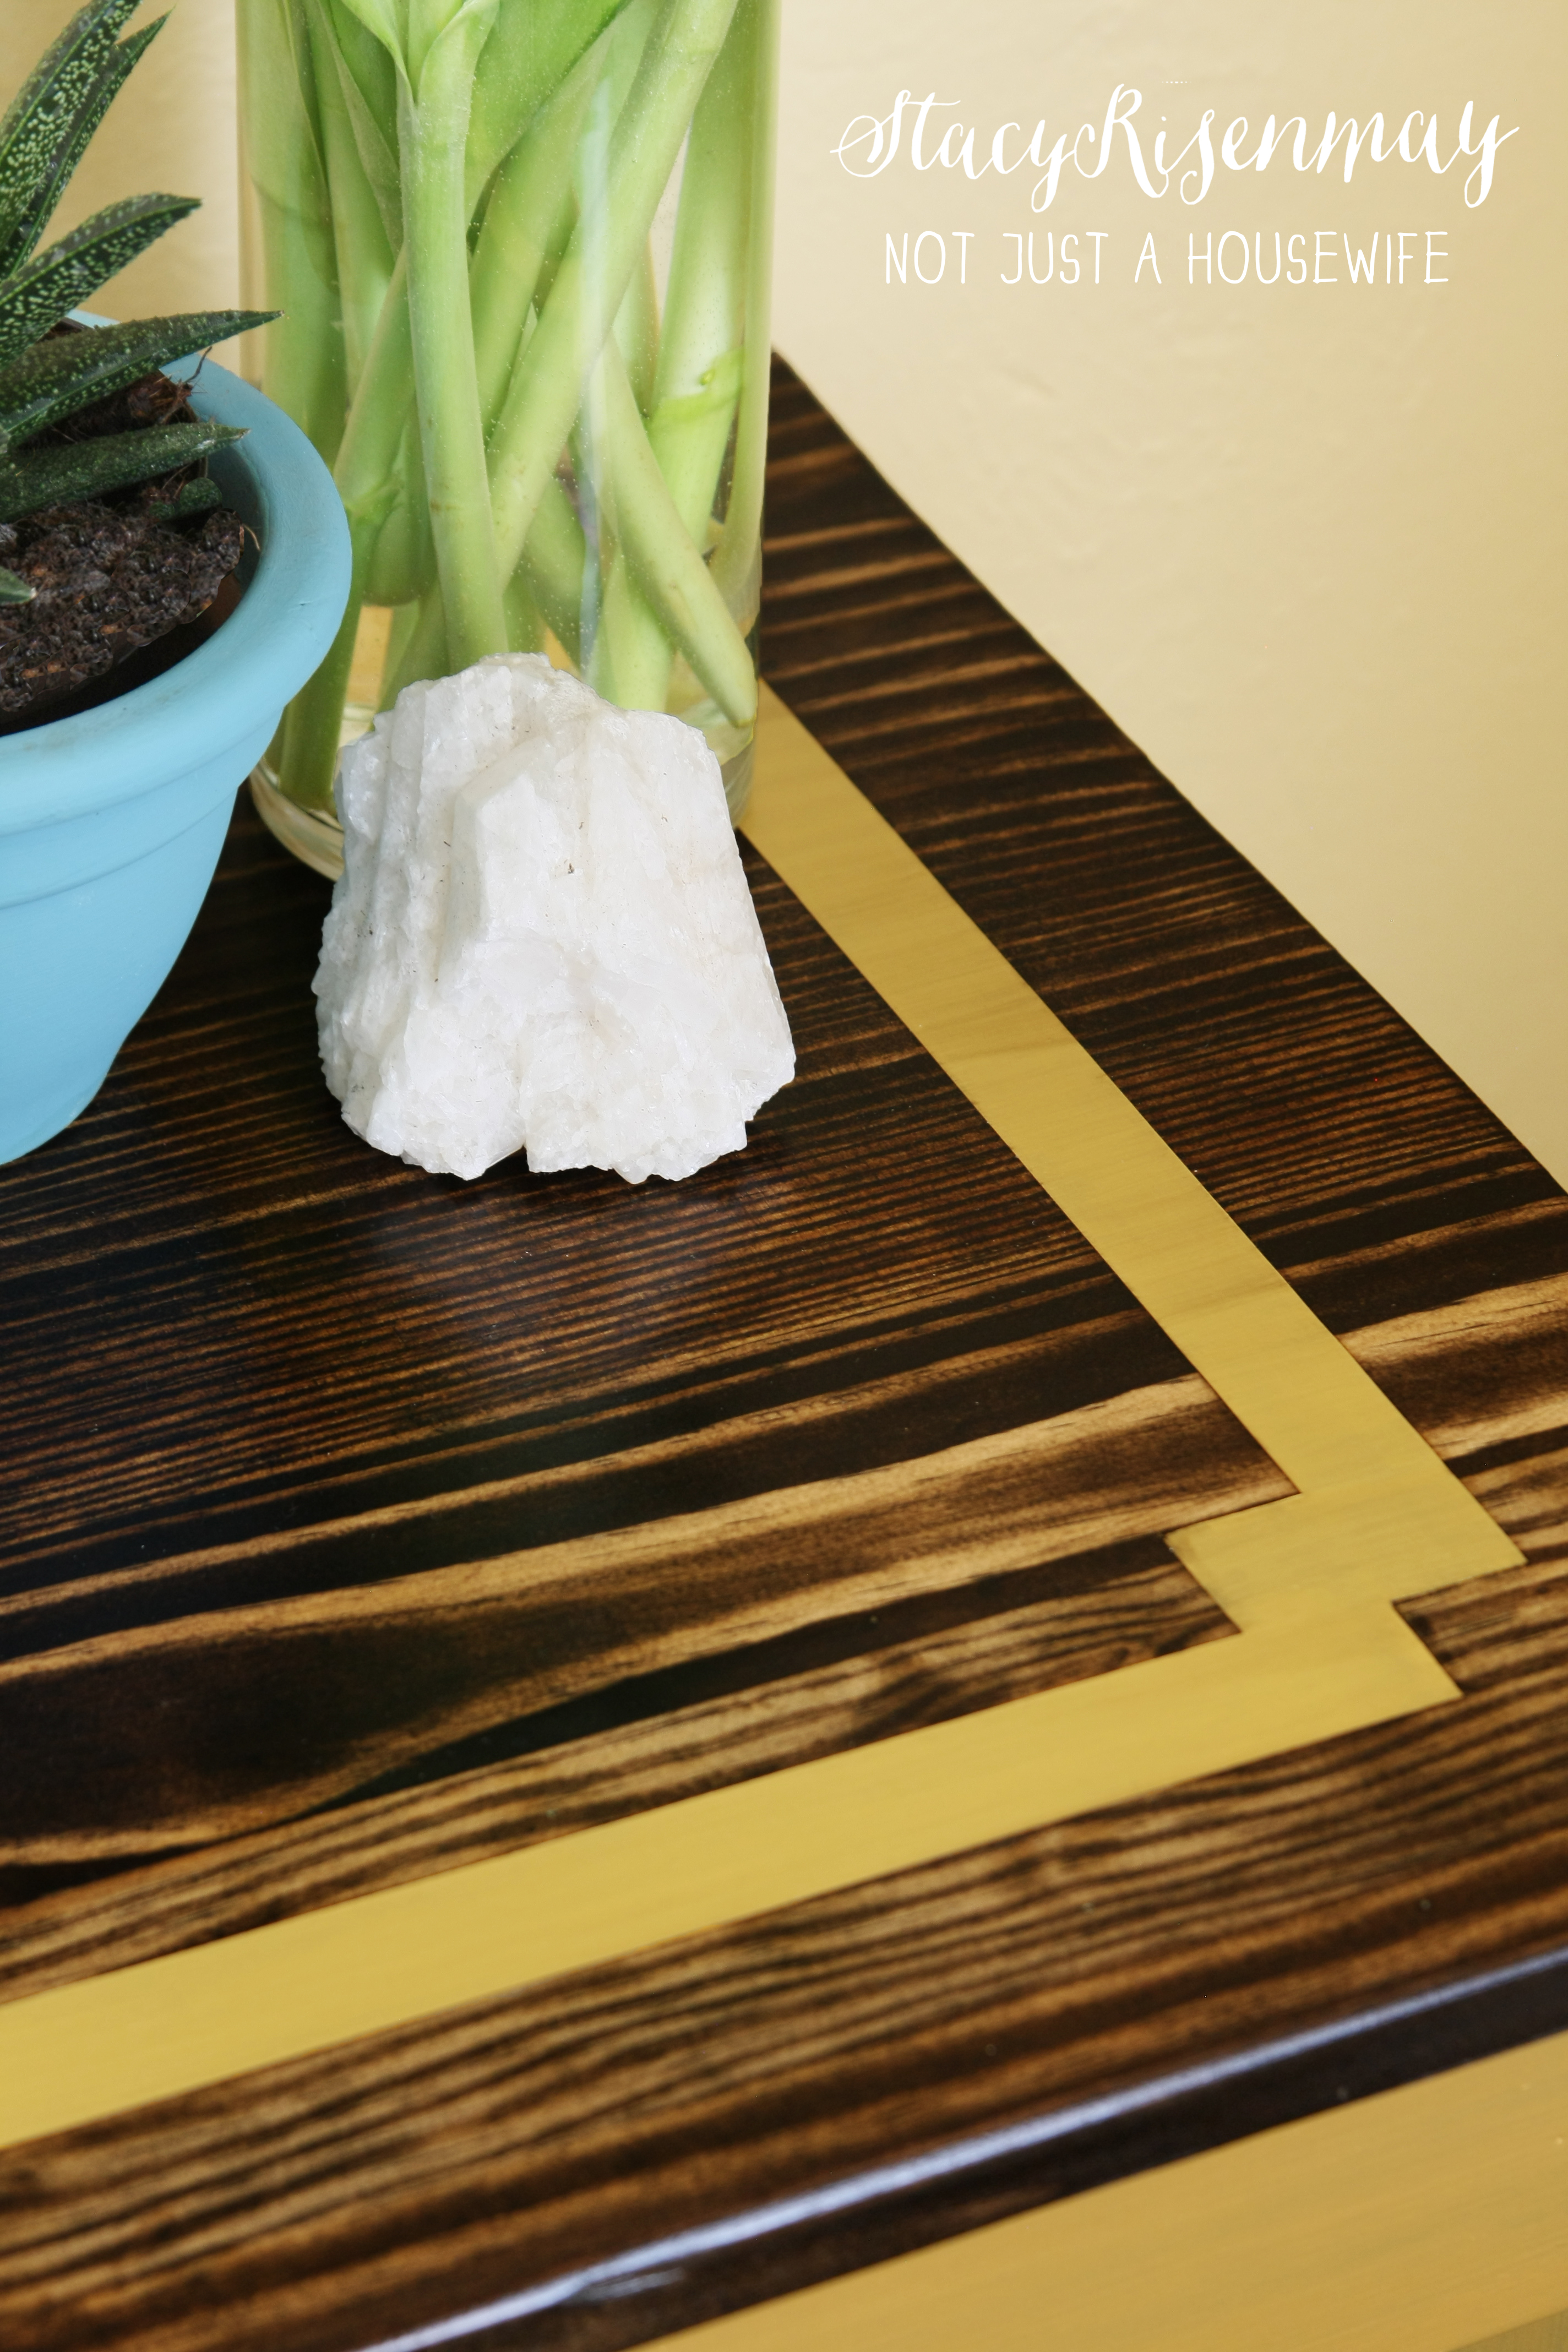
Now you are ready to stain the top! I chose my all time favorite, Minwax's Dark Walnut. I chose to only do one coat though instead of my normal two coats. You know, just to change it up a bit :) I also wanted to see the wood grain more since the table top had a great pattern.
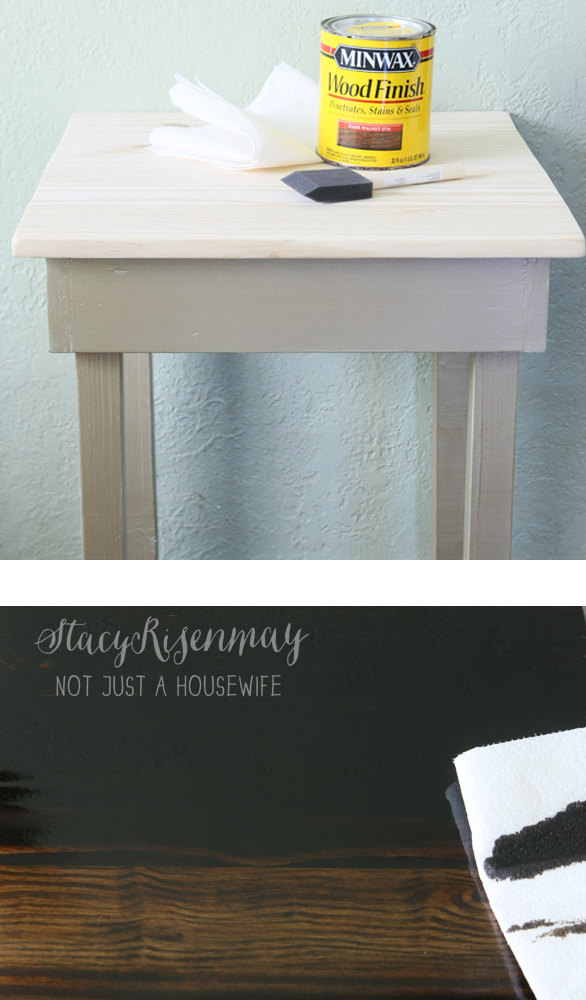
I apply it using a foam brush. After a few minutes, I wipe away the excess with paper towels. Wait until it is all the way dry before moving on to the next step.
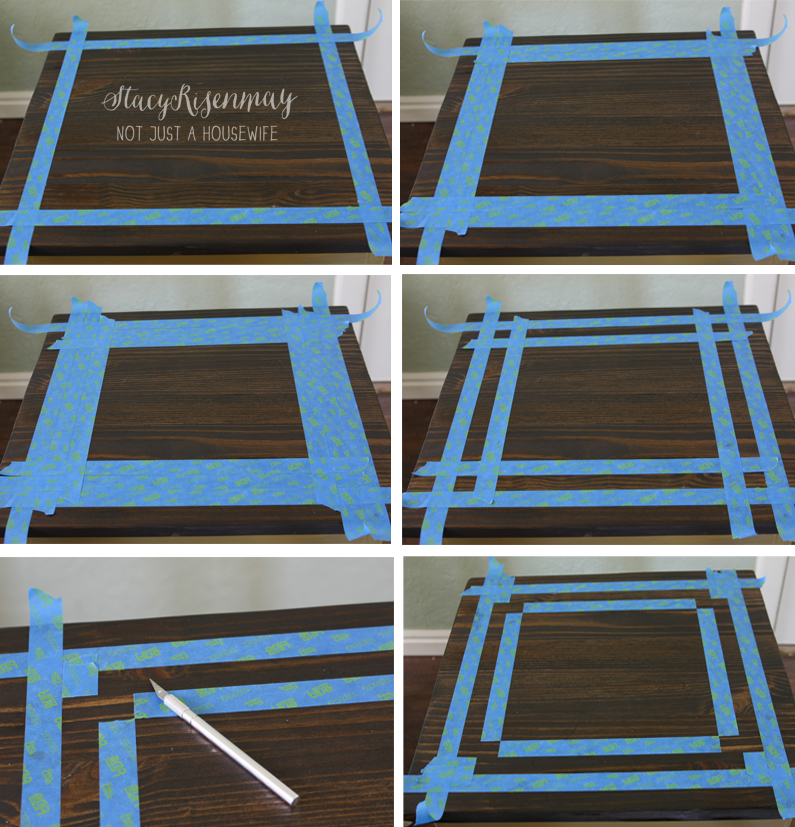
I wanted to add a fun detail to the top. I used chalk to mark where I measured.
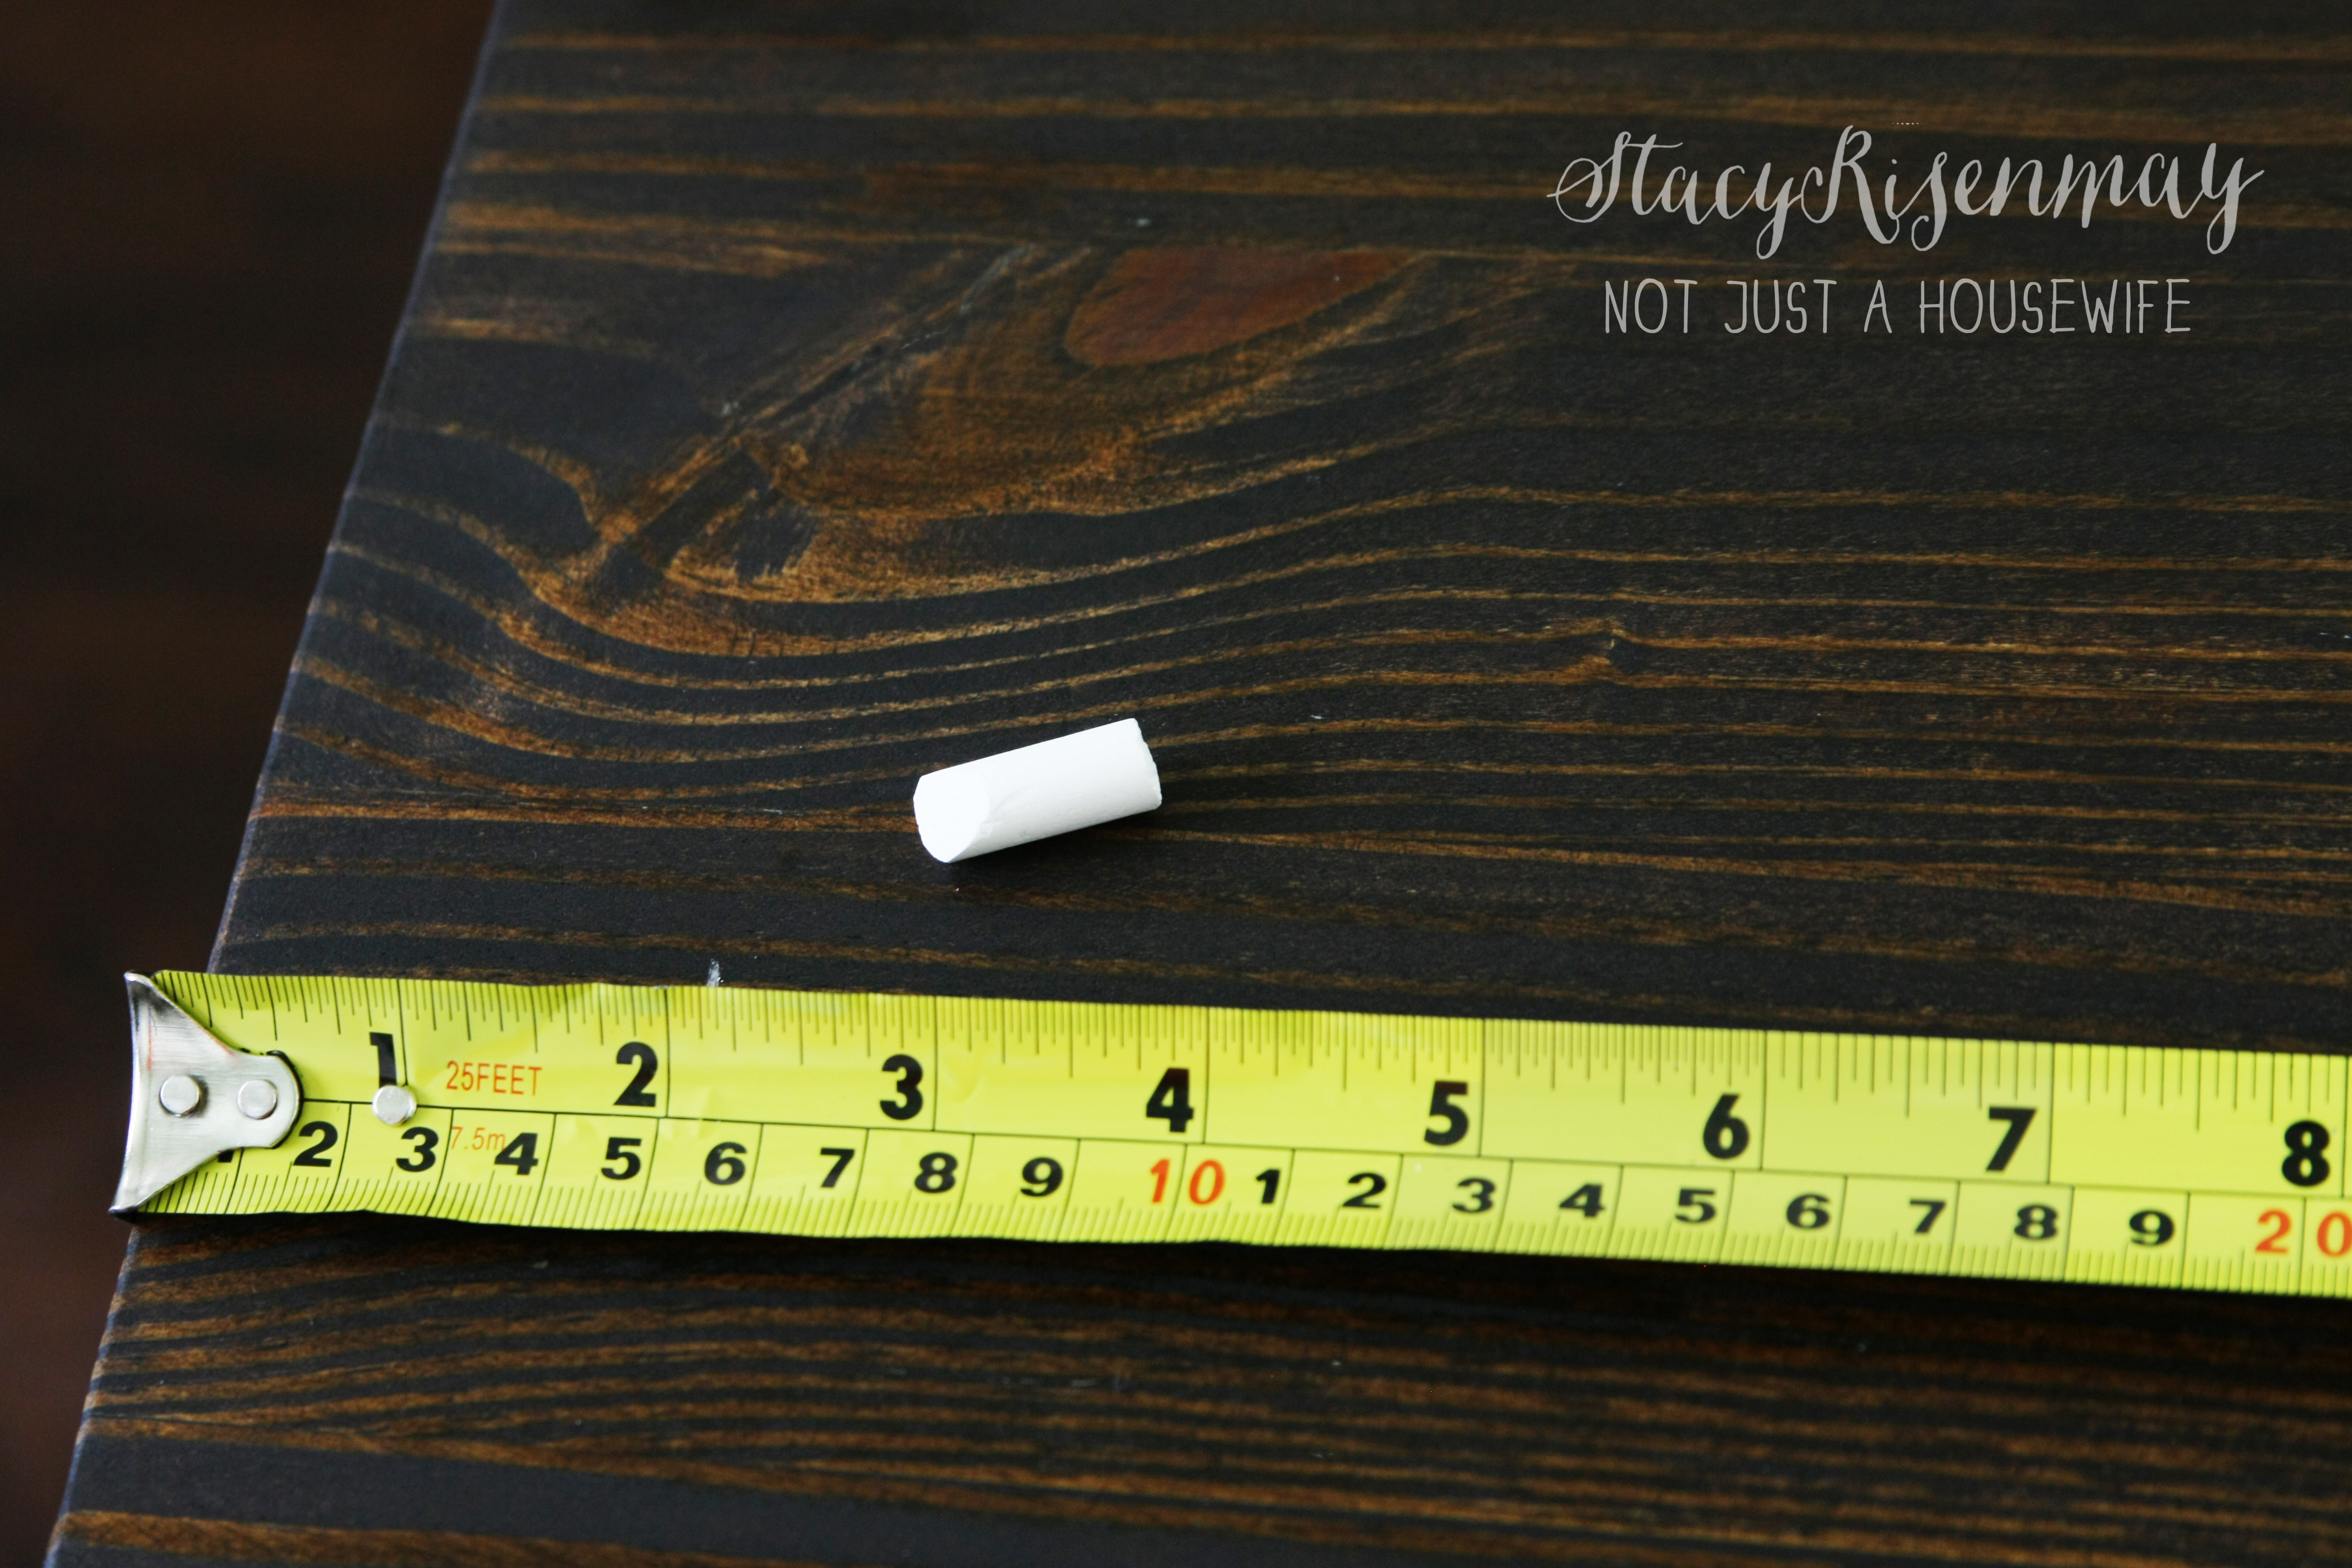
I am sure, just like most things in life, that there are more than one way to tape off this design. But here is how I did it. I measured a square and taped it off. Then I added another square just inside that one. And then another. Then I removed the center strip of tape. This worked out perfectly because the thickness of the tape was about the size I wanted the design to be. I forgot to take a picture of the next thing, but I added tape to the little square in the corners,
Then I used an X-Acto knife (razor blade knife) to score the tape where it needed to be removed. *** Be gentle! If you push too hard you could either go all the way through and cut the wood or leave a dent along where you scored*** Then because it was scored, when I went to remove it, it tore straight.
This next step is optional. I almost didn't do it because it would require extra time. But I decided to rub some stain inside the tape lines. This way the tape was sealed and if anything did happen to get under the tape, it would be the stain and not the paint. I did this because I changed to craft paint instead of the spray paint and the craft paint was super thin and runny.
I had to let it dry before I could paint inside the lines.
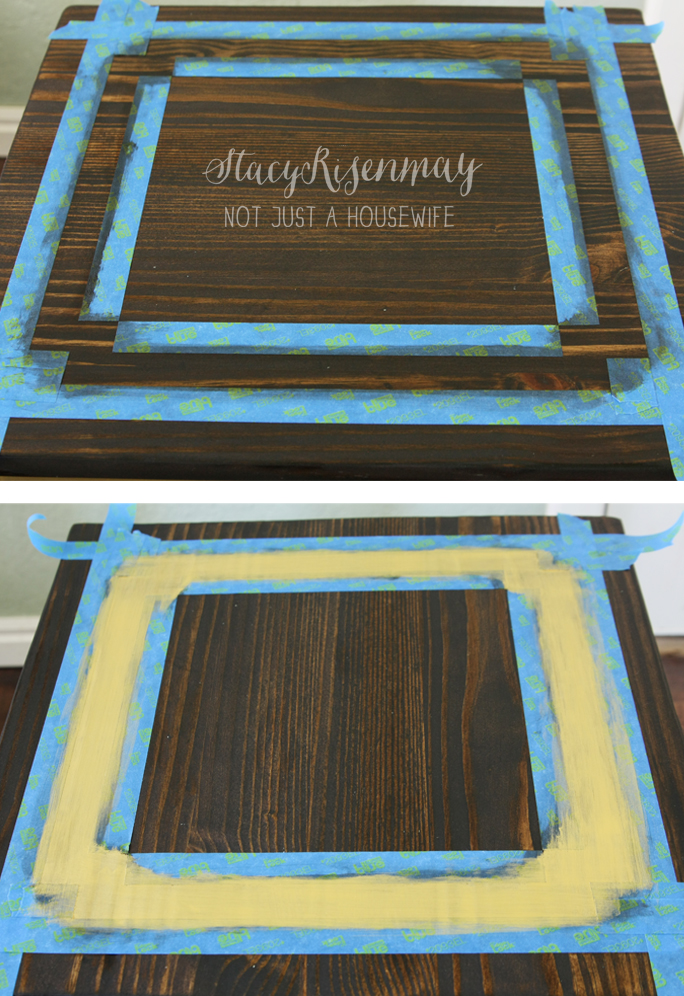
The lines were awesome! I had to score along the tape on the inside of the corners so the paint wouldn't get pulled off by the tape. That can happen when you have a lot of layers of paint and since the craft paint was thin I think I had to do 6 coats!
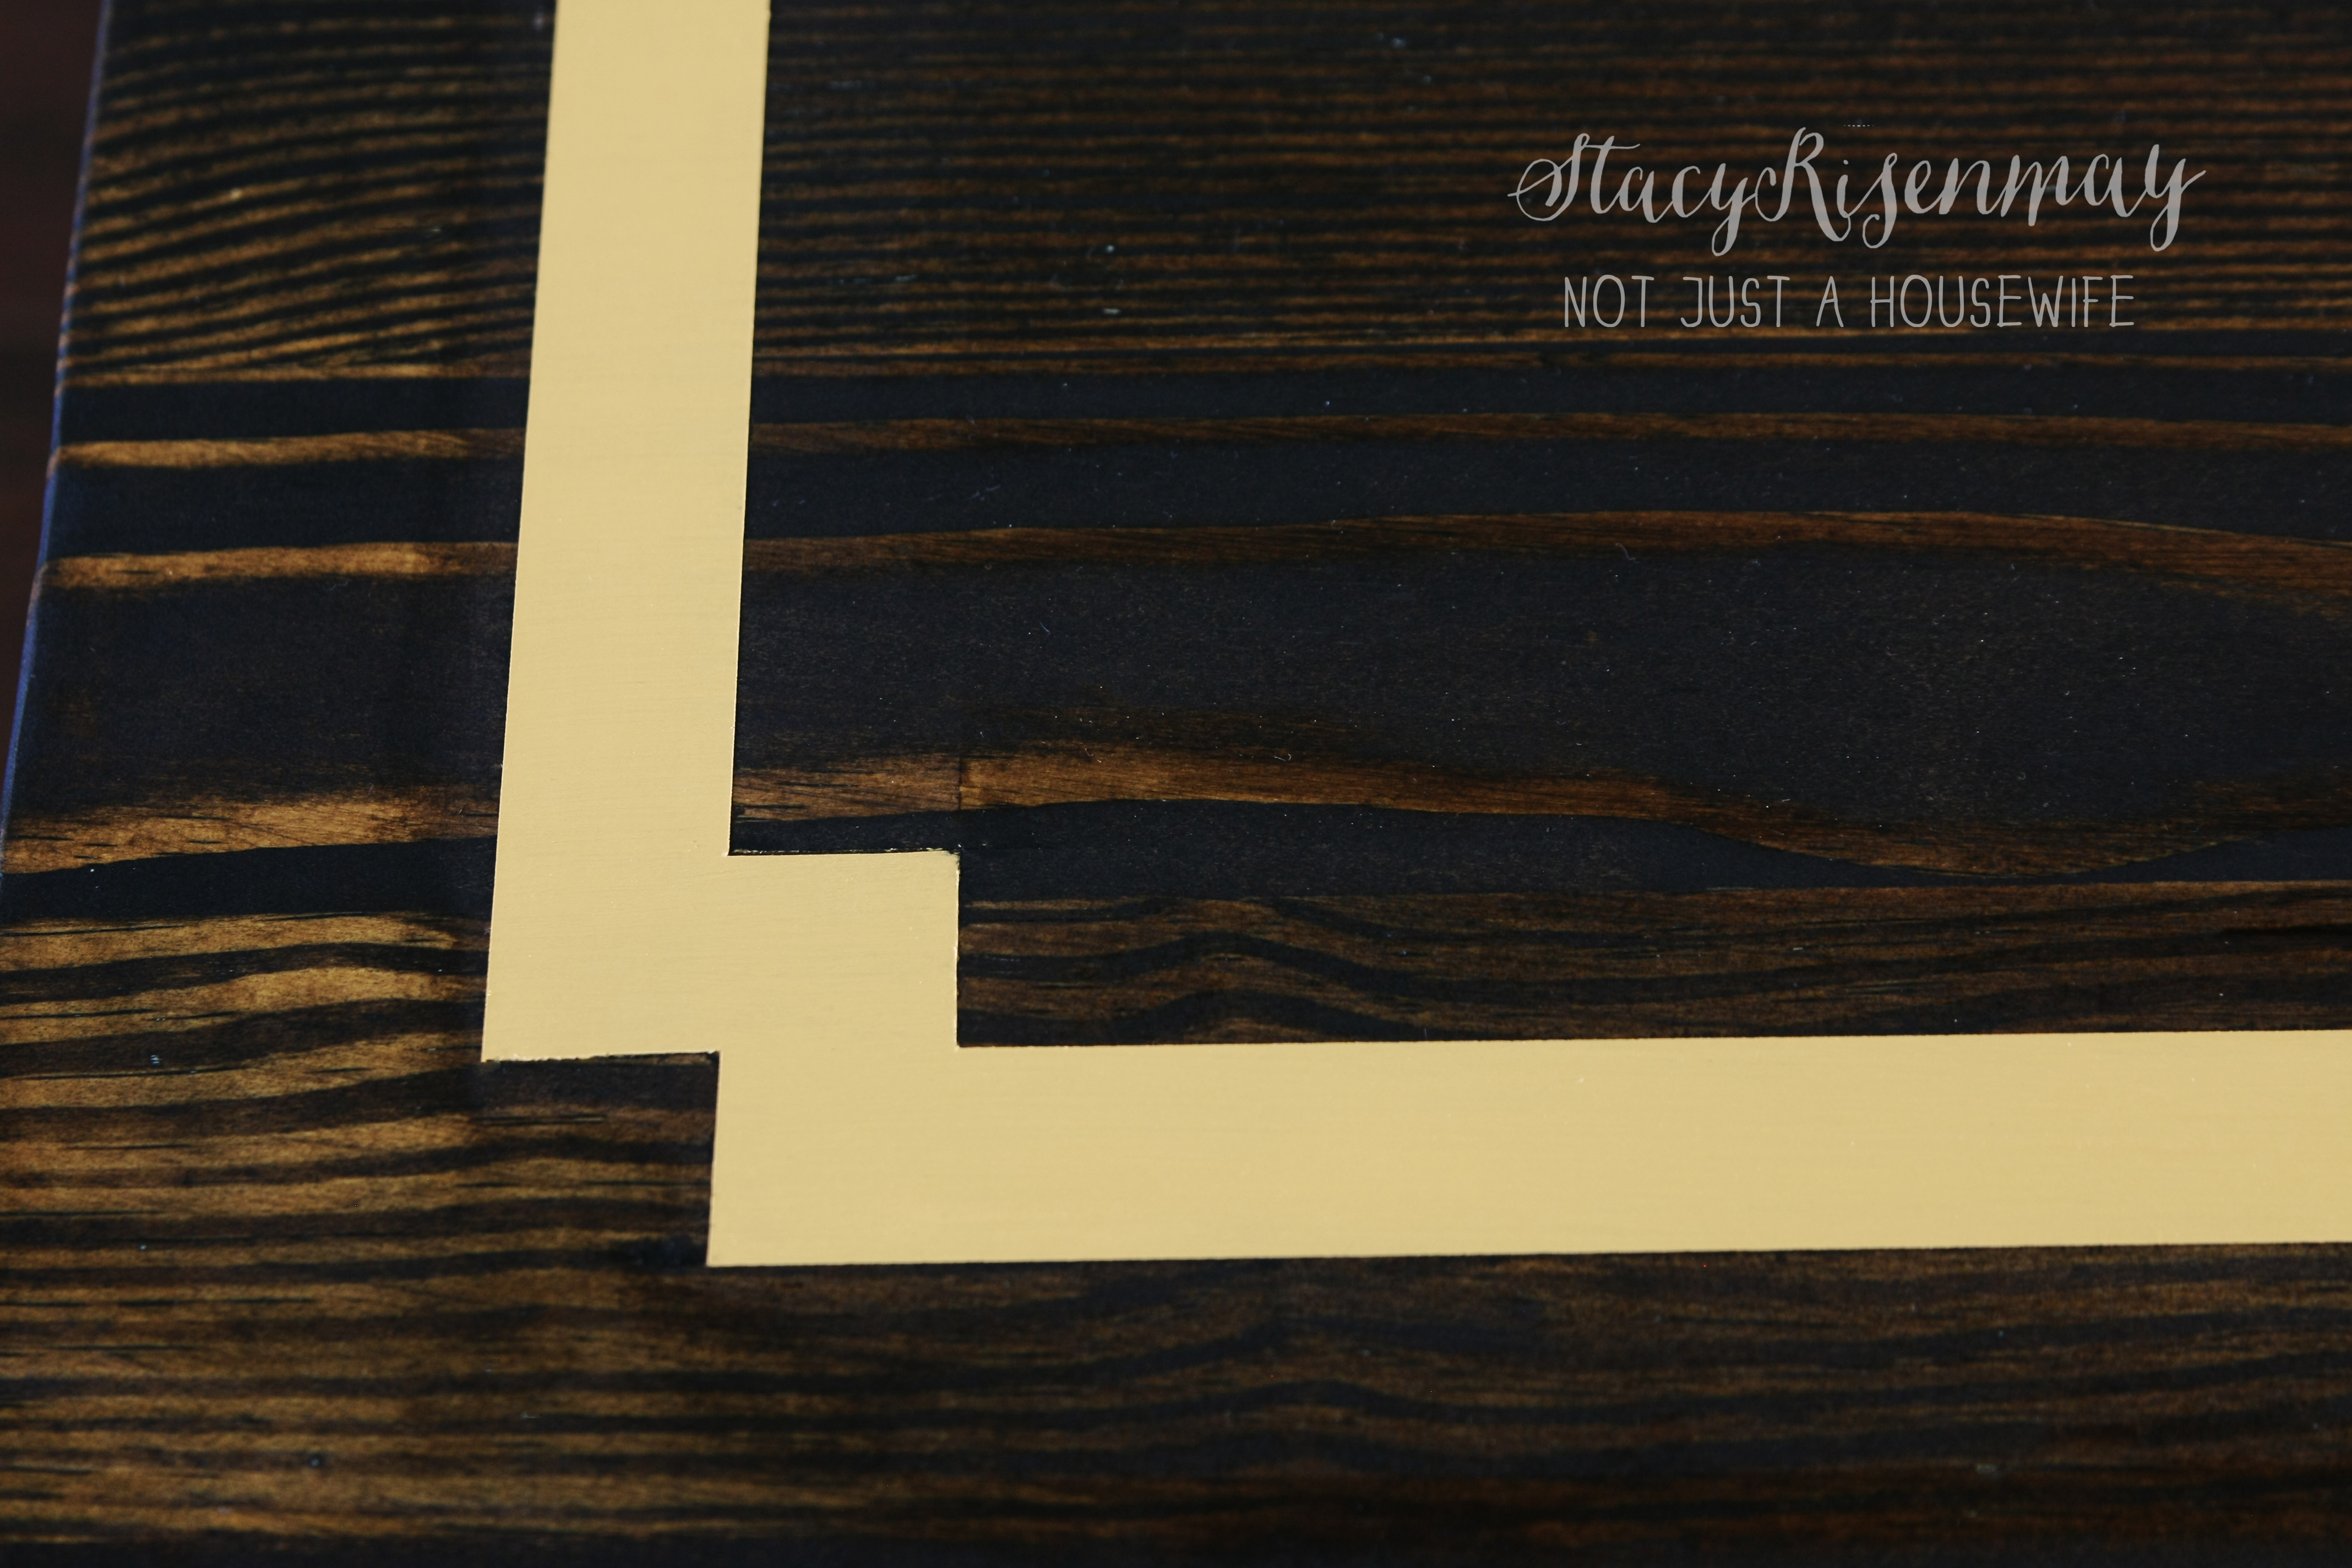
But it looks great! And it is all ready for a top coat for protection.

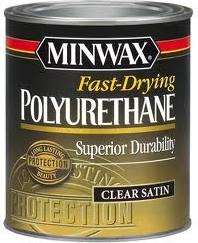
You will need to seal your wood. If you chose a water based stain you will need a water based sealer. If you chose an oil based stain (like I did) you will need an oil based sealer. I chose fast drying polyurethane from Minwax in satin. Use a good quality brush to apply it. Let it dry completely in between coats. Do two or three depending on the amount of use the piece will get. Follow all the directions on the can of the product you chose.
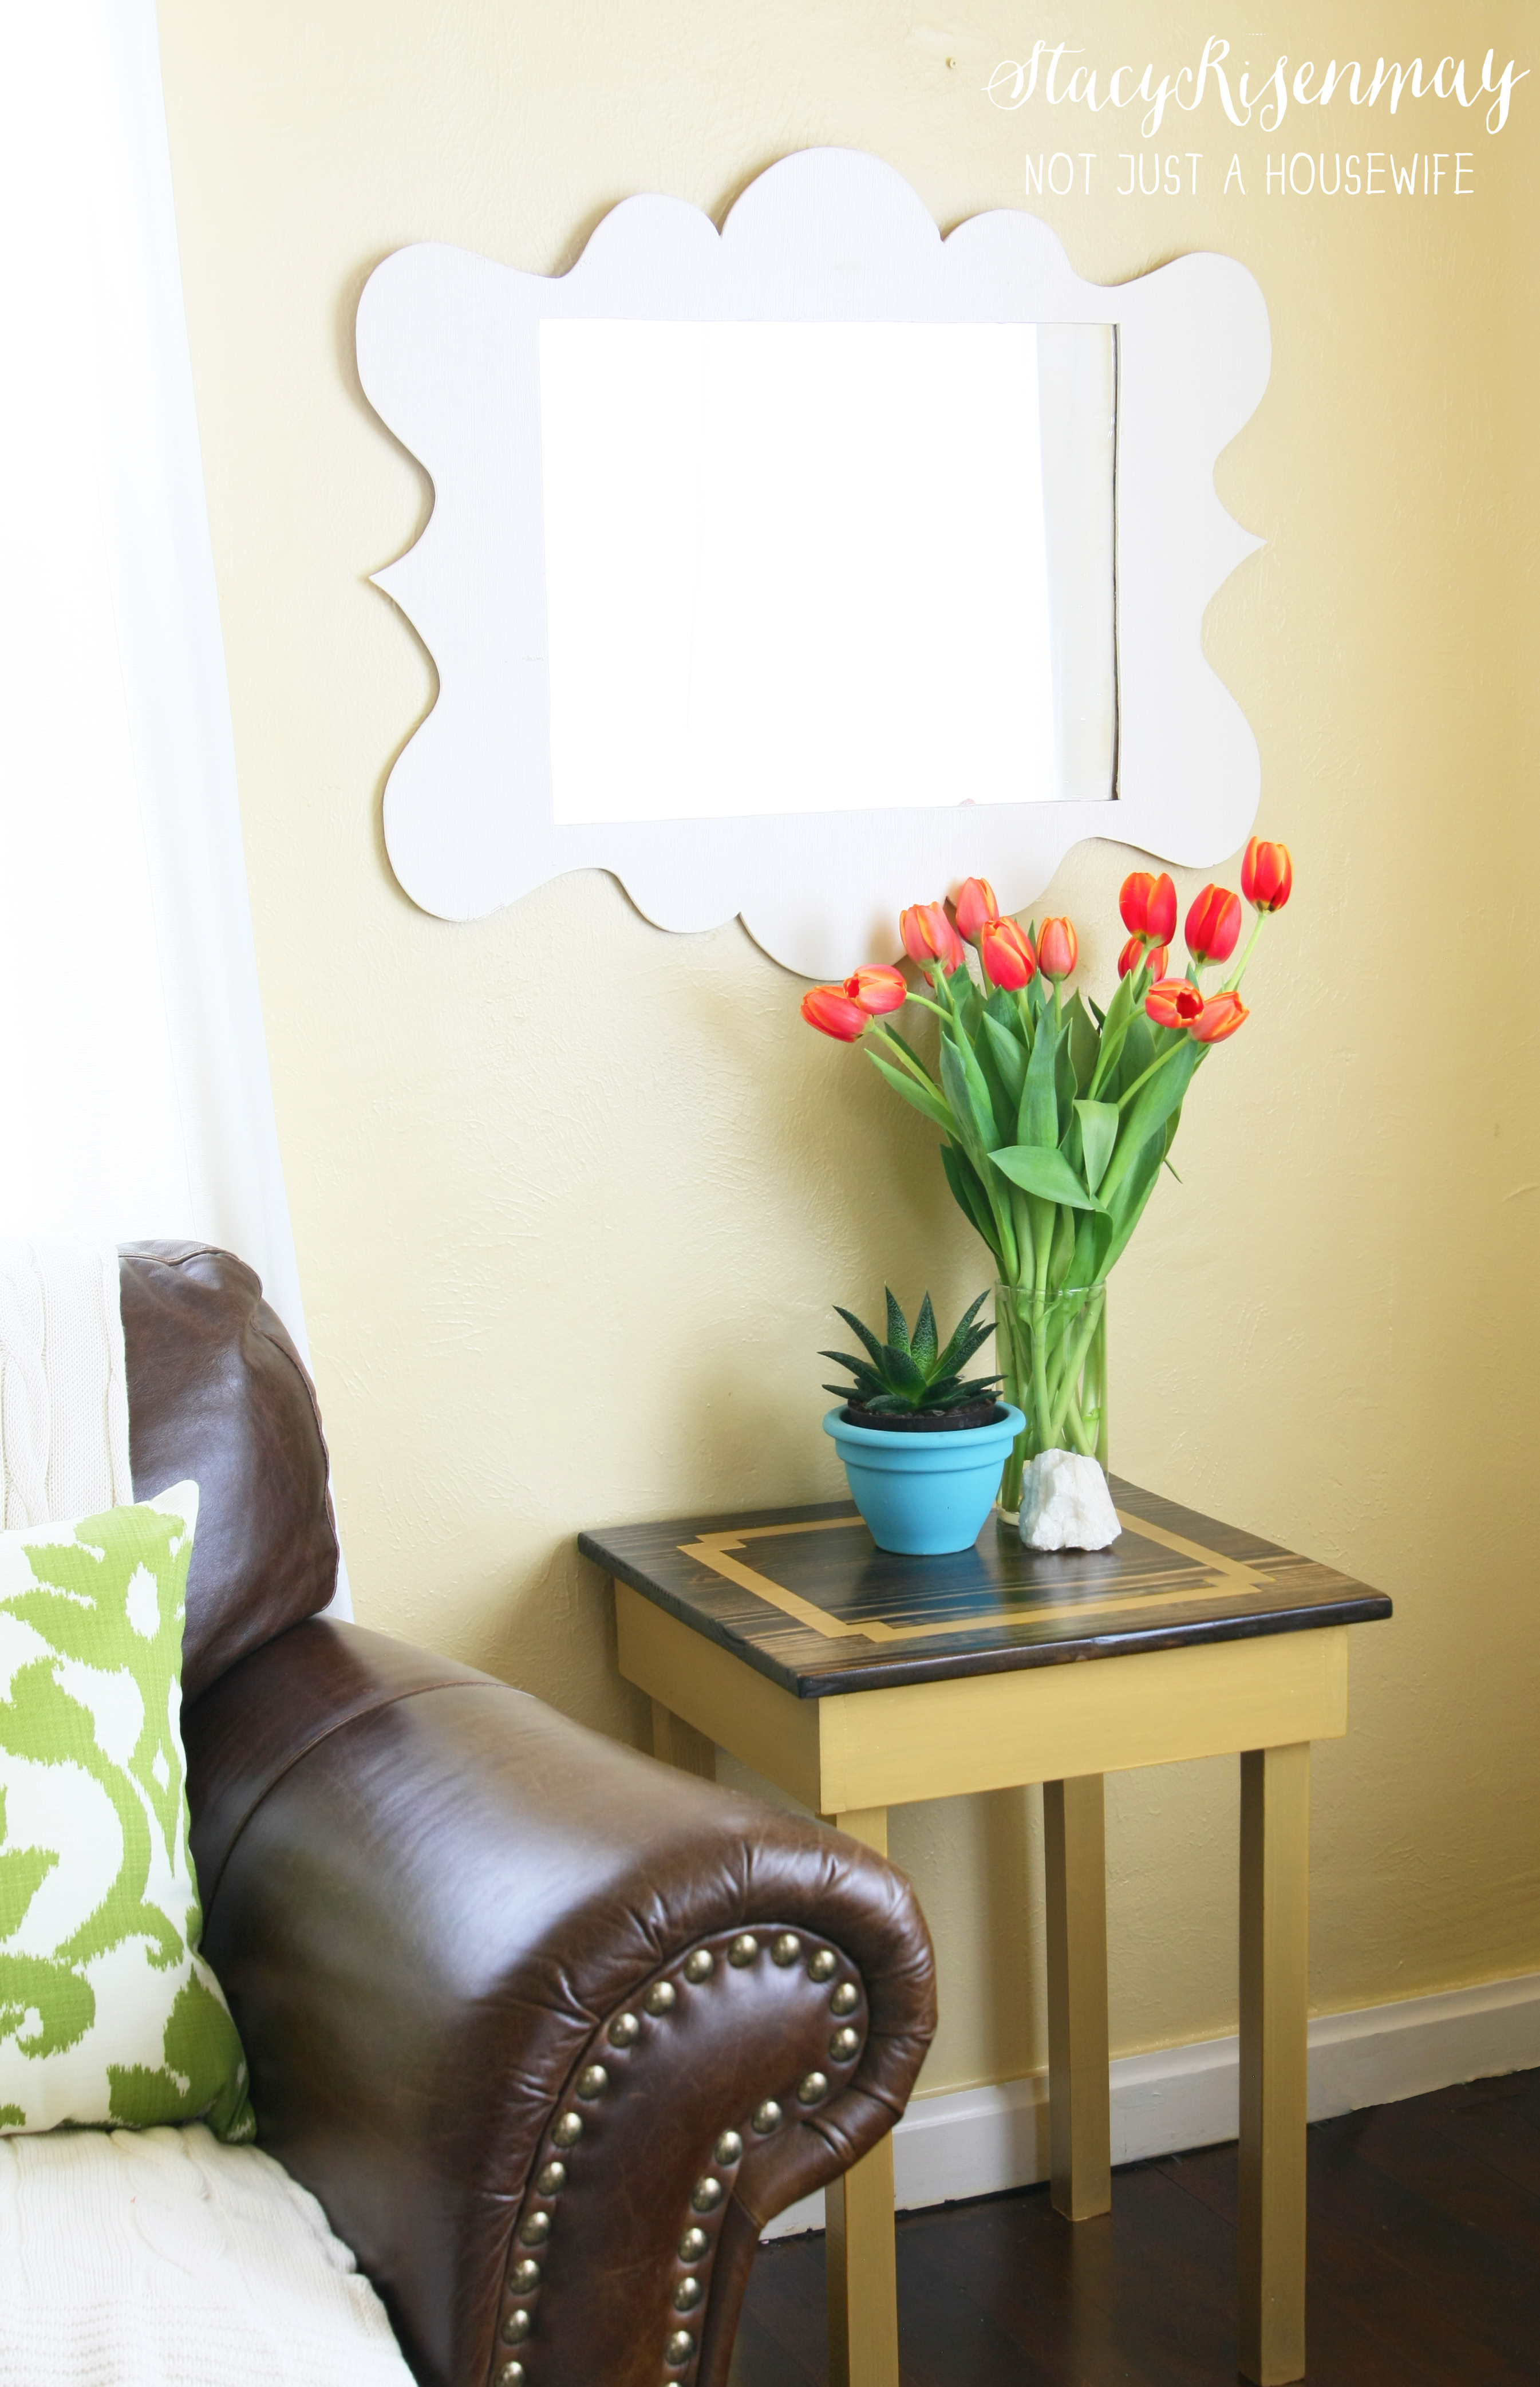
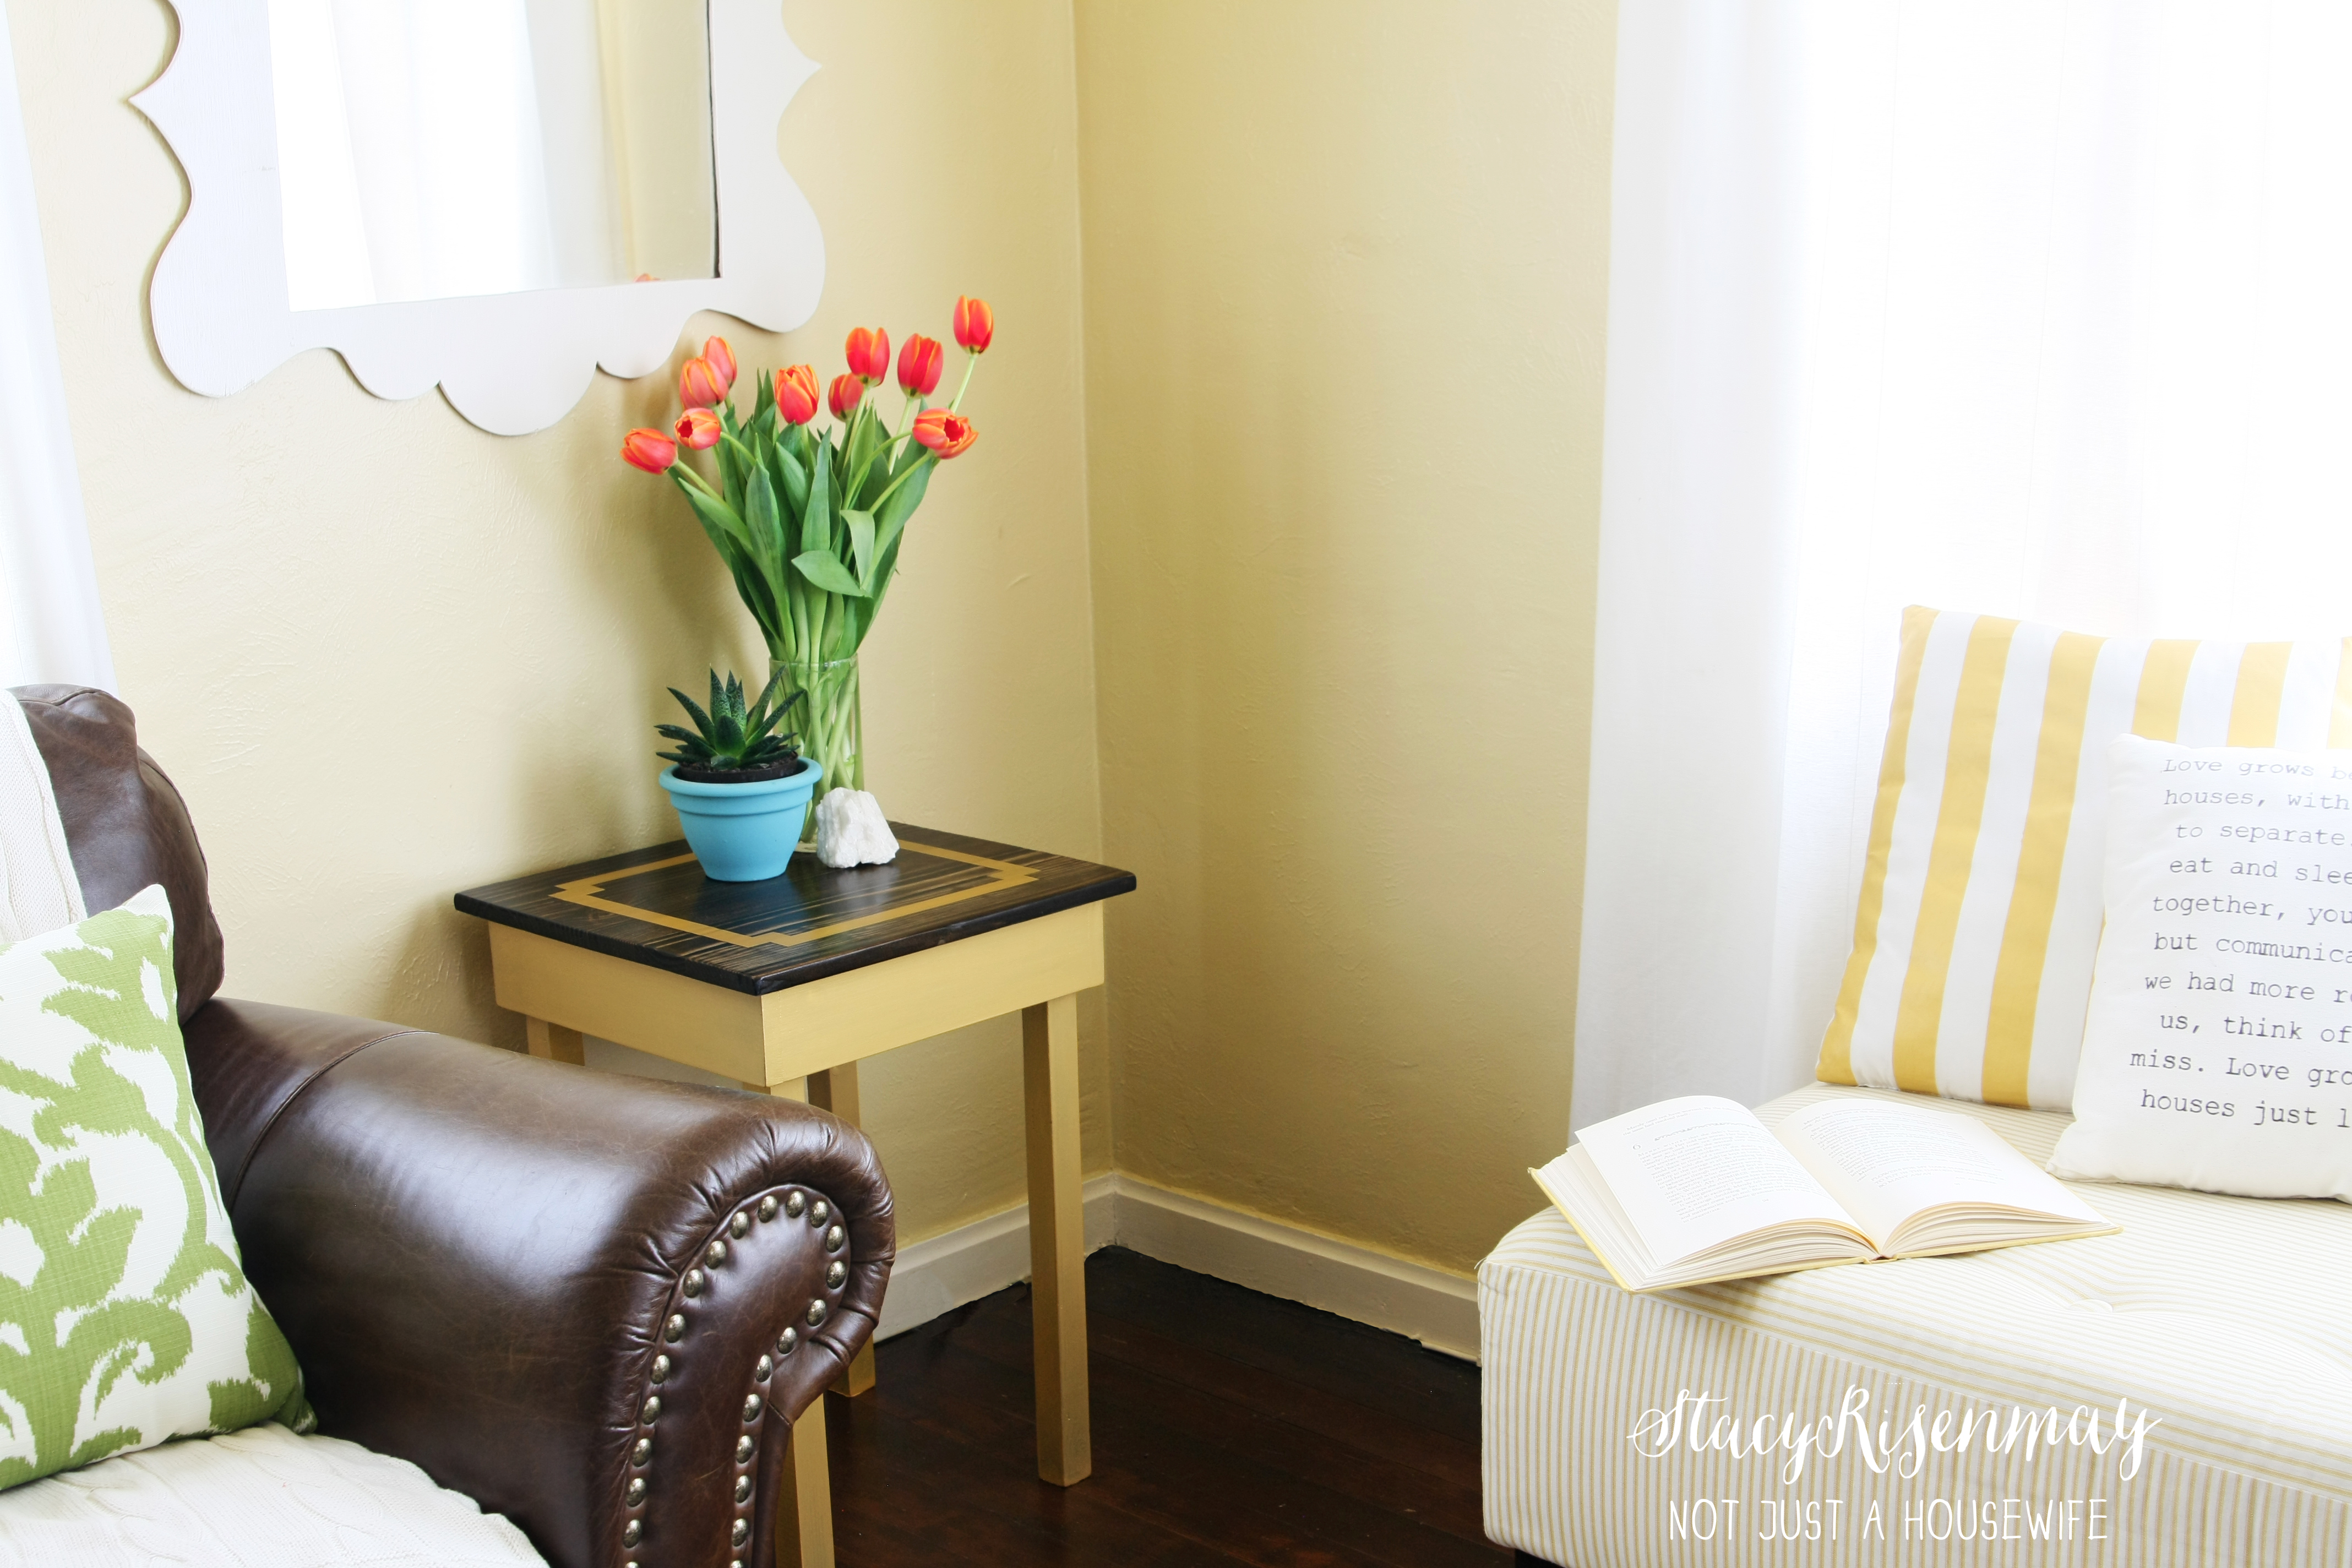
And once it is all dry, you can put it to good use :)
I am not sure if it will stay in this corner or go on the side of the couch. But either way I am in love.
In the days to come I will have more about my family room updates. I am always amazed at how small differences can make such a BIG impact!
For more inspiration follow 3M DIY on twitter, pinterest, and facebook!
I am proud to be a 3M- sponsored blogger, and, as part of my responsibilities, I get the opportunity to evaluate new products from 3M DIY. Opinions are my own and additional product used in the project were selected by me.
You will also like:


This is great - I love the combo of the natural wood with paint. I new someone would come around to this idea eventually. Love all the painted furniture but like everything I think it's another fad. Thanks for sharing this is awesome! -Carole
From cute to WOW. I love it!! I love the stained top/painted bottom combo. Love the detailing. You have such an eye for these things. Thanks for the detailed instructions. This is what you're soooo good at; big bang for the buck.
Love the new table redo - gold is popular right now!!
It looks beautiful! I love the stained wood and paint. The colors look fantastic too!
I love the transformation ~ it looks so elegant!
I LOVE this table. I'm talking TRUE LOVE here. Awesome job! :)
I love that design! You made that table go from drab to FAB! Love what a little bit of paint can do. :)
That is beautiful Stacy. I love a two toned look on furniture. Well done!
Okay...I love love love your table! Looks professional!!! Great DIY! xo
What a gorgeous makeover! I love the wood stain paired with the paint.
I just love how it turned out! You are so talented Stacy!!
Stacy I love the warm wood with the gold! I'm loving dark colors with a gold combo lately.
Love the design on the top!
VERY pretty - love that design!
The result looks fantastic! Thanks for sharing this great tutorial!
I suppose using sandpaper without the machine would be more time consuming but still work?
I love it. The wood stain & gold paint go perfectly. You might start a bit of a craze. I am restoring a desk ATM . I should be out there now instead of reading blogs! I forgot I intended to stain and vanish the too and went overboard with nailing the top on!!! Yesterday I decided to use the 'correct' coloured putty and see if I can still stain & varnish. Now I have a plan B. I think I might be able to do a painted decorative pattern like yours that will adequately cover most nail holes. And most people won't notice the nail marks because they notice the painted pattern. Sharing is great. Thank you