


Outdoor Projects & Gardening
If the weather is nice, you will find me outside where I will be gardening or working on a project. From DIY concrete fountains, to building garden arbors and installing paver patios, I have plenty of backyard inspiration, landscaping tips, and gardening know how.
-
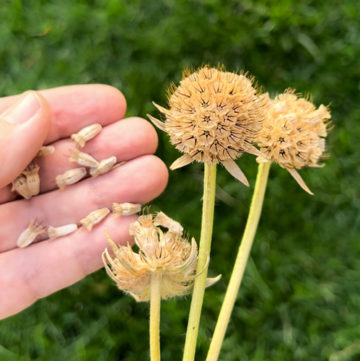
How To Collect and Save Seeds (To Plant Next Year!)
-
Ways to Preserve Basil
-
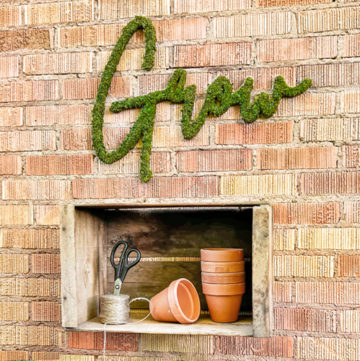
DIY Moss Wall Art
-
5 Reasons You Should Plant In The Fall
-
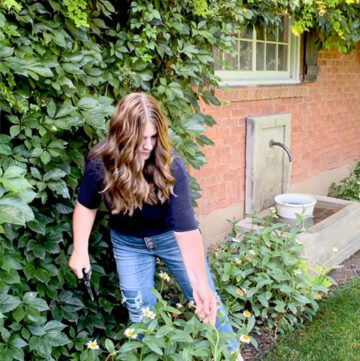
How To Deadhead Plants
-
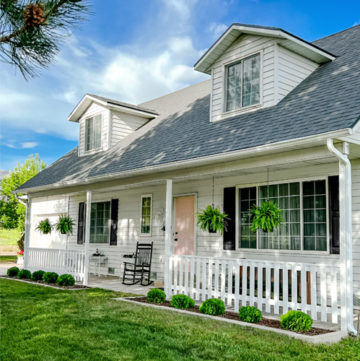
Front Porch Makeover {For My Mom!}
-
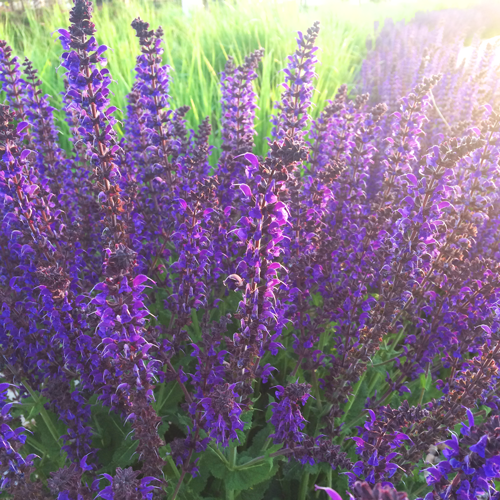
15 Perennial Flowers That Are Easy To Grow
-
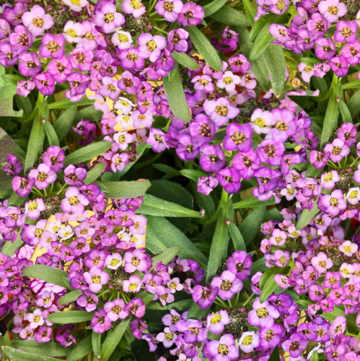
15 Annual Flowers That Are Easy To Grow
-
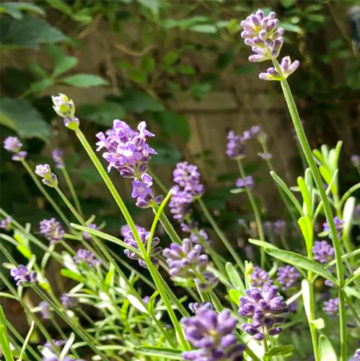
Growing Herbs: Annual VS Perennial Herbs
-
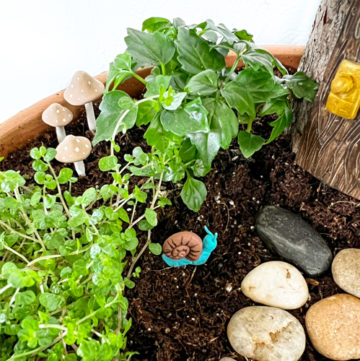
DIY Fairy Garden Ideas


