
I don't know what possessed me to start a fireplace makeover in December as the totes full of Christmas decor were stacked in the family room, but I did. I also have a severe case of "I think a project will take less time than it really will" syndrome. Call it optimism or over confidence, but I genuinely thought we could knock this project out in a few days. Almost 2 weeks later.... The fireplace makeover is done!
Keep reading to the end to see it decorated for Christmas!
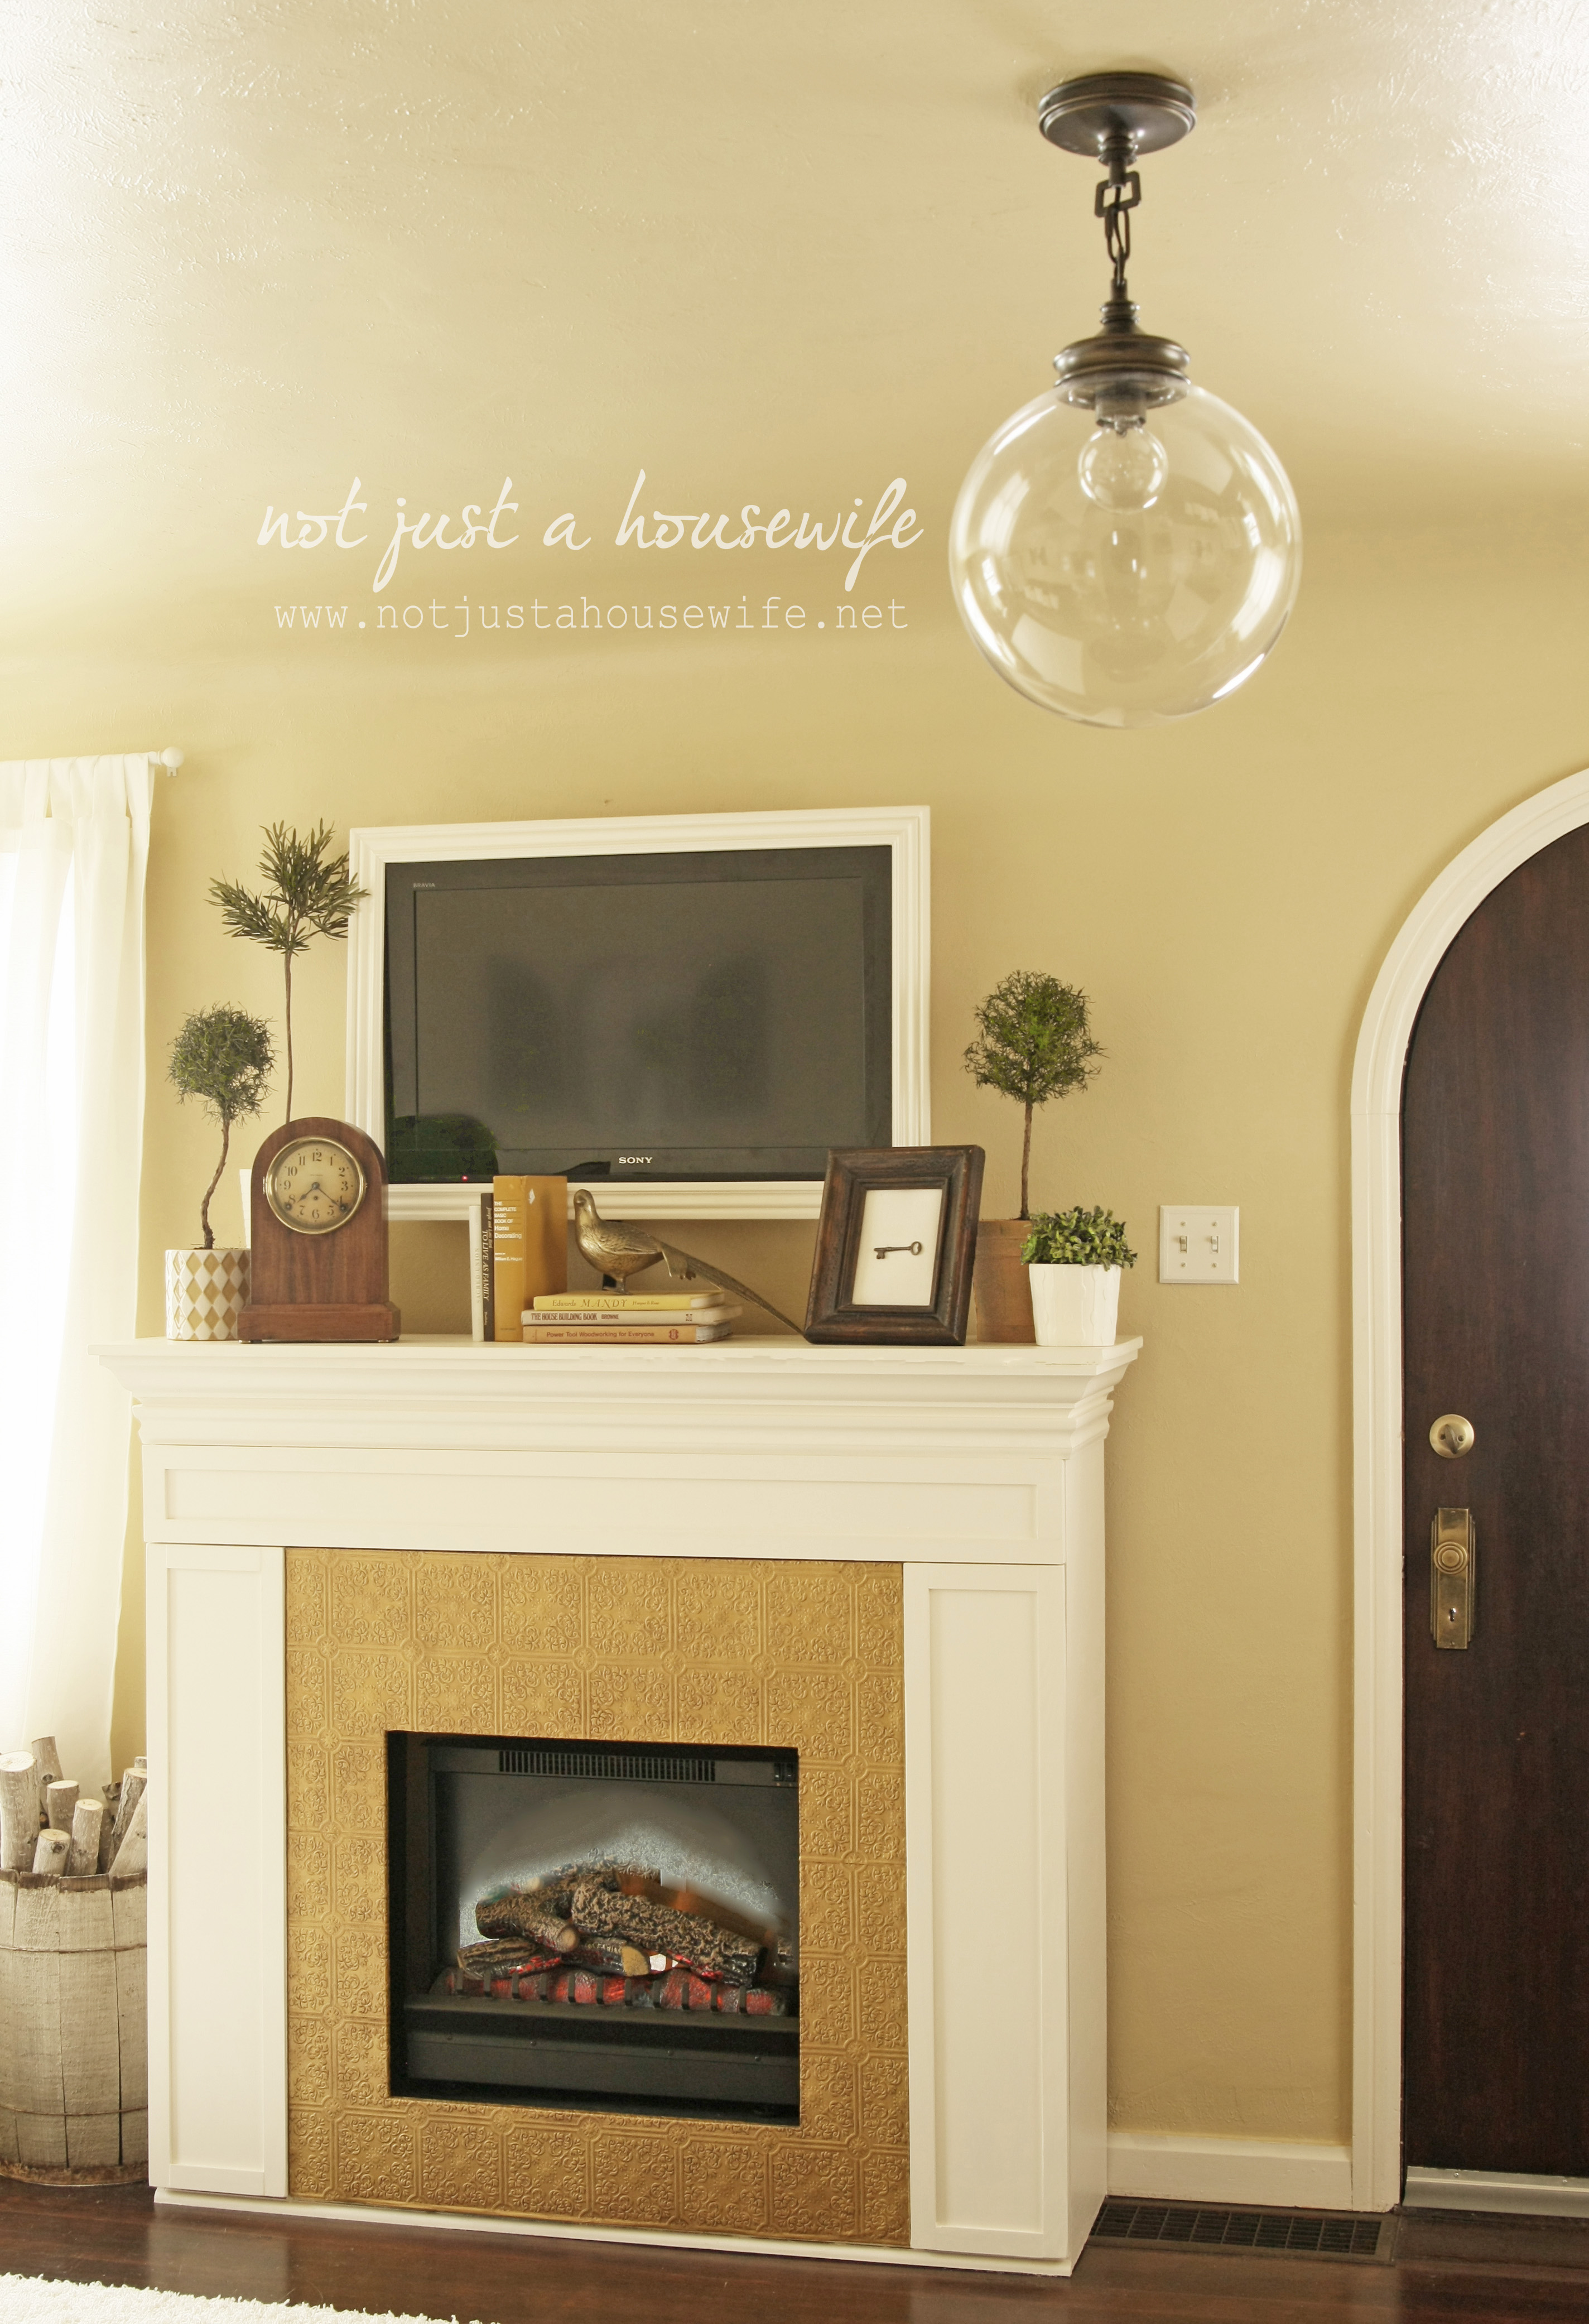
Fireplace Before
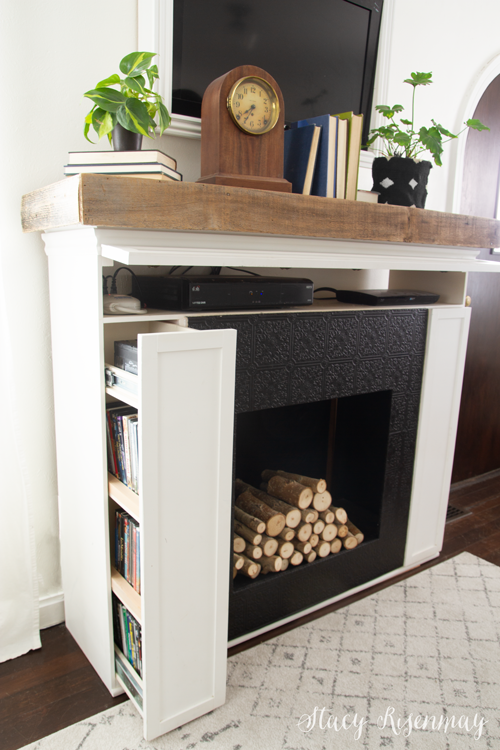
Shane and I built this fireplace about 12 years ago. It has worked well for us but there have always been things about it that I didn't love. In order for it to have as much DVD storage as we needed, we built it pretty deep. As a result, it looked more like a piece of furniture than an actual fireplace.
#1 Change: Cut it in half to make it more shallow.
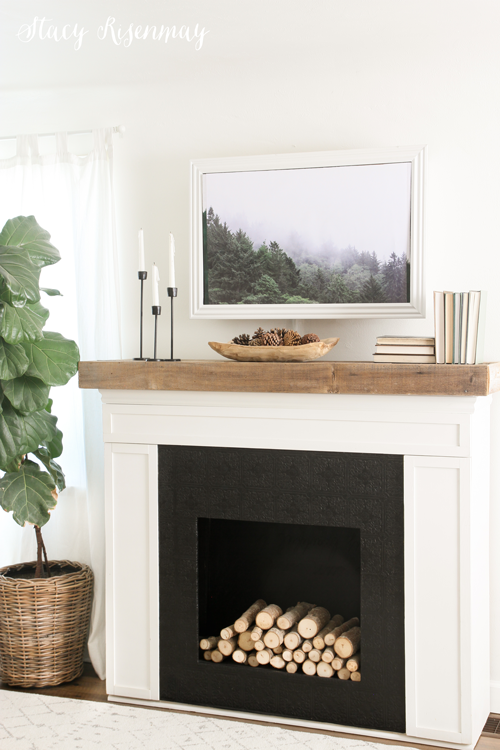
The walls in the family room are white. So is the rug. So the fireplace being mostly white made this section of the room seem too white. It also made the room seem unbalanced since there are shelves filled with books, large indoor trees, and cabinets in the rest of the space.
#2 Change: Paint the fireplace something other than white.
The "tile" on the fireplace was actually wallpaper with a raised pattern that I painted. Remember forever ago when it was painted gold?
#3 Change: Use actual tile for the surround.
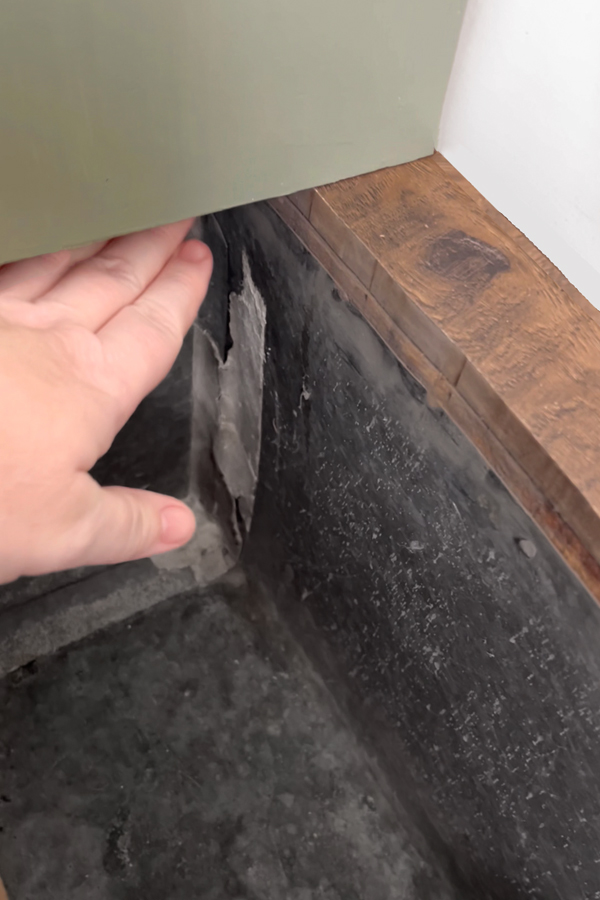
The fireplace sits on top of a cold air return vent. In the past, to compensate, we added a wood shim under the other side to keep it more level. But that made it so there was a gap all across the front. It always bothered me.
#4 Change: Create new vent cover.
The old version of our fireplace never had a back. We added an electric fireplace insert at first, but when it broke, it was just an open cavity. We always meant to add a back, but never did. I stuck a board that I painted black behind it so you couldn't see the white wall, but it wasn't even the right size.
#5 Change: Make an actual backing/insert.
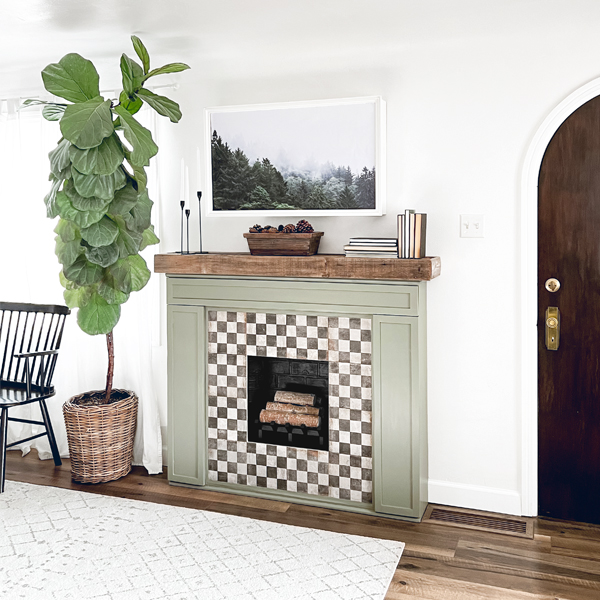
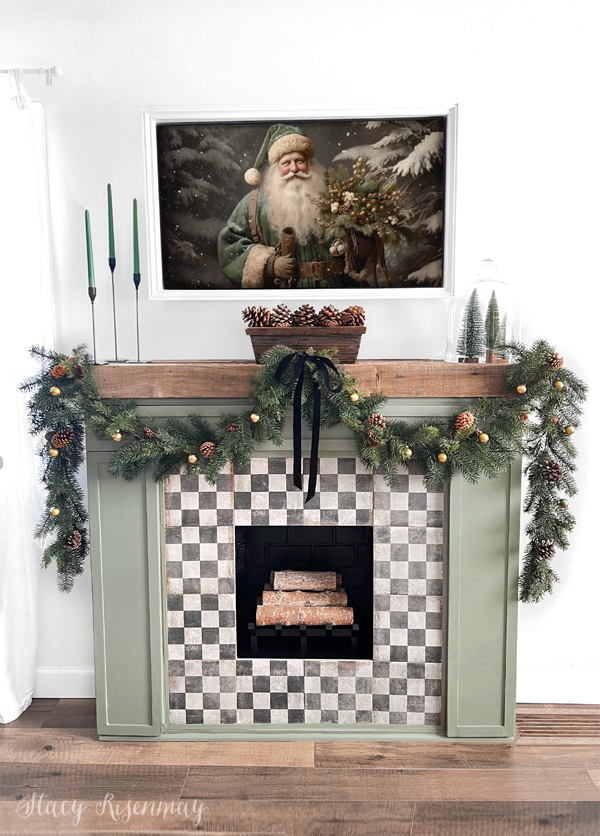
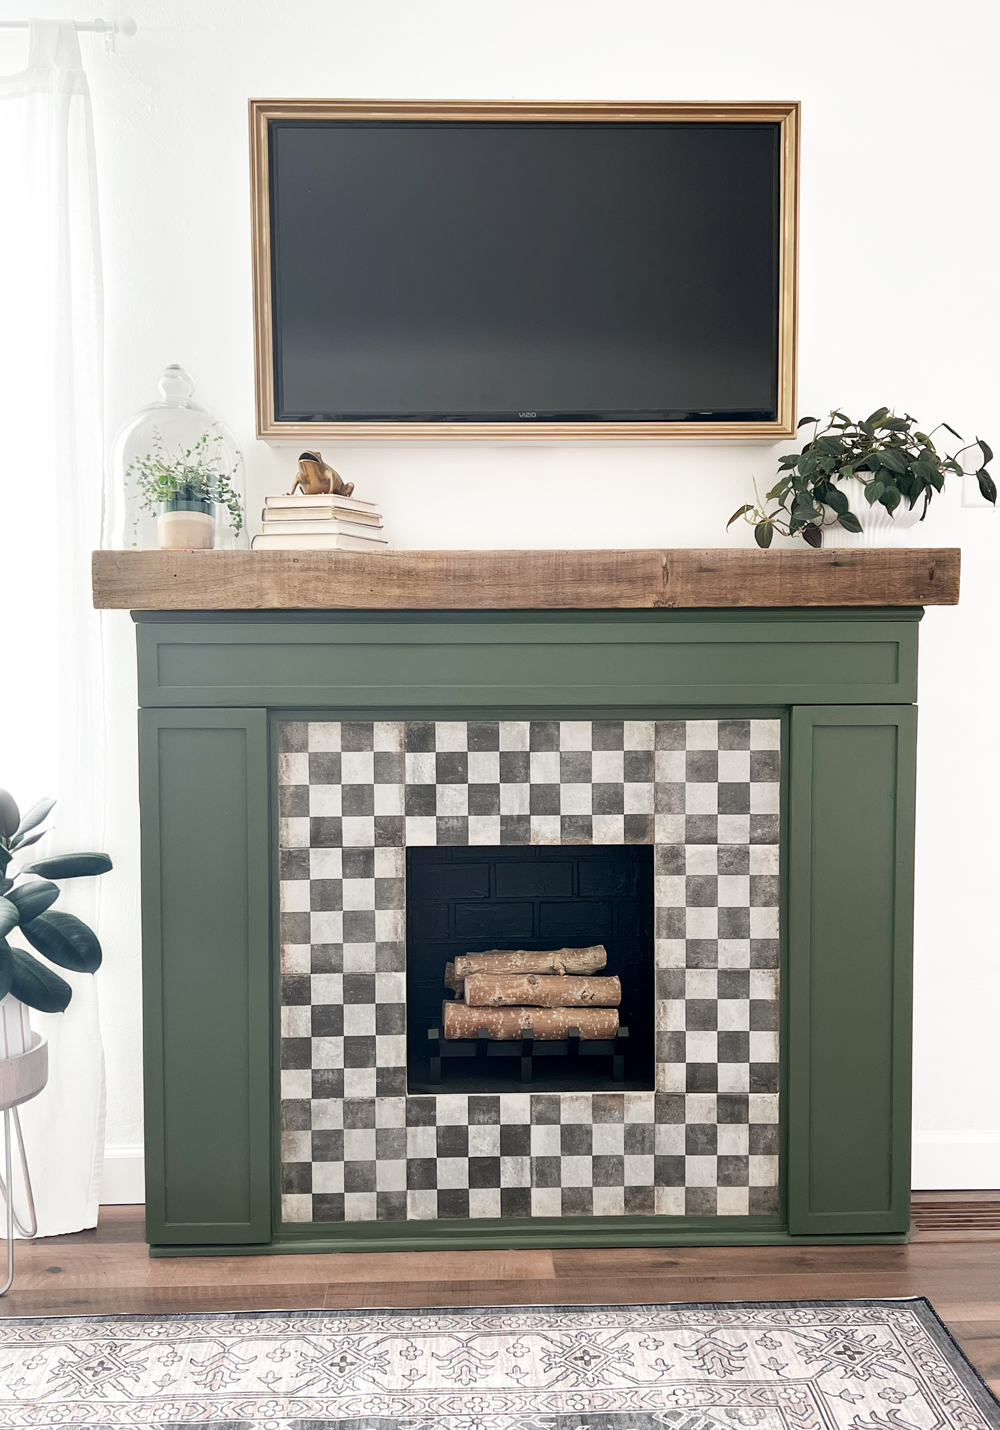
Fireplace Makeover Reveal!
We cut 7 inches off the depth of the fireplace making it only 8 inches deep now. I also cut out along the bottom of the side pieces to fit around the baseboard. Now it is right up against the wall!
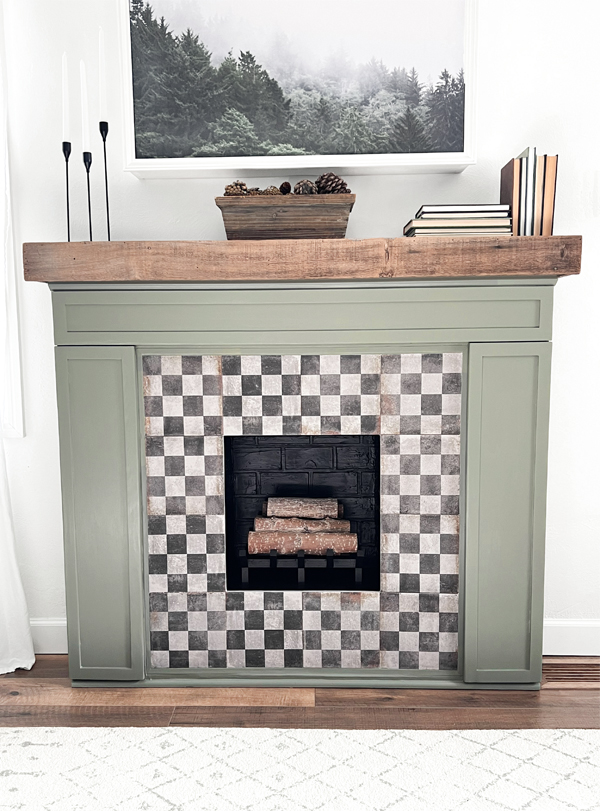
We painted it green since it is our favorite color and since there are a lot of green tones in this space already. The paint color I chose Conifer Green by Behr. I had it mixed at 75% so it would be slightly lighter. I think it is the perfect sagey green!
The reason I didn't do this project sooner was I was torn on what tile to pick. I was going to stick with black for the surround like the orginal, but I couldn't settle on one I liked well enough to pull the trigger and order. When I was browsing the Home Depot website, I stumbled upon this checkerboard tile and fell in love. It reminded me of my kitchen ceiling.
Since an entire case would have been way too much tile for this little project, I ordered sample tiles. I only needed 12 tiles total.
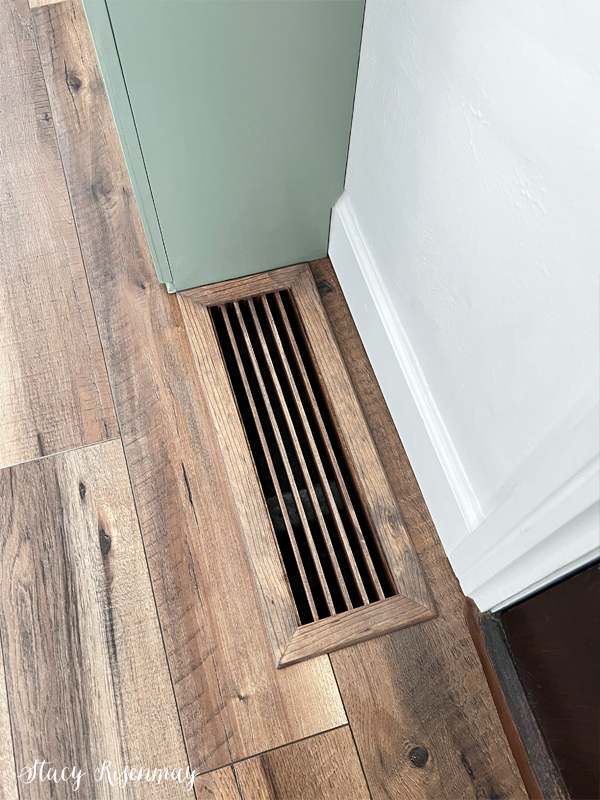
I decided to set the fireplace in its place and secure it to the wall without the vent cover on. This way it would be level on the floor without having to add a shim and have any gaps. Then I built a new cover that was shorter than the original one to fit over the vent hole.
I haven't sealed it with polyurethane yet, but I am really happy with how close I was able to match the stain to the flooring!
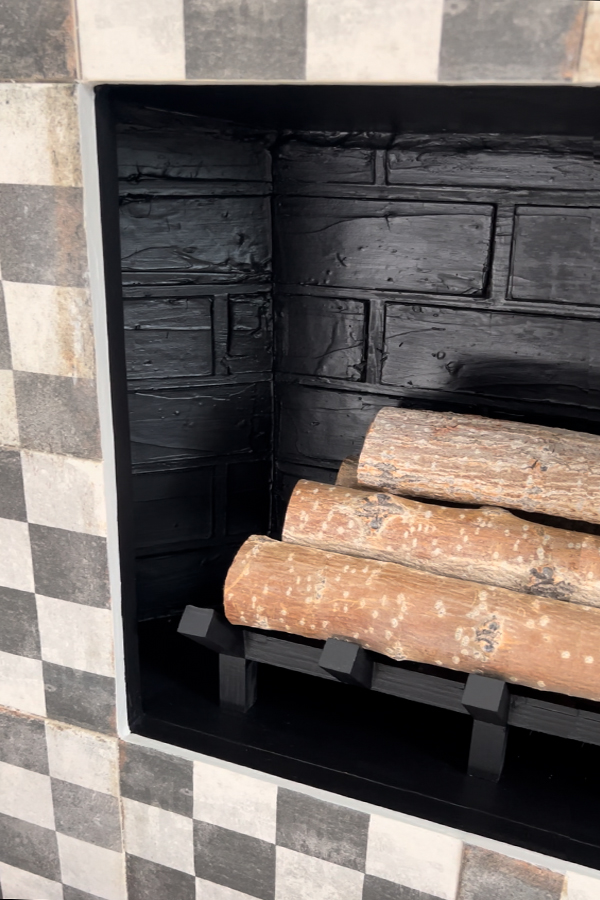
Real fireplaces have a brick background and I wanted mine to look as real as possible. I thought I had some of the brick paneling left over from doing our faux brick wall, but we didn't. I wasn't willing to pay almost $50 for a whole 4x8 sheet when I only needed a little bit, so I created my own!
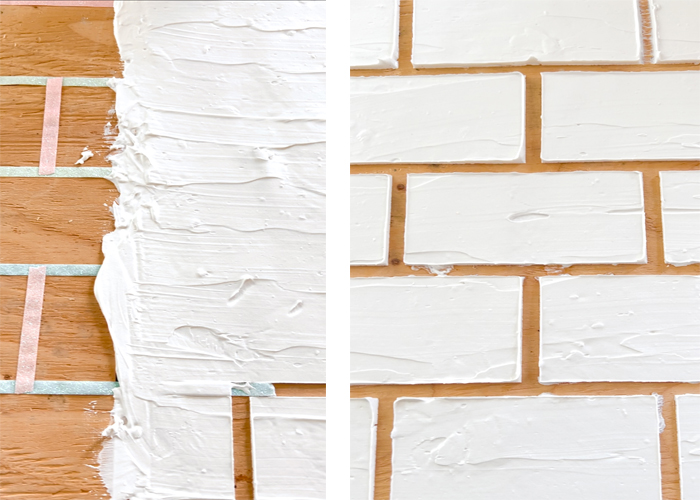
I cut some scrap pieces of plywood I had in the garage into panels. Then I used washi tape to create a brick pattern. I was worried at first because the tape was not sticking well to the plywood. I slathered some drywall mud (joint compound) onto the boards and used a putty knife to spread it around. When I peeled the tape off, it left depressions which looked like grout lines.
I think it looks pretty convincing!
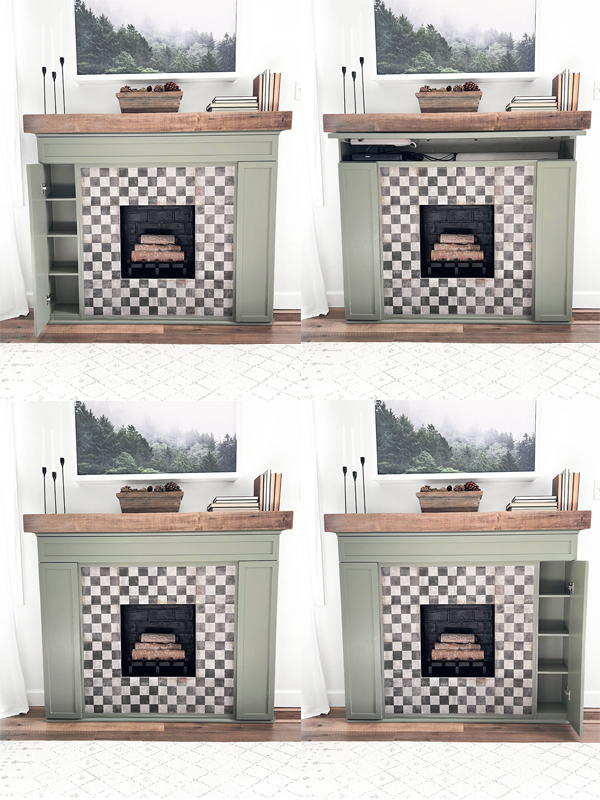
Since we cut it to be shallower, we could no longer have slide out storage. But I still wanted to have a place for DVDs. We now have those front panels as doors that open like cabinets. The shelves inside hold 98 DVDs. We also put DVDs in the top panel with the DVD player. Since we did lose some storage space, the DVDs of little kids movies or things that are easily streamed, got put away in the attic.
While the timing of this project was probably not ideal, I am happy that we got this project done in time to decorate it for Christmas. Would it have been easier to build a new one from scratch? Probably. But I am a big believer in using what you have already and not wasting materials.
I have plans for more changes in the family room, but I will wait until after the first of the year to start more projects :) So stay tuned for a family room refresh!
UPDATE:
I ended up painting it a darker green and I love it with more contrast!


You are so creative. It turned out beautiful.
Thank you Jackie! Creative sounds better than crazy :)
Omgosh what a great job your inspiration is awesome. I personally love that you worked with what you have. The extra storage is great I’m all about storage. Love the colors. Green is actually my fav color.
Thank you! Green is my favorite too. When you have a small home, making use of every nook and cranny is helpful.