
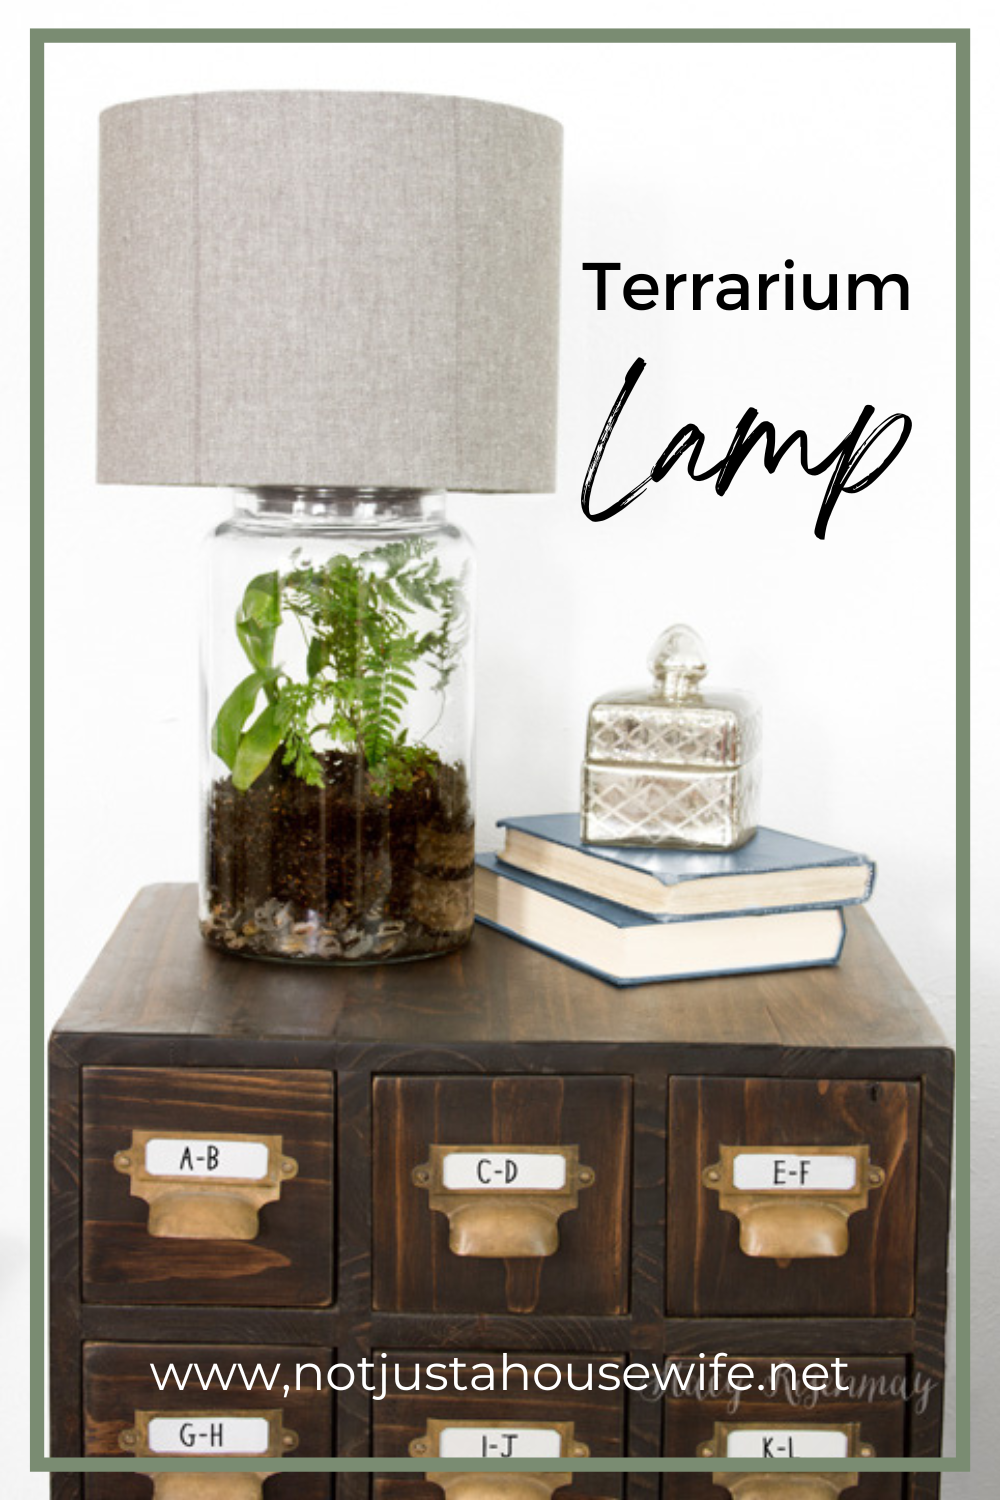
If you know me even just a little bit, you know I LOVE plants and terrariums. I have had this idea in my mind for a long time but I have never gotten around to doing it. When I Like That Lamp reached out to me, I knew this was the perfect time to implement my idea for a terrarium lamp!
I Like That Lamp makes easy lamp kits as well as lampshade kits. I used both kits for this project and it was so easy!
The Lamp
*links are affiliate
*Large jar with wood or metal lid
*Drill with paddle bit
Gravel
Potting soil
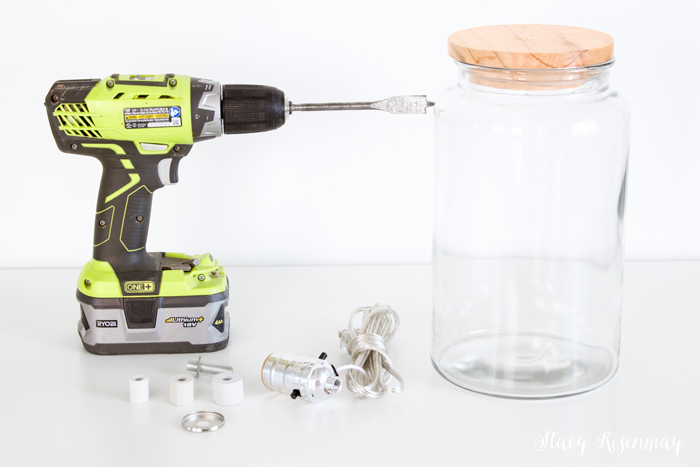
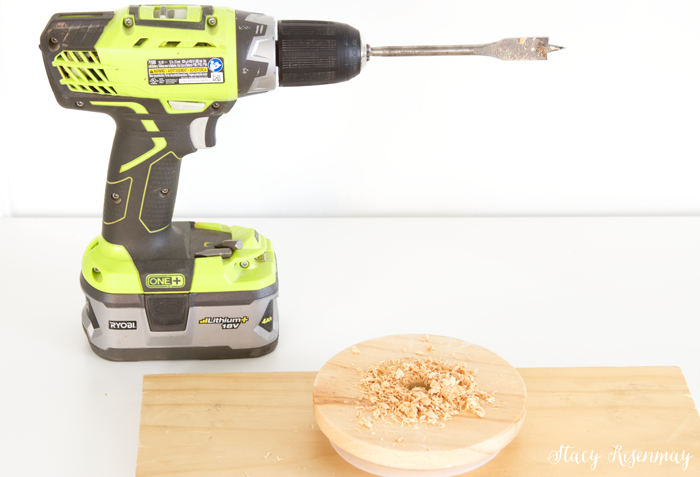
Using a paddle bit that same size as one of the rubber adapters, drill a hole in the center of the lid.
Add the rubber adapter to the threaded rod and then add the washer.
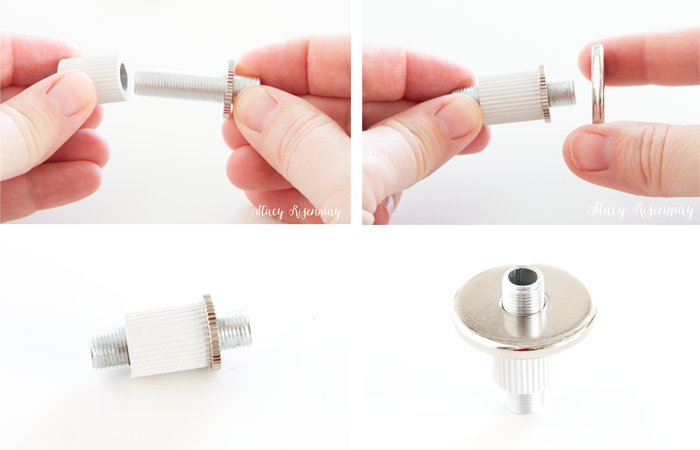
This will fit inside the hole you drilled in the lid. It should be snug. If not, use the next size up (rubber adapter) or use a bit of hot glue to keep it nice and tight.
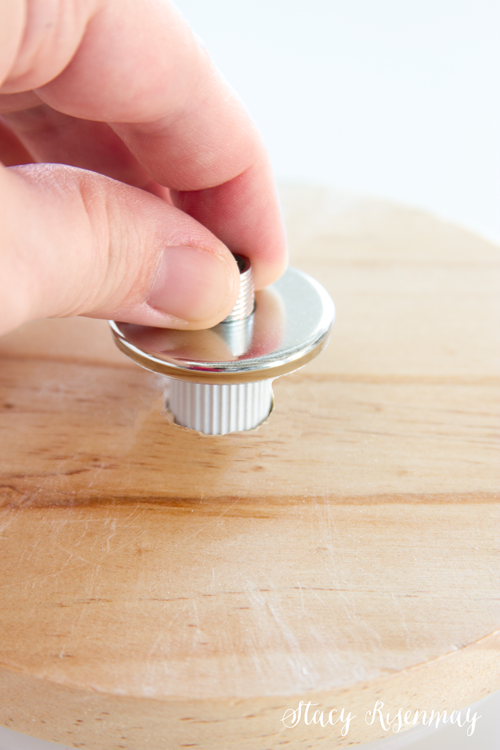
I decided to paint the lid a dark brown since the lid was old and scuffed. Plus I thought the dark color would match the dark soil and the table it was going on better than the light wood. If you are going to be using a harp to hold the lampshade on, add the bottom piece of the harp over the washer before screwing on the socket.

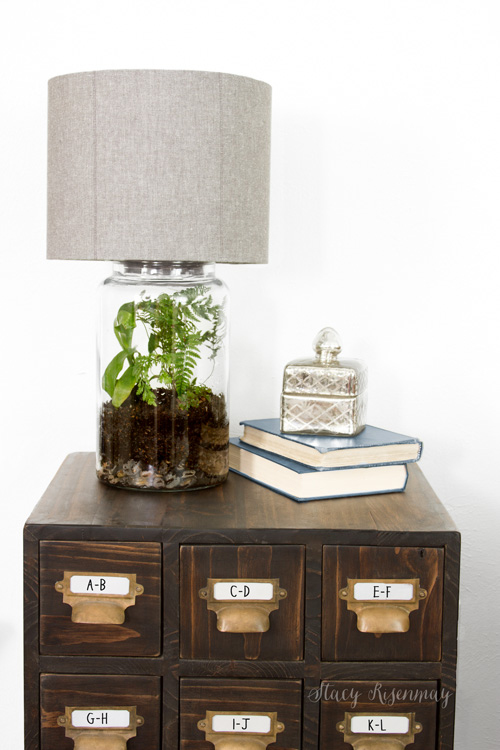
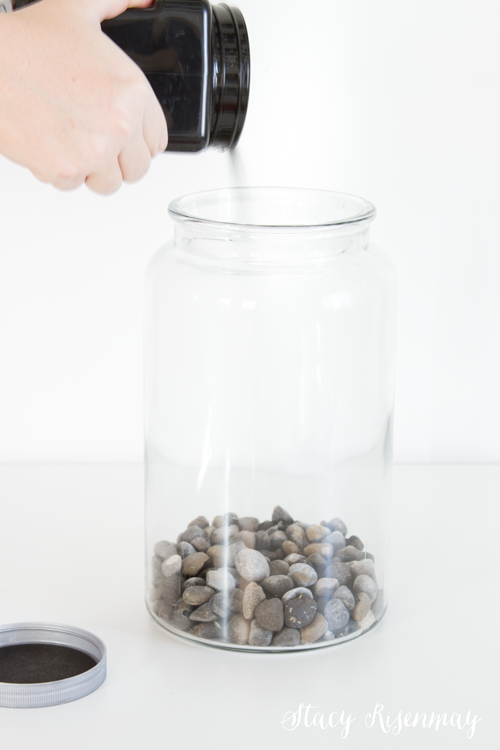
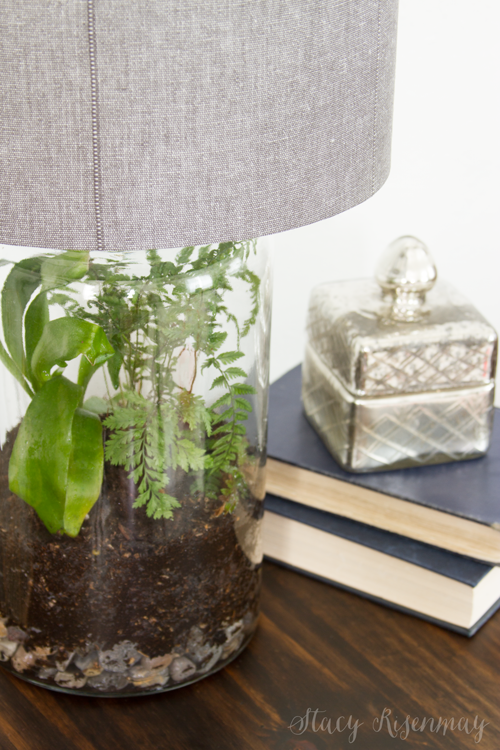
The jar got filled with gray rocks to help with drainage and then I added some charcoal to help prevent algae or anything unwanted from growing in the bottom. You can find charcoal with the fish tank supplies in pets stores or places like Walmart.
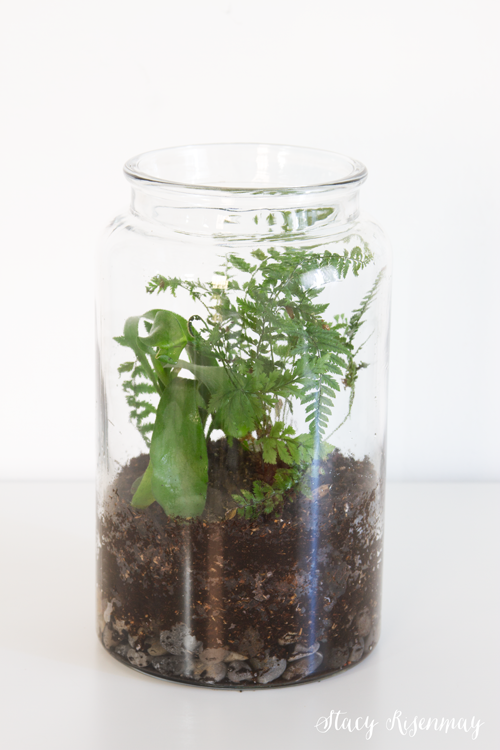
I have another terrarium that had some plants that had outgrown the space. They needed a new home. This tall jar worked out perfectly! You can buy small ferns and other plants for terrariums on amazon or sometimes at pet stores.
As far as the actual lamp goes, that is it! It is really that easy to make a bottle lamp! Now we just have to make the shade and we are all done.
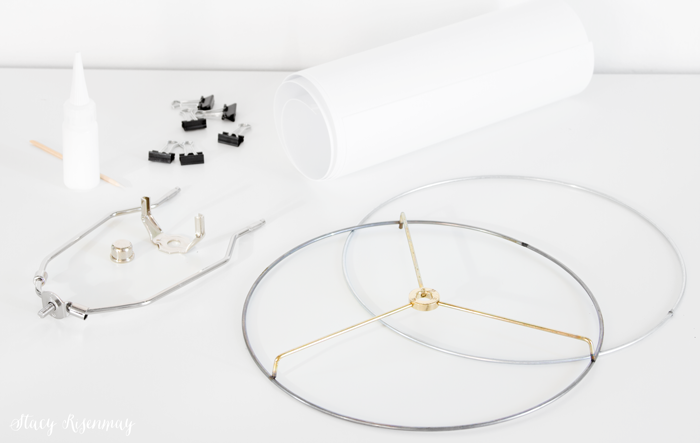
The Shade
*links are affiliate
Adhesive backed styrene (roll of white plastic that makes the heat resistant shade)
Fabric of your choice
Glue kit (include clips and molding stick)
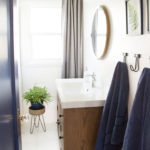
Remember the gray curtain in my new bathroom? It came as a two panel pack and I only needed one panel. I LOVE the linen look of the fabric so I decided to use part of the other panel to cover this lampshade. The rest will become pillows!
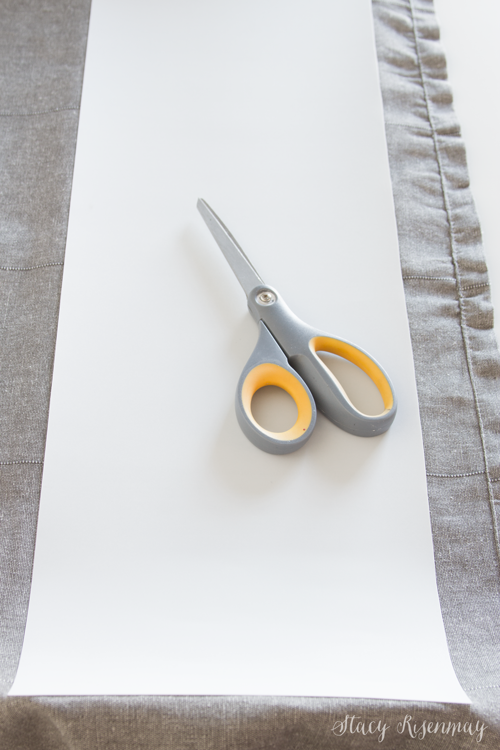
Peel off the the protective layer on the styrene and lay the sticky side onto the fabric.
Trim along the edges leaving about ½ inch. On one of the short edges, cut it right along the styrene.
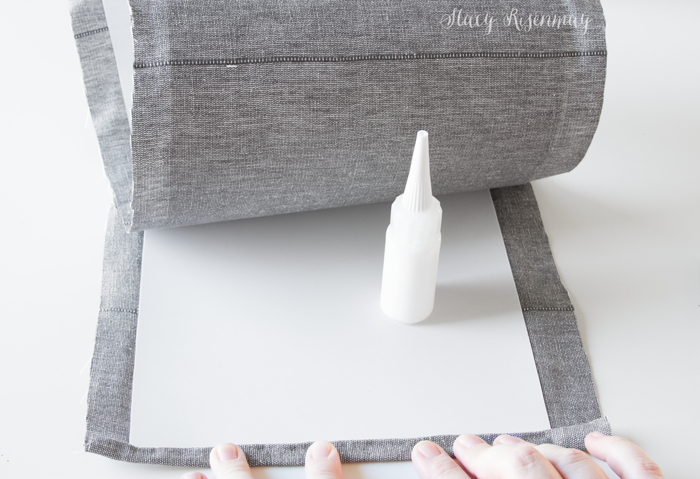
On the other short edge, fold and glue the fabric onto the styrene.
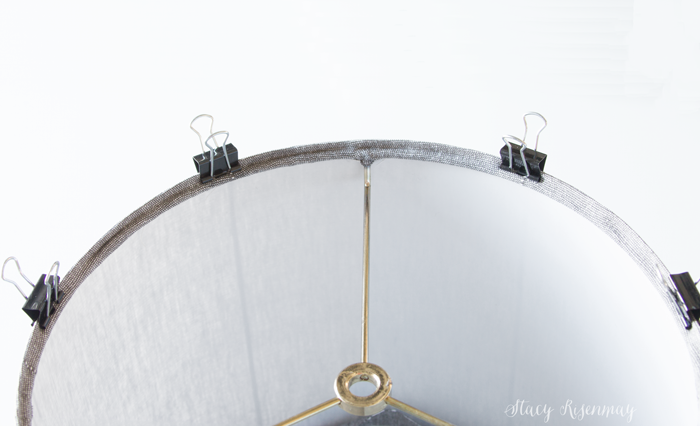
Roll it up into a cylinder shape and use a clip at the seam to keep it together. Then take the top wire ring and insert it into the styrene cylinder. Use a couple more clips to secure it in place. Add the glue to the fabric and fold it over the ring.
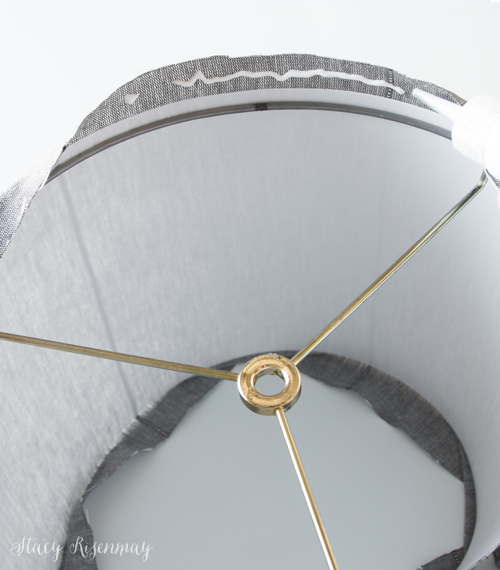
Use the molding stick to tuck the fabric up under the ring.

Use the clips to hold it in place until the glue has dried. Once the glue has dried for a bit, repeat the process with the bottom wire ring.
When both rings are glued in place, glue along the seam.
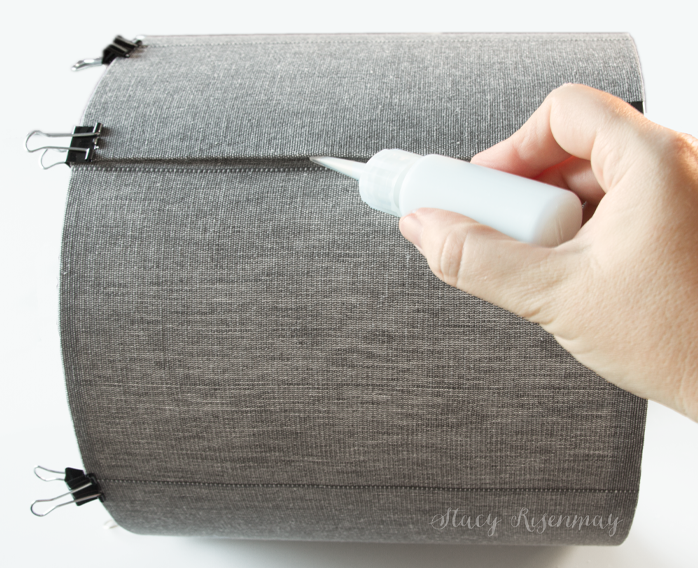
Even with waiting for the glue to partially dry, this took less than an hour to make!
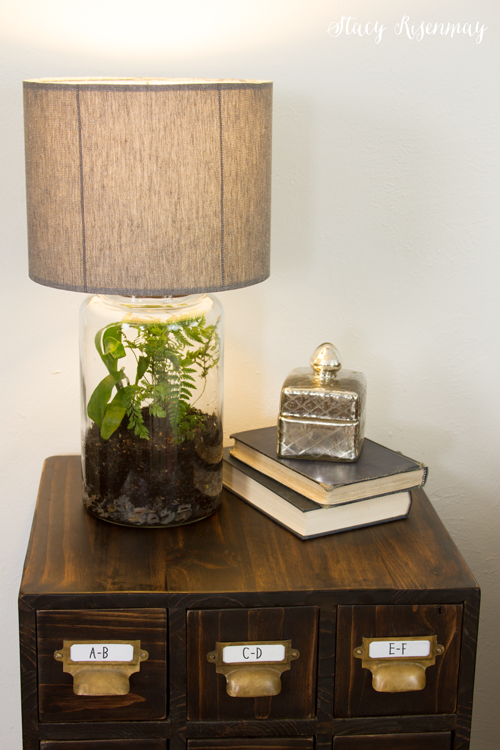
I am really happy with how it turned out. For now it is on our side table in the living room but a couple of my boys have petitioned to have it in their new bedroom. One of their rooms is going to be decorated with a theme of the mountains and nature so I think it might be a good fit!
PIN For Later:


Cool project, I think you did a great job of explaining. I so want to make one of these. (putting this on my to do list)
This is such a fantastic idea! My mom would love this. I may have to make her one for the holidays.
It looks really cool. One quick question; Where does the cord for the lamp go? I really don't see it in the pictures.
Since it is only attached to the lid, it falls behind. I thought I would have to tape it to the back of the jar, but it stays behind on its own and since it is clear, it really isn't noticeable which is nice.
This is amazing! Pinning now.
Awesome idea and I love how it turned out!
What a beautiful project!
I love this so much! One of the first projects I created when I first started I Like That Lamp in 2013 was a DIY plant lamp. Yours turned out soooooo much better than mine, hehe!
I love the contrast of the plant and the gray lampshade. Thank you so much for creating such an inspiring project!
Okay I've never seen a terrarium lamp. This is very cool!
Oh, how did I miss this gem. Stunning!