


Furniture
-
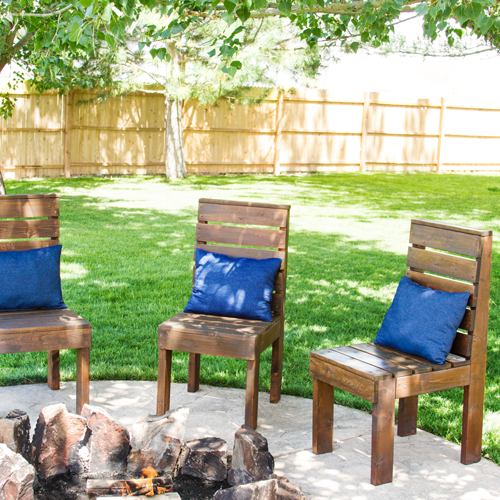
Easy DIY Outdoor Chairs
-
How to Stain and Seal Furniture with a Sprayer
-
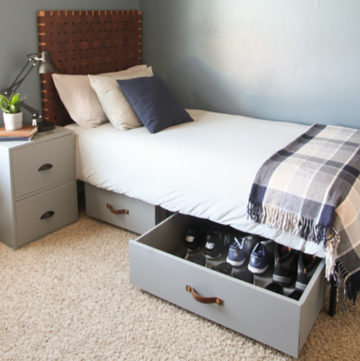
Under Bed Storage Drawers
-
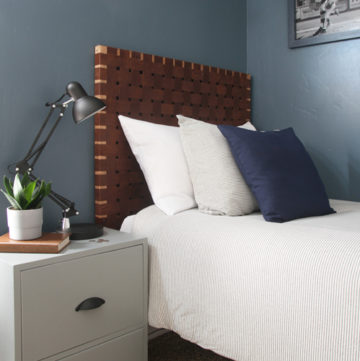
Woven Leather Headboards
-
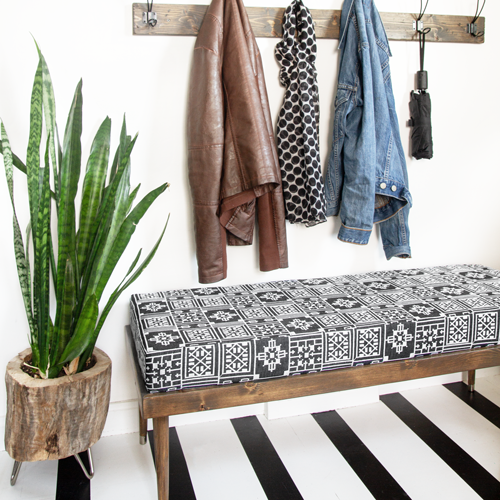
DIY Bench {Knock off Challenge}
-
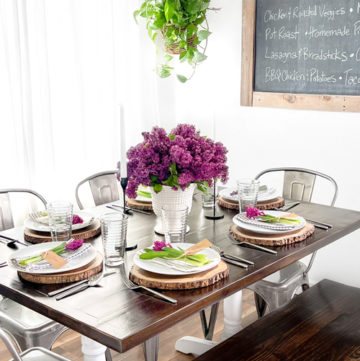
Dining Room Table Makeover {Refinishing A Wood Veneer Table}
-
Top Projects of 2018
-
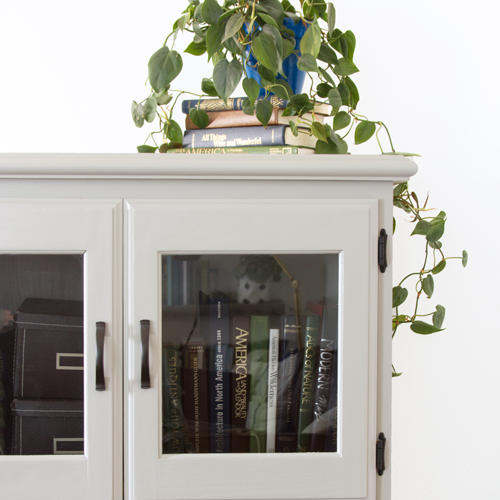
Dated Oak Dresser Gets A Makeover!
-
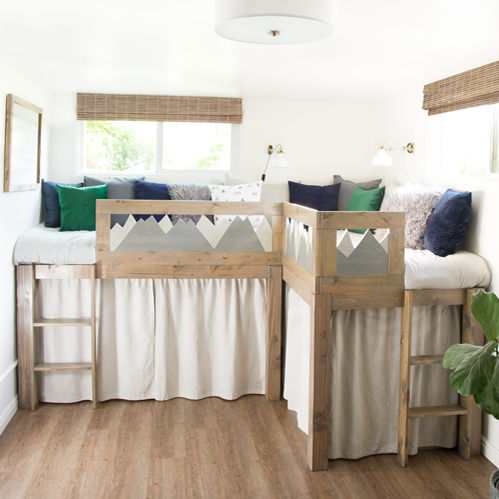
Mountain Themed Boy Bedroom
-
Easy To Build Toy Box Crate


